FordParts
My Garage
My Account
Cart
OEM Ford F-250 Super Duty Transmission Oil Cooler
Trans Oil Cooler- Select Vehicle by Model
- Select Vehicle by VIN
Select Vehicle by Model
orMake
Model
Year
Select Vehicle by VIN
For the most accurate results, select vehicle by your VIN (Vehicle Identification Number).
15 Transmission Oil Coolers found
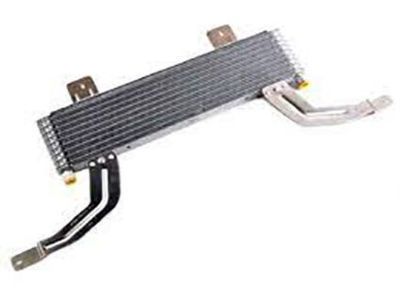
Ford F-250 Super Duty Transmission Cooler Part Number: XC3Z-7A095-BA
$158.02 MSRP: $238.33You Save: $80.31 (34%)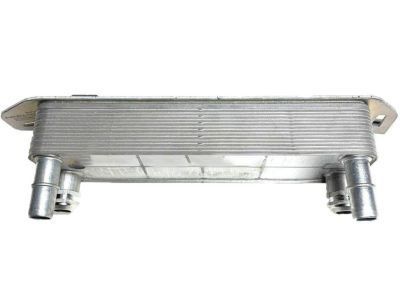
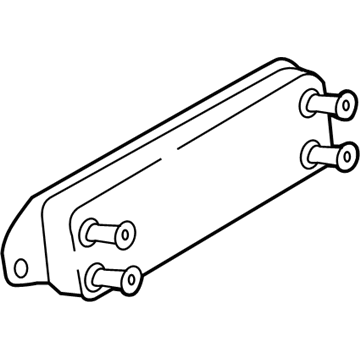
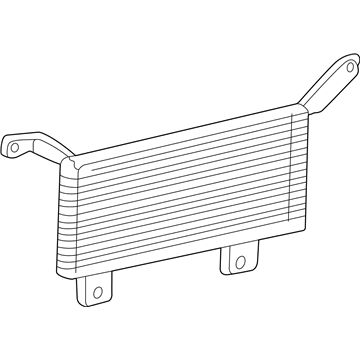
Ford F-250 Super Duty Transmission Cooler Part Number: HC3Z-7A095-B
$121.37 MSRP: $176.67You Save: $55.30 (32%)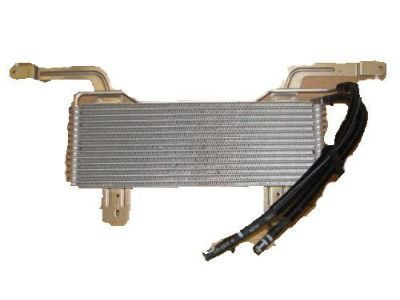
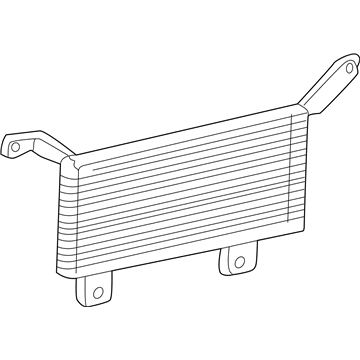
Ford F-250 Super Duty Transmission Cooler Part Number: 3C3Z-7A095-AA
$135.11 MSRP: $196.67You Save: $61.56 (32%)Ships in 1-2 Business Days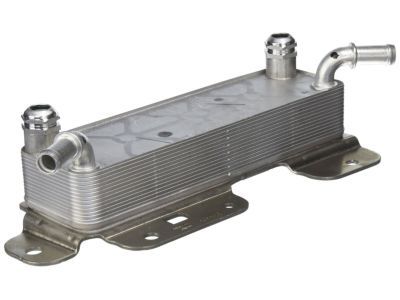
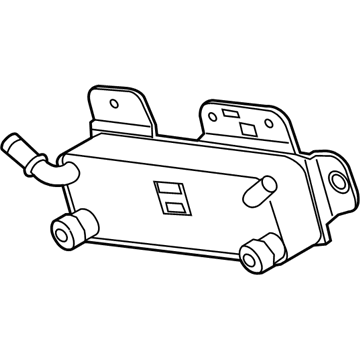
Ford F-250 Super Duty Transmission Cooler Part Number: BC3Z-7A095-C
$139.69 MSRP: $203.33You Save: $63.64 (32%)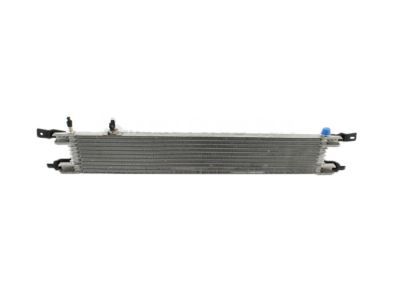
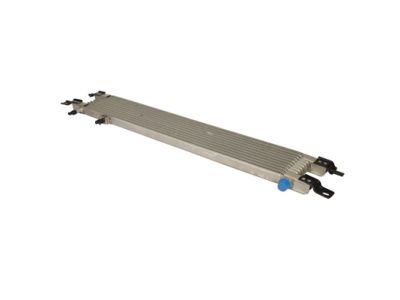
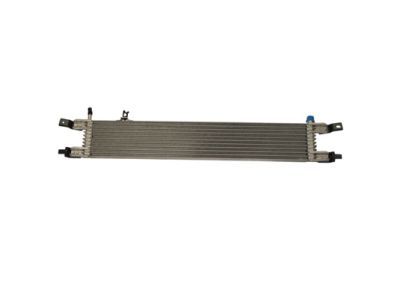
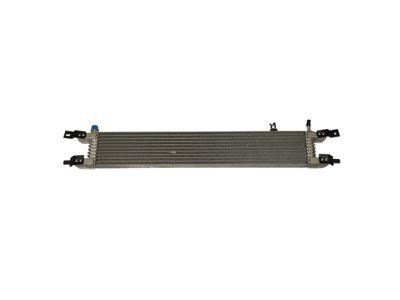
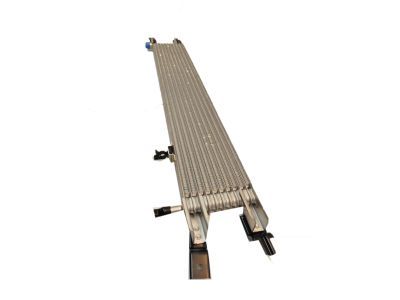
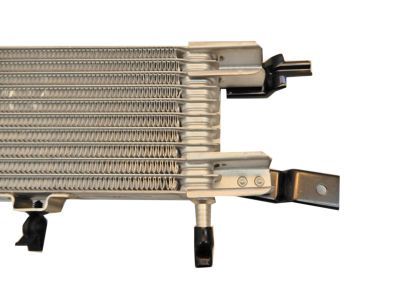
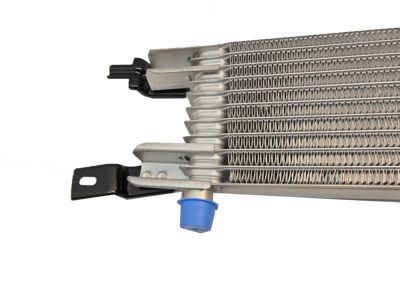
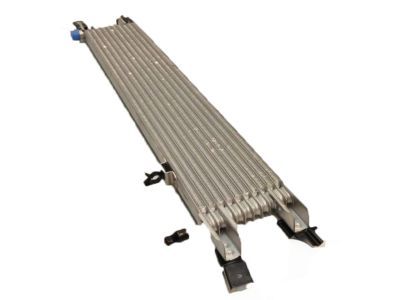
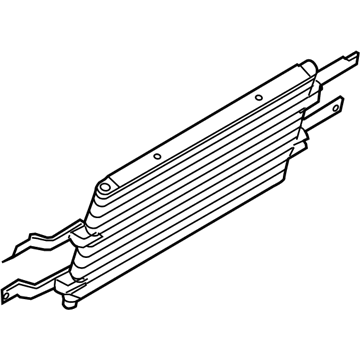
Ford F-250 Super Duty Transmission Cooler Part Number: 7C3Z-7A095-B
$171.68 MSRP: $249.90You Save: $78.22 (32%)Ships in 1-2 Business Days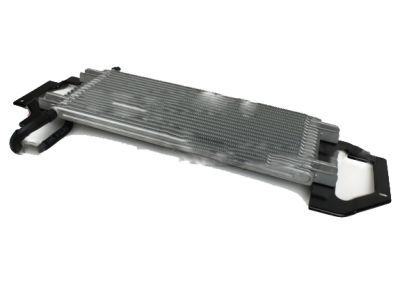
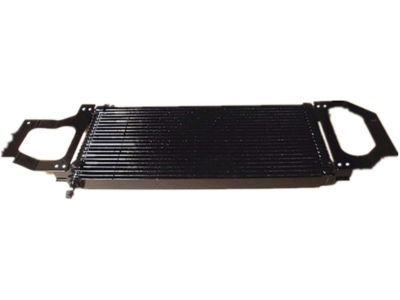
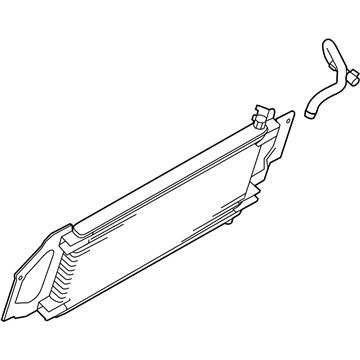
Ford F-250 Super Duty Transmission Cooler Part Number: 9C3Z-7A095-A
$204.91 MSRP: $300.90You Save: $95.99 (32%)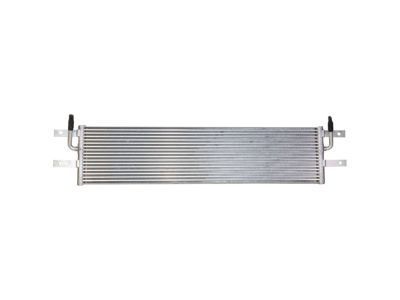
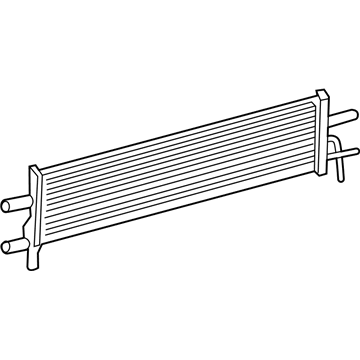
Ford F-250 Super Duty Transmission Cooler Part Number: HC3Z-7A095-A
$217.92 MSRP: $320.00You Save: $102.08 (32%)Ships in 1 Business Day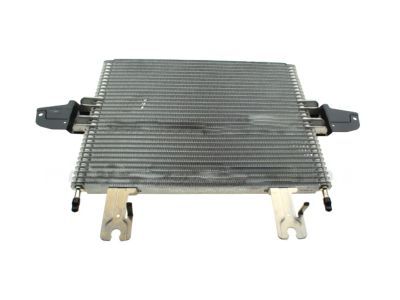
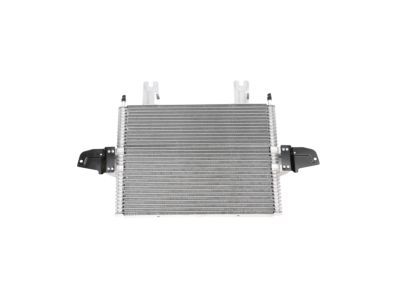
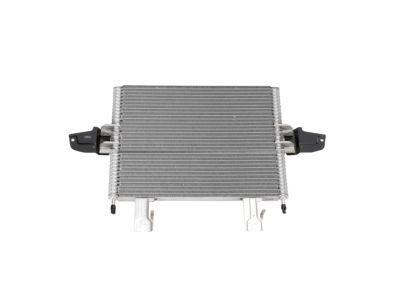
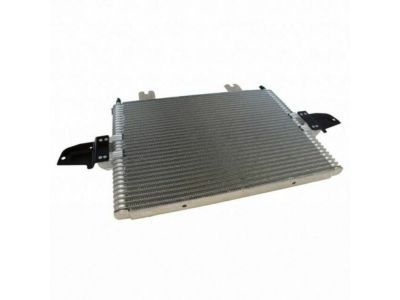
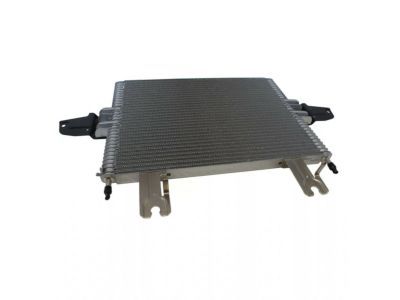
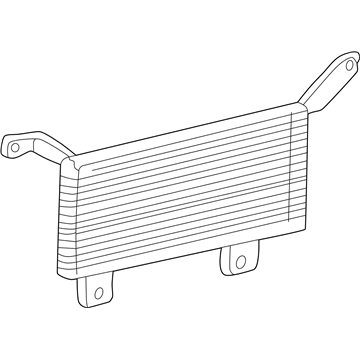
Ford F-250 Super Duty Transmission Cooler Part Number: 5C3Z-7A095-B
$327.63 MSRP: $481.10You Save: $153.47 (32%)Ships in 1-2 Business Days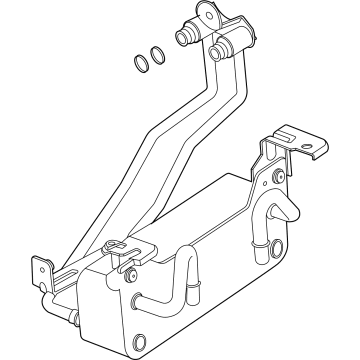
Ford F-250 Super Duty Oil Cooler Assembly Part Number: PC3Z-7869-E
$234.95 MSRP: $345.00You Save: $110.05 (32%)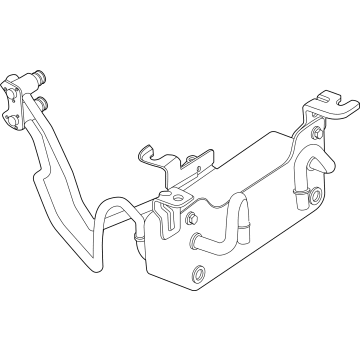
Ford F-250 Super Duty Oil Cooler Assembly Part Number: PC3Z-7869-F
$124.81 MSRP: $181.67You Save: $56.86 (32%)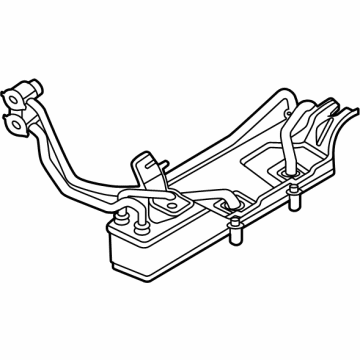
Ford F-250 Super Duty Transmission Cooler Part Number: LC3Z-7869-B
$213.38 MSRP: $313.33You Save: $99.95 (32%)Ships in 1-2 Business Days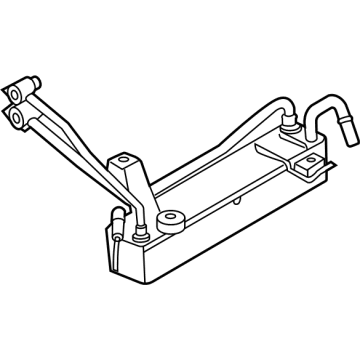
Ford F-250 Super Duty Transmission Cooler Part Number: LC3Z-7869-A
$214.52 MSRP: $315.00You Save: $100.48 (32%)Ships in 1-3 Business Days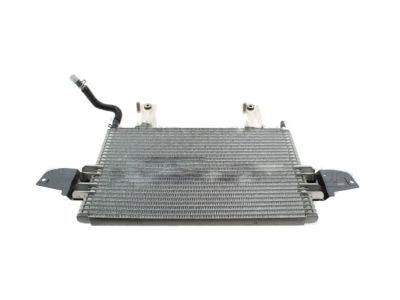
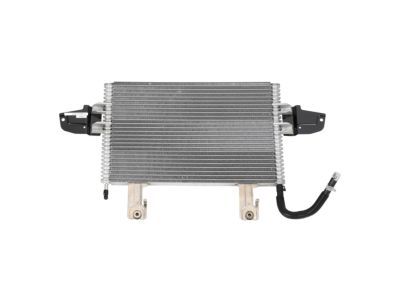
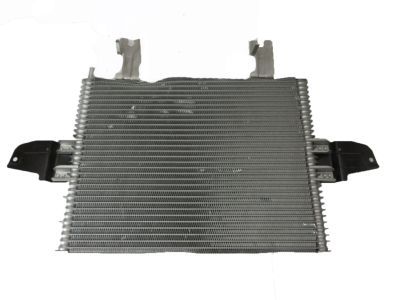
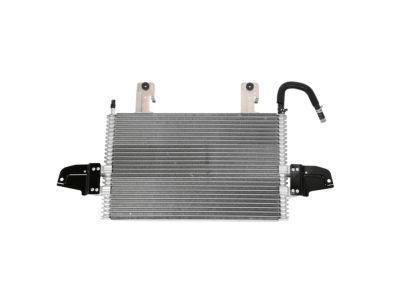
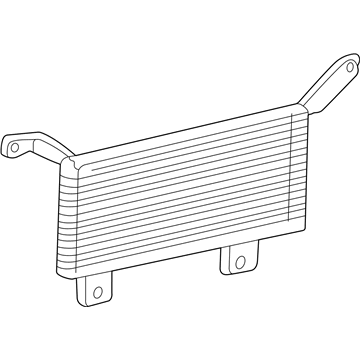
Ford F-250 Super Duty Transmission Cooler Part Number: 5C3Z-7A095-CA
$334.83 MSRP: $491.67You Save: $156.84 (32%)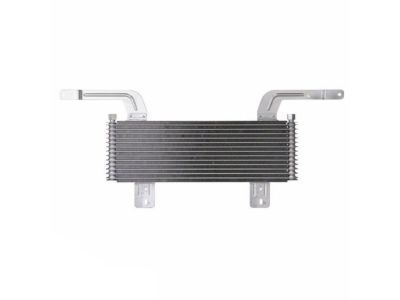
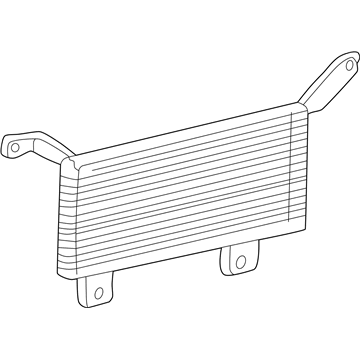
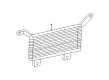
Ford F-250 Super Duty Transmission Cooler Part Number: XC3Z-7A095-CA
Ford F-250 Super Duty Transmission Cooler Part Number: 5C3Z-7A095-AC
Ford F-250 Super Duty Transmission Oil Cooler
OEM Transmission Oil Cooler boasts unmatched quality. Each part goes through full quality checks. They adhere to Ford's official factory standards. These steps remove flaws and inconsistencies. So you can get Transmission Oil Cooler with long life and a perfect fit. Come to our website and find genuine Ford F-250 Super Duty parts. We keep a wide inventory of OEM F-250 Super Duty parts at the highly affordable prices. It's easy to search, compare, and pick what you need. You'll love the clear info and simple checkout. We offer top-rated customer service, and we reply fast. We also ship promptly to ensure your order arrives on time.
Ford F-250 Super Duty Transmission Oil Cooler Parts and Q&A
- Q:How to remove and replace the Auxiliary Transmission Oil Cooler on Ford F-250 Super Duty?A:Removal and replacement of the auxiliary transmission (Oil-To-Air, OTA) fluid cooler is typically carried out by creating access to the cooler and working around nearby components, and the exact parts moved depend on whether the vehicle is gasoline or diesel powered. On gasoline engines the hood release cable clip is disconnected, the power-steering cooler bolts are removed and the cooler is positioned aside, with the A/C condenser sometimes moved forward for access without disconnecting A/C lines; on diesel engines the fuel cooler bolt is removed and the cooler is set aside, clamps are loosened and both upper and lower charge-air cooler (CAC) hoses are disconnected before the CAC bolts are removed. In all cases the OTA transmission hoses are disconnected and the cooler is unbolted, after which the transmission fluid cooler tube is separated from the OTA cooler; for early builds the tube is reattached and tightened to 40 Nm (30 lb-ft), while on late builds the transmission cooler hose is used instead. The OTA cooler is then positioned into its mounts and the mounting bolts are tightened to 8 Nm (71 lb-in) before the OTA hoses are reconnected. For gasoline vehicles the A/C condenser is seated into the lower brackets and bolted at 8 Nm (71 lb-in), and the hood release cable clip is reconnected to the power-steering cooler with those bolts tightened to 11 Nm (97 lb-in); for diesel vehicles the CAC is installed and its bolts are tightened to 15 Nm (133 lb-in), with the lower and upper CAC hose clamps tightened to 12 Nm (106 lb-in). Finally the fuel cooler is positioned and its bolt tightened to 9 Nm (80 lb-in) for all vehicles, the transmission fluid is replenished, and the system is checked for leaks.
- Q:How to service and repair the auxiliary Transmission Oil Cooler on Ford F-250 Super Duty?A:To service and repair the auxiliary transmission fluid cooler, first position the vehicle in NEUTRAL on a hoist. Remove the four upper grille screws, lower retaining clips, and the grille. Next, take out the left-hand (LH) and right-hand (RH) upper auxiliary transmission fluid cooler retaining bolts, and disconnect the LH and RH lower splash shield pushpins along with the four lower splash shield pushpins. If equipped, remove the six bolts to take off the lower bumper filler and the power steering cooler bolts, positioning the cooler aside. Disconnect the LH and RH auxiliary transmission fluid cooler oil-to-air (OTA) hoses, then remove the LH and RH lower A/C condenser brackets. Lift the auxiliary transmission fluid OTA cooler off the lower frame and move it toward the front of the vehicle to clear the lower brackets from the frame, then remove the cooler bolts. For installation, move the A/C condenser forward to install the auxiliary transmission fluid OTA cooler and secure it with bolts tightened to 8 Nm (71 inch lbs.). Reinstall the RH and LH lower A/C condenser brackets, also tightened to 8 Nm (71 inch lbs.), and connect the RH and LH auxiliary transmission fluid OTA cooler hoses. Reattach the RH and LH lower splash shield pushpins, and if equipped, install the power steering cooler and lower bumper filler with six bolts tightened to 80 Nm (59 ft. lbs.). Install the four lower splash shield pushpins, followed by the RH and LH lower splash shield pushpins. Secure the RH and LH upper auxiliary transmission fluid OTA cooler bolts, each tightened to 8 Nm (71 inch lbs.), then reinstall the grille into the lower retaining clips and secure it with the four upper screws. Finally, use only MERCON(R) SP Transmission Fluid to fill the transmission, as mixing with MERCON(R) or MERCON(R) V may cause damage.
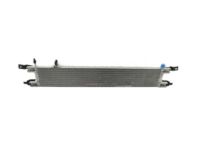
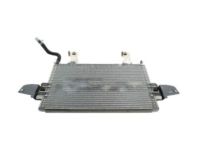
Related Ford F-250 Super Duty Parts
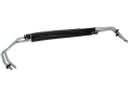 Ford F-250 Super Duty Automatic Transmission Oil Cooler Line
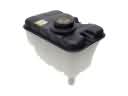 Ford F-250 Super Duty Coolant Reservoir
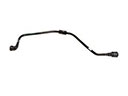 Ford F-250 Super Duty Coolant Reservoir Hose
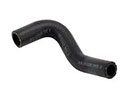 Ford F-250 Super Duty Cooling Hose
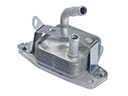 Ford F-250 Super Duty Engine Oil Cooler
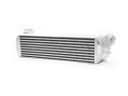 Ford F-250 Super Duty Intercooler
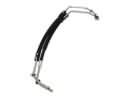 Ford F-250 Super Duty Oil Cooler Hose
 Ford F-250 Super Duty Power Steering Cooler
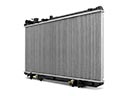 Ford F-250 Super Duty Radiator
 Ford F-250 Super Duty Radiator Hose
 Ford F-250 Super Duty Thermostat Housing
 Ford F-250 Super Duty Water Hose