FordParts
My Garage
My Account
Cart
OEM Ford Taurus X Windshield
Glass Windshield- Select Vehicle by Model
- Select Vehicle by VIN
Select Vehicle by Model
orMake
Model
Year
Select Vehicle by VIN
For the most accurate results, select vehicle by your VIN (Vehicle Identification Number).
1 Windshield found

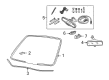
Ford Taurus X Windshield, Front Part Number: 8A4Z-7403100-A
Ford Taurus X Windshield
OEM Windshield boasts unmatched quality. Each part goes through full quality checks. They adhere to Ford's official factory standards. These steps remove flaws and inconsistencies. So you can get Windshield with long life and a perfect fit. Come to our website and find genuine Ford Taurus X parts. We keep a wide inventory of OEM Taurus X parts at the highly affordable prices. It's easy to search, compare, and pick what you need. You'll love the clear info and simple checkout. We offer top-rated customer service, and we reply fast. We also ship promptly to ensure your order arrives on time.
Ford Taurus X Windshield Parts and Q&A
- Q: How to reseal a windshield on Ford Taurus X?A:You should begin the windshield resealing process by removing the cowl panel grille then setting aside both the left-hand (LH) and right-hand (RH) Weather Strips. Start by removing the trim panels that cover the A-pillars from both sides before proceeding to remove sun visors on the left-hand and right-hand sides. Vehicle owners with the overhead console and LH and RH assist handles should remove those items before windshield resealing. Lower the front headliner before supporting it with adequate material. Use glass cleaner to clean all inner and outer surfaces on the windshield glass. Cut the applicator tip of urethane adhesive to 6 mm (0.24 in). Use a high-ratio caulk gun with electric or battery functionality to distribute a continuous bead of urethane adhesive properly. Use the adhesive to cover the top and lateral parts of the existing urethane from inside the car and to cover the bottom area from outside. Air and water leakage tests must wait for one hour after urethane adhesive application to determine effective adhesion. Check the windshield seal for leaks after curing while performing any required adhesive additions. After repositioning the front headliner, reinstall the LH and RH assist handles, overhead console (when present) along with LH and RH sun visors before installing the LH and RH A-pillar trim panels, LH and RH weather strips and concluding with the cowl panel grille. Use glass cleaner to clean both interior and exterior surfaces of the windshield glass once more.

Related Ford Taurus X Parts
 Ford Taurus X Car Mirror
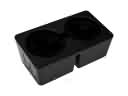 Ford Taurus X Cup Holder
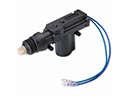 Ford Taurus X Door Lock Actuator
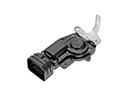 Ford Taurus X Door Lock Actuator Motor
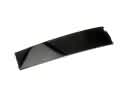 Ford Taurus X Door Moldings
 Ford Taurus X Fuel Filler Housing
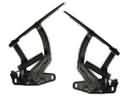 Ford Taurus X Hood Hinge
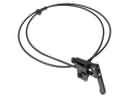 Ford Taurus X Hood Release Cable
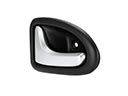 Ford Taurus X Interior Door Handle
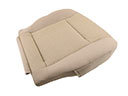 Ford Taurus X Seat Cushion
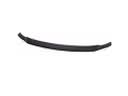 Ford Taurus X Spoiler
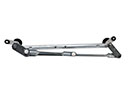 Ford Taurus X Wiper Pivot