FordParts
My Garage
My Account
Cart
Rear Propeller Shaft
2005 Ford E-250 Drive Shaft, Slip Yoke
Currently shopping for
2005 Ford E-250
Change VehicleVehicle Options
BaseVehicle Options
BaseCategories Close X
Currently selected
Driveline & Axles
Other Categories
A/C & Heating
Air & Fuel Delivery
Belts & Cooling
Body & Hardware
Brakes
Charging & Starting
Electrical
Emission Control & Exhaust
Engine
Headlights & Lighting
Interior & Exterior Trim
Maintenance & Lubrication
Steering
Suspension
Transmission
How to use OE catalog
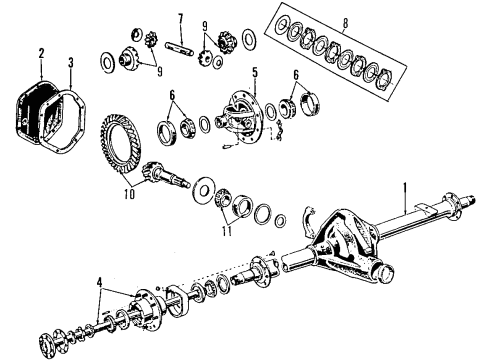
2 diagrams found for the vehicle you selected.Select your vehicle options to narrow down results.
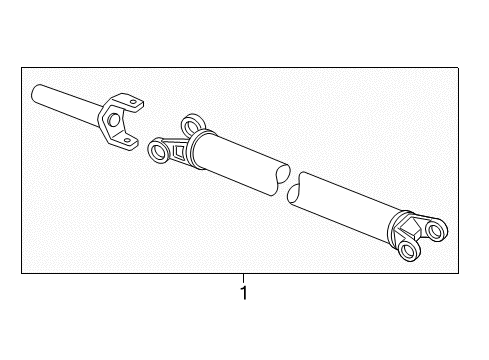
- 1.Rear Axle - Propeller Shaft
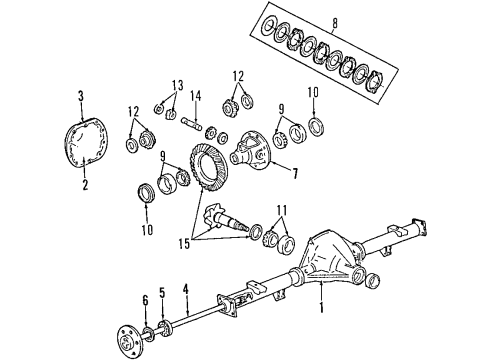
- 2.Rear Axle - Propeller Shaft
Sort by:
Ref No.
Ref No.
Part No. & Part Description
Price & Qty.
Part No. &
Part Description
Part Description
- 1
- 2
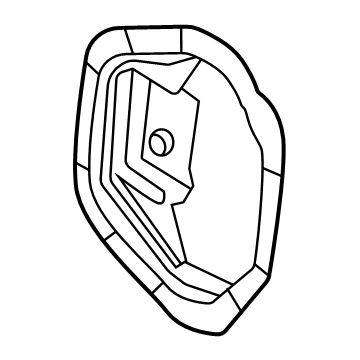 MSRP: $64.50 Your Price: $45.091
- 3
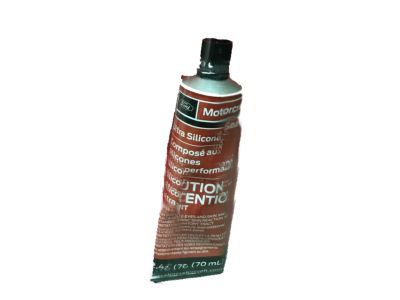
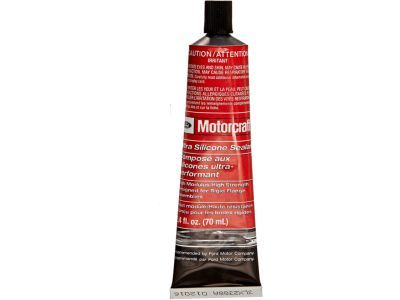 MSRP: $10.85 Your Price: $7.01
- 4
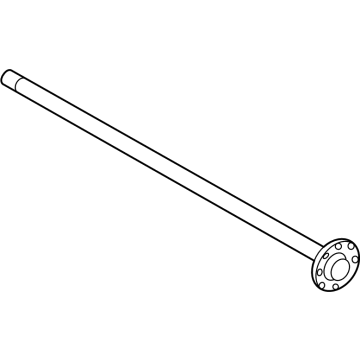 YC2Z-4234-AA
Shaft Assembly - Rear AxleAxle Shafts- Part Notes: E250-350 Vans; 10.50" Ring Gear; Non-Locking; Axle Model 70-2U; Right
MSRP: $297.00 Your Price: $204.041 - 4
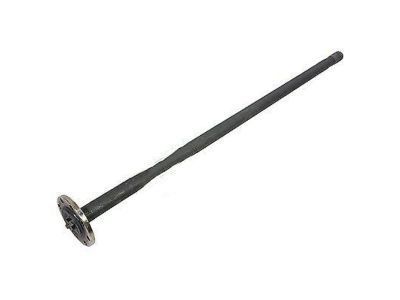
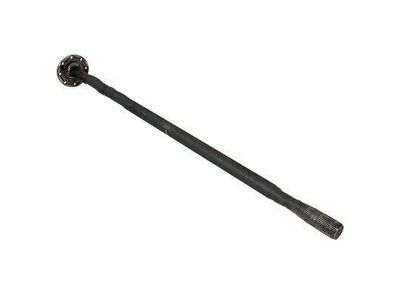 YC2Z-4234-AB
Shaft Assembly - Rear AxleAxle Shafts- Part Notes: E250-350 Vans; 10.50" Ring Gear; Locking; Axle Model 70-2U; Left
MSRP: $302.50 Your Price: $206.001
- 5
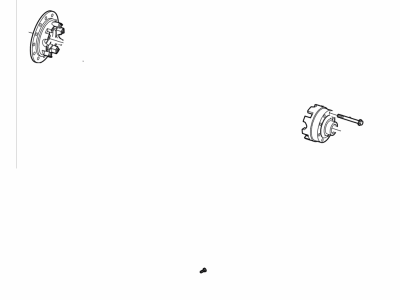 F7UZ-4204-AB
Case - DifferentialDifferential Case- Part Notes: E250-350 Vans; 10.50" Ring Gear; Locking
MSRP: $458.62 Your Price: $338.341 - 5
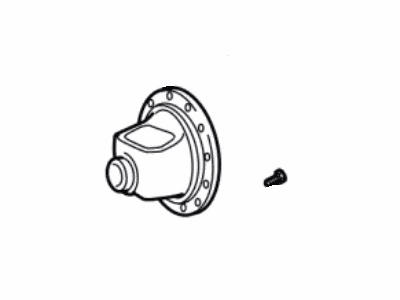 YC2Z-4204-AA
Case - DifferentialDifferential Case- Part Notes: E250-350 Vans; 10.50" Ring Gear; Non-Locking
MSRP: $346.92 Your Price: $241.291
- 6
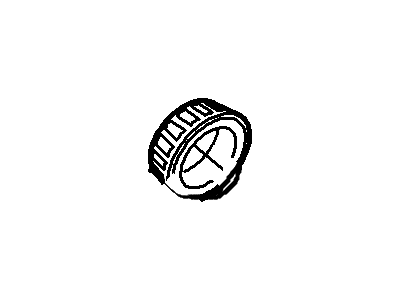
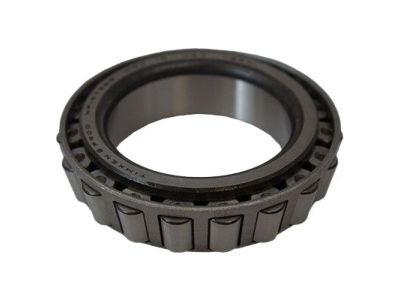 MSRP: $73.83 Your Price: $49.311
 - 6
 MSRP: $28.02 Your Price: $19.251
- 7
- 7
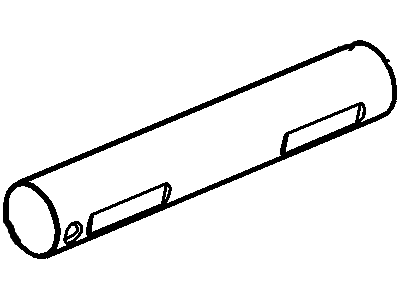 D2TZ-4211-A
Shaft - Differential PinionPinion Shaft- Part Notes: E250-350 Vans; 10.50" Ring Gear; Non-Locking
MSRP: $44.73 Your Price: $30.731
- 8
- 9
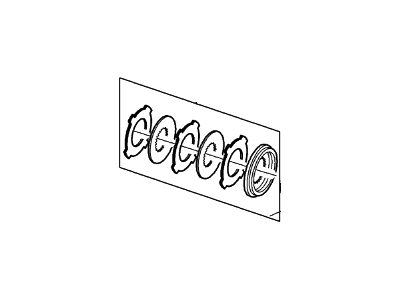 MSRP: $646.80 Your Price: $440.471
 - 9
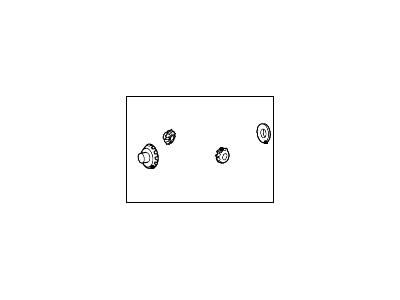 MSRP: $331.83 Your Price: $213.041
- 10
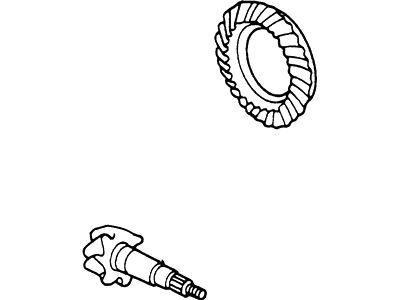 1C2Z-4209-FA
Gear And Pinion Assembly - DrivingRing & Pinion- Part Notes: E250-350 Vans; 10.50" Ring Gear; 4.10 Ratio
MSRP: $573.85 Your Price: $423.361 - 10YC2Z-4209-BA
Gear And Pinion Assembly - DrivingRing & Pinion- Part Notes: E250-350 Vans; 10.50" Ring Gear; 4.56 Ratio
MSRP: $682.00 Your Price: $471.231
- 11MSRP: $243.24 Your Price: $167.101
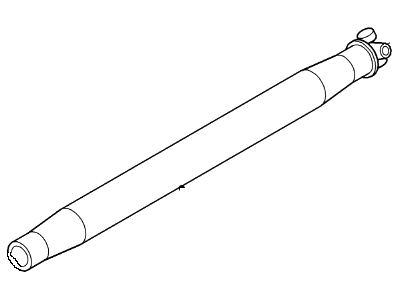
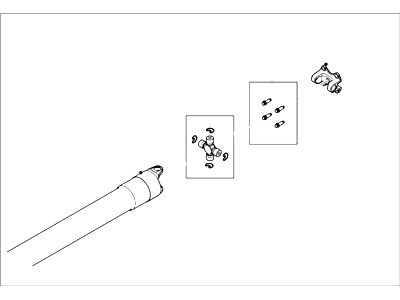 MSRP: $875.38 Your Price: $640.131
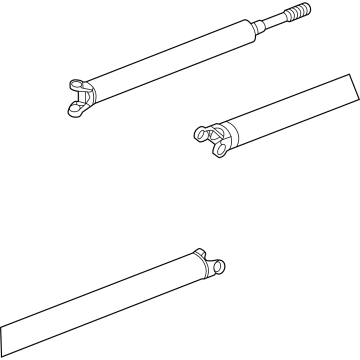 MSRP: $1543.08 Your Price: $1128.381
- MSRP: $1162.62 Your Price: $850.161
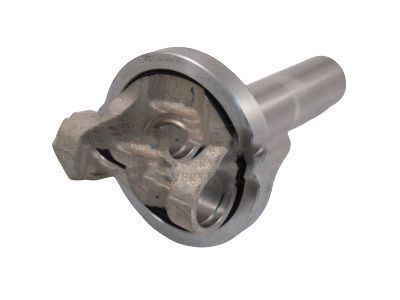
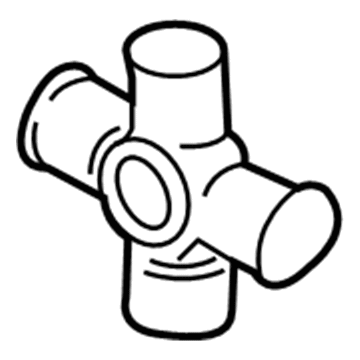
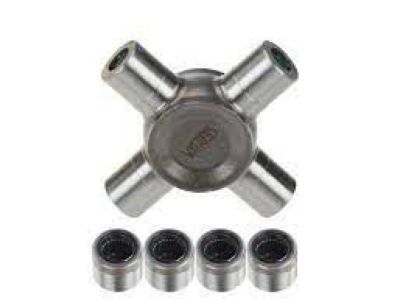 MSRP: $53.83 Your Price: $36.411
OEM 2005 Ford E-250 Parts for Rear Propeller Shaft
Genuine OEM 2005 Ford E-250 parts are made using the original design, the high standards, in the Ford official factories, and all of these ensure that they always fit perfectly and easily. FordPartsDeal.com is a trusted source for finding these authentic OEM Rear Propeller Shaft parts at very competitive prices. Our professional team is here to help you choose the right 2005 Ford E-250 Drive Shaft, Slip Yoke, and our fast delivery options ensure that your parts are always delivered quickly.
Drive Shaft Installation and Repair Tips for 2005 Ford E-250
- Q:How to Service and Repair a Three-Piece Rear Drive Shaft on 2005 Ford E-250?A:To service driveshaft, raise and support vehicle, mark and disconnect driveshaft at axle and coupling shafts, remove bolts and U-joint retainers while supporting with wire. Remove center support and driveshafts, clean and inspect components and insulators, replace worn parts, then reinstall and tighten with new retainers and bolts.