FordParts
My Garage
My Account
Cart
Glass - Door
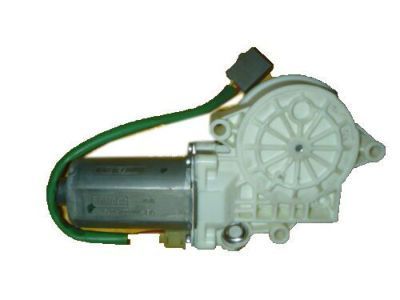
2009 Ford Explorer Sport Trac Window Motor, Window Regulator, Window Run
Currently shopping for
2009 Ford Explorer Sport Trac
Change VehicleCategories Close X
Currently selected
Body & Hardware
- Back Glass
- Back Panel
- Bumper & Components - Front
- Bumper & Components - Rear
- Cab Cowl
- Carrier & Components - Spare Tire
- Center Console
- Center Pillar
- Cluster & Switches
- Dash Panel Components
- Door & Components
- Ducts
- Fender & Components
- Frame & Components
- Front Door
- Front Door - Lock & Hardware
- Front Floor
- Front Seat Components
- Glass - Door
- Glass - Windshield
- Glass & Hardware - Back Glass
- Glove Box
- Grille & Components
- Headliner
- Hinge Pillar
- Hood & Components
- Information Labels
- Instrument Panel Components
- Lock Pillar
- Mirrors
- Outside Mirrors
- Overhead Console
- Pick Up Box Components
- Pick Up Box Cover
- Radiator Support
- Rear Door
- Rear Door - Lock & Hardware
- Rear Floor
- Rear Seat Components
- Reveal Moldings
- Roof & Components
- Roof Rack
- Running Board
- Seat Belt
- Sound System
- Structural Components & Rails
- Sunroof
- Tail Gate
- Tonneau Cover
- Tow Hook & Hitch
- Uniside
- Wiper & Washer Components
Other Categories
A/C & Heating
Air & Fuel Delivery
Belts & Cooling
Brakes
Charging & Starting
Driveline & Axles
Electrical
Emission Control & Exhaust
Engine
Headlights & Lighting
Interior & Exterior Trim
Maintenance & Lubrication
Steering
Suspension
Transmission
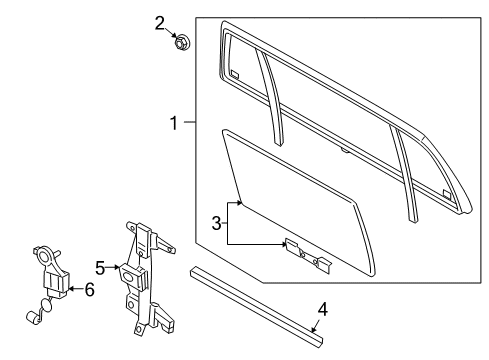
Categories Close X
How to use OE catalog
2 diagrams found for the vehicle you selected.Select your vehicle options to narrow down results.
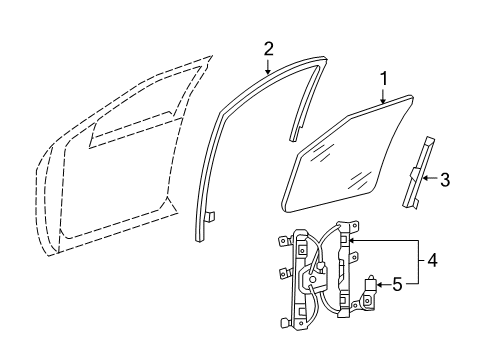
- 1.Front Door - Glass & Hardware
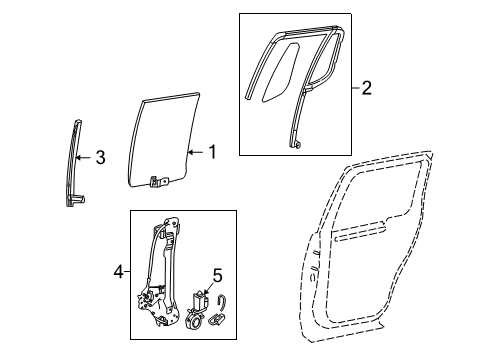
- 2.Rear Door - Glass & Hardware
Sort by:
Ref No.
Ref No.
Part No. & Part Description
Price & Qty.
Part No. &
Part Description
Part Description
- 1
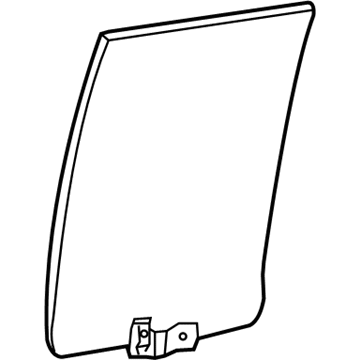
- 1
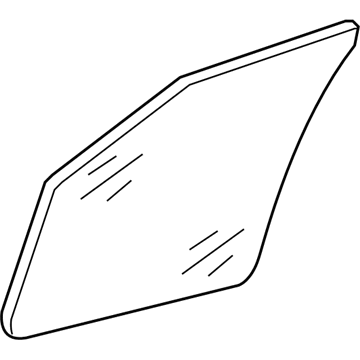 MSRP: $403.28 Your Price: $274.64
 - 1
- 1MSRP: $471.42 Your Price: $321.031
- 1
- 1
- 2
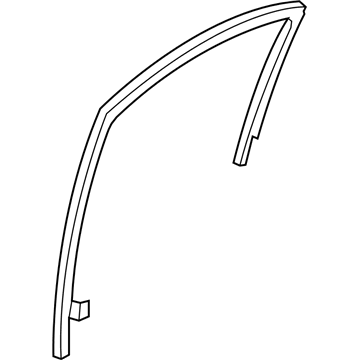
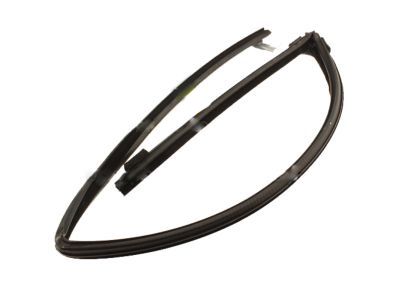
- 2
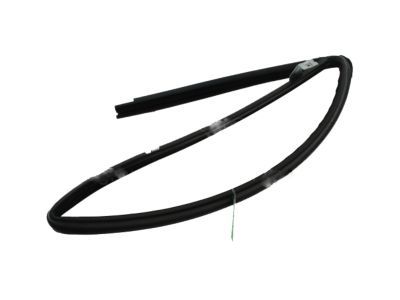 MSRP: $237.13 Your Price: $162.911
- 2
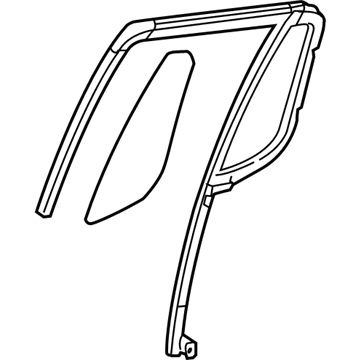 MSRP: $803.20 Your Price: $542.16
 - 2
- 2
- 2MSRP: $803.20 Your Price: $506.021
- 3
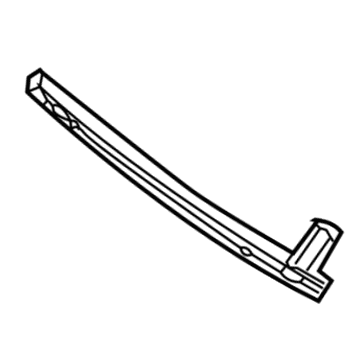
- 3
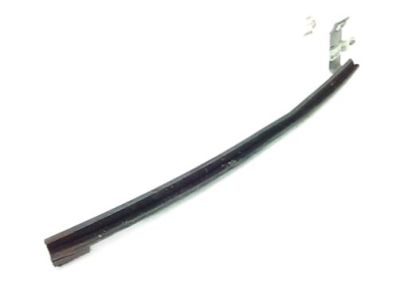
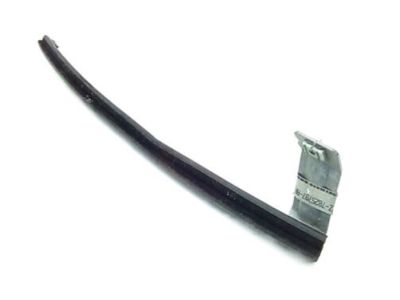 MSRP: $18.75 Your Price: $13.781
 - 3
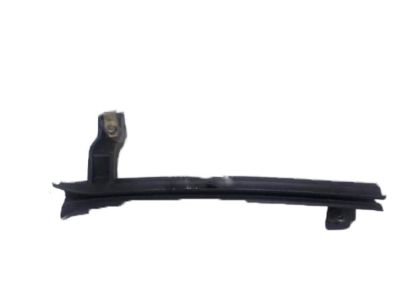 MSRP: $18.75 Your Price: $13.781
 - 3
- 4
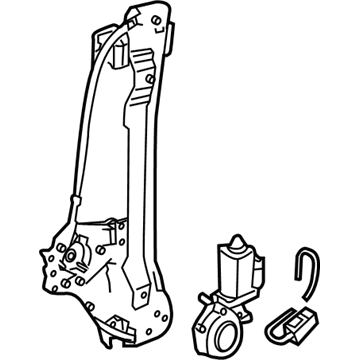
- 4
- 4
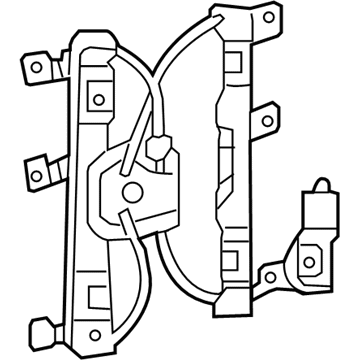
- 5
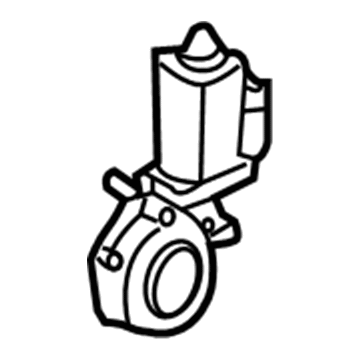
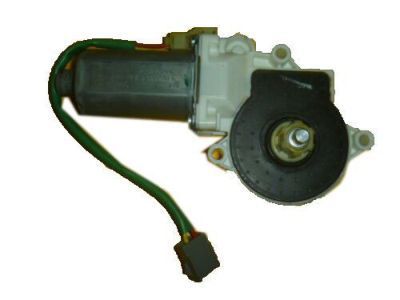
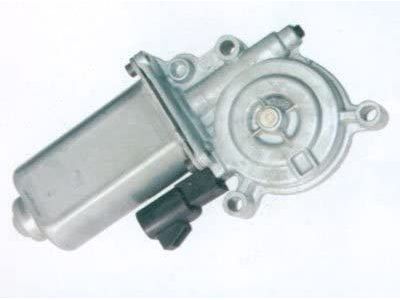
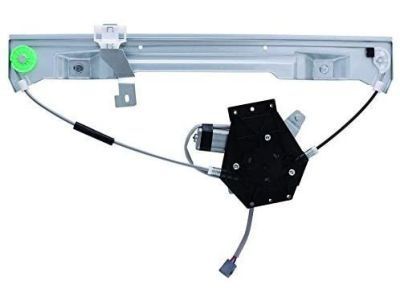
- 5MSRP: $64.65 Your Price: $46.731
- 5
 MSRP: $59.46 Your Price: $43.701
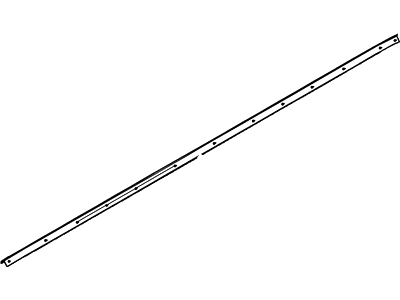
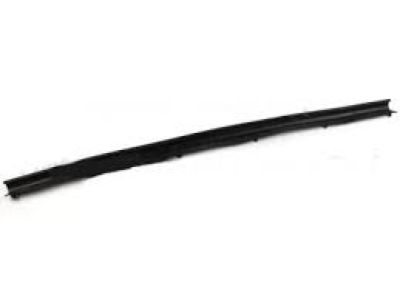 7A2Z-78253A44-A
Weatherstrip - Door - Lower- Part Notes: Weatherstrip
- Location: Passenger Side
- Production Date: 01/2006-10/2010
- Callout Name: <253A44
- Replaced By: 8A2Z-78253A44-A
MSRP: $66.75 Your Price: $46.66
OEM 2009 Ford Explorer Sport Trac Parts for Glass - Door
Genuine OEM 2009 Ford Explorer Sport Trac parts are made using the original design, the high standards, in the Ford official factories, and all of these ensure that they always fit perfectly and easily. FordPartsDeal.com is a trusted source for finding these authentic OEM Glass - Door parts at very competitive prices. Our professional team is here to help you choose the right 2009 Ford Explorer Sport Trac Window Motor, Window Regulator, Window Run, and our fast delivery options ensure that your parts are always delivered quickly.
Window Motor, Window Regulator Installation and Repair Tips for 2009 Ford Explorer Sport Trac
- Q:How to service and repair the rear power window motor, and why is it essential to initialize it on 2009 Ford Explorer Sport Trac?A:To service the rear window motor, initialize it after any repairs, including motor removal or installation of new components. Remove the rear window glass regulator and the three motor bolts, tightening them to 4 Nm (35 lb-in) upon reinstallation. Finally, remember to initialize the motor.
- Q:How to service and repair the rear window regulator on 2009 Ford Explorer Sport Trac?A:To service the rear window regulator, remove the cab rear panel and insulator. Take out the window regulator cover bolts and the cover-to-motor bolt. Remove the window regulator cover and mounting nuts, then the window regulator-to-window bolts. Disconnect the electrical connector and remove the regulator. Reverse the procedure for installation.