FordParts
My Garage
My Account
Cart
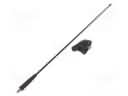
OEM 2001 Mercury Cougar Antenna Cable
Radio Antenna Cable- Select Vehicle by Model
- Select Vehicle by VIN
Select Vehicle by Model
orMake
Model
Year
Select Vehicle by VIN
For the most accurate results, select vehicle by your VIN (Vehicle Identification Number).
1 Antenna Cable found

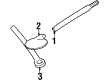
2001 Mercury Cougar Antenna Cable Part Number: 98BZ-18812-MA
Product Specifications- Other Name: Cable Assembly - Extension; Cable
- Manufacturer Note: In,line connector to antenna
- Base No.: 18812
- Item Weight: 0.40 Pounds
- Condition: New
- Fitment Type: Direct Replacement
- SKU: 98BZ-18812-MA
- Warranty: This genuine part is guaranteed by Ford's factory warranty.
2001 Mercury Cougar Antenna Cable
If you're seeking quality and affordability, look no further than our extensive inventory of genuine 2001 Mercury Cougar Antenna Cable available at FordPartsDeal.com. You can confidently purchase our OEM 2001 Mercury Cougar Antenna Cable as they are supported by the manufacturer's warranty and our hassle-free return policy, alongside the benefit of our fast delivery service.
2001 Mercury Cougar Antenna Cable Parts Q&A
- Q: How to service and repair the antenna cable on right-hand drive on 2001 Mercury Cougar?A: Service and repair of right-hand drive antenna cables starts with removing the overhead console and message center then proceeding to the antenna cable retaining screw. Start by detaching the antenna base together with its gasket from the roof before you remove right-hand sun visor and its dip through the locking pin release followed by sun visor clip removal. Lower the right-hand side of the headliner after you take off both the right-hand A-pillar trim panel and scuff panel trim. Start by unclipping the antenna cable from the retaining clip followed by the retention clips on both the A-pillar and proceed to remove the right-hand cowl side trim panel. Start by disconnecting the electrical connector of the liftgate release switch then remove the cowl side trim panel before continuing with disconnecting the antenna cable electrical connector and detaching the antenna cable from the wiring harness by removing its retaining clip. Start by removing the instrument panel lower panel before detaching the wiring harness clip from the relay mounting bracket then disconnecting the relays and electrical connectors from the relay mounting bracket. Relay mounting bracket detachment begins when you eliminate the two bolts from the right-hand vent pipe while placing the bracket beside the mounting area. You must remove the antenna cable through the retaining clip after shifting the sound deadening panel for installation. When reinstalling items maintain the opposite sequence of disassembly.
Related 2001 Mercury Cougar Parts
 2001 Mercury Cougar Antenna
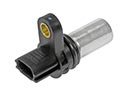 2001 Mercury Cougar Camshaft Position Sensor
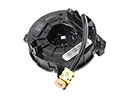 2001 Mercury Cougar Clock Spring
 2001 Mercury Cougar Dome Light
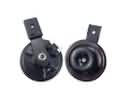 2001 Mercury Cougar Horn
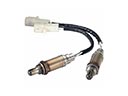 2001 Mercury Cougar Oxygen Sensors
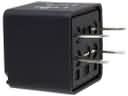 2001 Mercury Cougar Relay
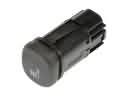 2001 Mercury Cougar Seat Heater Switch
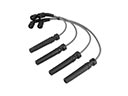 2001 Mercury Cougar Spark Plug Wire
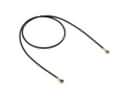 2001 Mercury Cougar Speedometer Cable
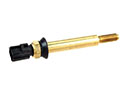 2001 Mercury Cougar Temperature Sender
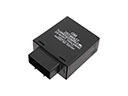 2001 Mercury Cougar Turn Signal Flasher