My Garage
Cart

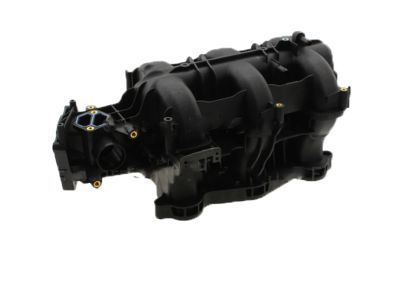
OEM 2003 Ford Explorer Sport Trac Intake Manifold

Engine Intake Manifold
  • Select Vehicle by Model
  • Select Vehicle by VIN
Select Vehicle by Model
Make
Model
Year
or
Select Vehicle by VIN
For the most accurate results, select vehicle by your VIN (Vehicle Identification Number).

1 Intake Manifold found

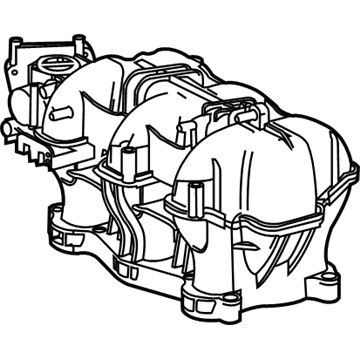
  • 2003 Ford Explorer Sport Trac Intake Manifold Diagram - 4L5Z-9424-A
    View related parts

    2003 Ford Explorer Sport Trac Intake Manifold Part Number: 4L5Z-9424-A

    $377.96 MSRP: $555.00
    You Save: $177.04 (32%)
    Product Specifications
    • Other Name: Kit - Manifold Hardware; Engine Intake Manifold
    • Replaces: 1L5Z-9424-DA, 4L5Z-9424-BA
    • Base No.: 9424
    • Item Weight: 12.50 Pounds
    • Item Dimensions: 23.8 x 12.5 x 11.5 inches
    • Condition: New
    • Fitment Type: Direct Replacement
    • SKU: 4L5Z-9424-A
    • Warranty: This genuine part is guaranteed by Ford's factory warranty.
    More Info
    Fits the following 2003 Ford Explorer Sport Trac Submodels:
    • Adrenalin, Base, XL, XLS, XLT | 6 Cyl 4.0 L GAS

2003 Ford Explorer Sport Trac Intake Manifold

If you're seeking quality and affordability, look no further than our extensive inventory of genuine 2003 Ford Explorer Sport Trac Intake Manifold available at FordPartsDeal.com. You can confidently purchase our OEM 2003 Ford Explorer Sport Trac Intake Manifold as they are supported by the manufacturer's warranty and our hassle-free return policy, alongside the benefit of our fast delivery service.

2003 Ford Explorer Sport Trac Intake Manifold Parts Q&A

  • Q: How to service and repair the intake manifold on 2003 Ford Explorer Sport Trac?
    A: Service and repair operations on the intake manifold must start with disconnecting the battery ground cable. Start the process by removing the bolts which secure the shield followed by unfastening the air cleaner outlet pipe while detaching its tube from the Mass Air Flow sensor wiring. Advanced the clamps while extracting the pipe. Service operations should start with disconnecting the Idle Air Control (IAC) valve electrical connector and the Throttle Position Sensor (TPS) electrical connector and the Exhaust Gas Recirculation (EGR) valve vacuum hose. .gdx engine speed cables must be detached from the throttle body assembly along with bracket support before placing them out of the way. Detach the exhaust manifold-to-EGR valve tube by loosening its fitting before disconnecting the EGR valve vacuum regulator electrical connection and its vacuum lines. The brake booster vacuum hose must be disconnected by unlocking the clamp. Right-hand spark plug wires must be detached from the coil carefully by twisting spark plug wire boots in an upward direction as a protective measure while marking their positions in advance. Start by removing the wiring harness bracket retainer then place the wiring harness to the side before proceeding to the accelerator cable routing clip pushpin followed by the wiring harness pushpin. First disconnect the vacuum hoses and then remove all bolts and the bolt that secures the coil with its bracket. Unscrew the nut and detach the Powertrain Control Module (PCM) electrical connector and follow it with removal of ground wires before placing the wiring harness to the side. The electrical connector retainer needs to be detached before removing intake manifold bolts which makes it possible to lift the intake manifold. The heated PCV fittings together with the heated PCV hose retainers require removal before the intake manifold can be stripped. Follow the reverse order of removal to install the affected components.