My Garage
Cart

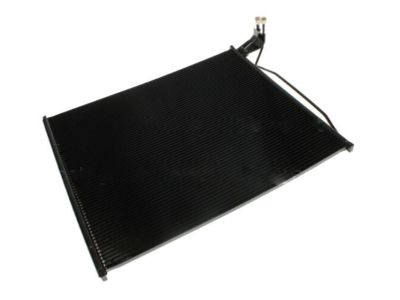
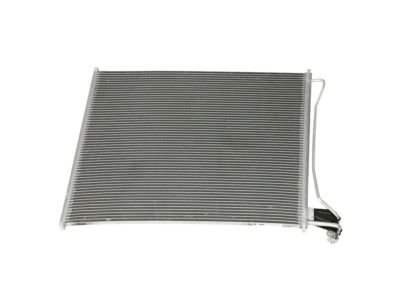
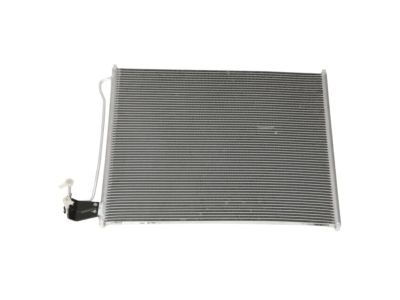
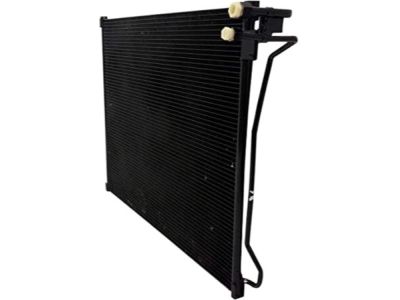
OEM 2004 Ford E-150 A/C Condenser

Air Conditioning Condenser
  • Select Vehicle by Model
  • Select Vehicle by VIN
Select Vehicle by Model
Make
Model
Year
or
Select Vehicle by VIN
For the most accurate results, select vehicle by your VIN (Vehicle Identification Number).

1 A/C Condenser found

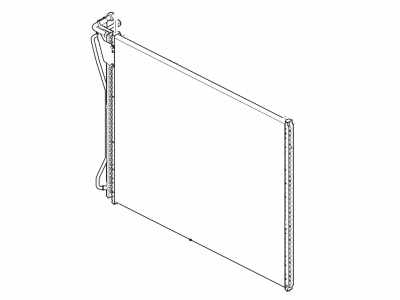
  • 2004 Ford E-150 A/C Condenser Diagram - 6C2Z-19712-BA
    View related parts
    Product Specifications
    • Other Name: Kit - Air Conditioning Condenser; A/C Condenser
    • Replaces: 6C2Z-19712-AA, YJ-470
    • Base No.: 19712
    • Item Weight: 15.20 Pounds
    • Item Dimensions: 38.3 x 6.9 x 26.6 inches
    • Condition: New
    • Fitment Type: Direct Replacement
    • SKU: 6C2Z-19712-BA
    • Warranty: This genuine part is guaranteed by Ford's factory warranty.
    More Info
    Fits the following 2004 Ford E-150 Submodels:
    • Base, Chateau, XL, XLT | 6 Cyl 4.2 L GAS, 8 Cyl 4.6 L GAS, 8 Cyl 5.4 L GAS

2004 Ford E-150 A/C Condenser

If you're seeking quality and affordability, look no further than our extensive inventory of genuine 2004 Ford E-150 A/C Condenser available at FordPartsDeal.com. You can confidently purchase our OEM 2004 Ford E-150 A/C Condenser as they are supported by the manufacturer's warranty and our hassle-free return policy, alongside the benefit of our fast delivery service.

2004 Ford E-150 A/C Condenser Parts Q&A

  • Q: How to service and repair the A/C Condenser core on 2004 Ford E-150?
    A: Use the HVAC condenser core lubrication process with the specified Refrigerant Compressor Oil F73Z-19577-AA (Motorcraft YN-9-A) exclusively for O-ring seal lubrication but completely avoid this oil as AC compressor lubricant. The correct lubricating oil for AC compressor maintenance should be PAG Refrigerant Compressor Oil F7AZ-19589-DA (Motorcraft YN-12-C) or an equivalent which fulfills Ford specification WSH-M1C231-B. A new suction accumulator does not need replacement unless conclusive signs appear from a failed compressor or damaged suction accumulator. A leak test in the A/C condenser core must come before the removal process begins. Start by regaining refrigerant from the system followed by air cleaner removal and outlet tubes removal before you can take out the air deflector with five retaining pins securing it. Disconnect the refrigerant lines of the condenser core with a wrench on both fitting sides to protect from damages and disconnect both the compressor discharge line and condenser to evaporator tube. Safety is essential at this step to move the radiator backward for access by carefully detaching the bolts from the upper mounting brackets and brackets respectively without damaging the cooling fins. Follow these steps to remove the A/C condenser core by first taking off its brackets and then the core itself keeping away from damaging the cooling fins throughout this operation. The two seals can be removed from the unit while looking at the left-hand seal as the right-hand seal uses a similar design before pulling out eight retaining pins. The installation process begins by reversing the removal steps while installing new O-ring seals which should be supplied with clean PAG oil lubrication followed by the correct amount of clean PAG oil for refrigerant system lubrication.