FordParts
My Garage
My Account
Cart
OEM 2004 Ford Excursion Differential
Front Differential- Select Vehicle by Model
- Select Vehicle by VIN
Select Vehicle by Model
orMake
Model
Year
Select Vehicle by VIN
For the most accurate results, select vehicle by your VIN (Vehicle Identification Number).
4 Differentials found

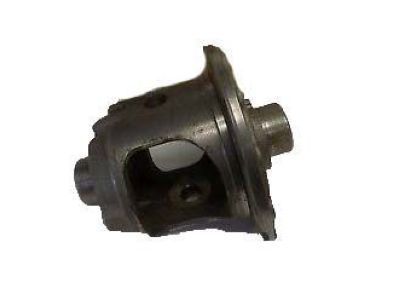
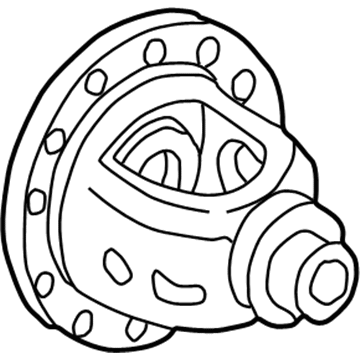
2004 Ford Excursion Differential Case Part Number: F75Z-4204-BA
$135.07 MSRP: $186.85You Save: $51.78 (28%)Ships in 1-2 Business DaysProduct Specifications- Other Name: Case - Differential; Differential
- Base No.: 4204
- Item Weight: 23.50 Pounds
- Item Dimensions: 12.5 x 12.7 x 8.2 inches
- Condition: New
- Fitment Type: Direct Replacement
- SKU: F75Z-4204-BA
- Warranty: This genuine part is guaranteed by Ford's factory warranty.
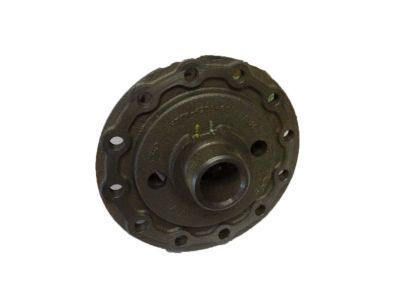
2004 Ford Excursion Differential Assembly Part Number: BC3Z-4026-A
$585.34 MSRP: $800.46You Save: $215.12 (27%)Ships in 1-3 Business DaysProduct Specifications- Other Name: Differential Case; Differential
- Replaces: F81Z-4204-AA
- Base No.: 4026
- Item Weight: 42.60 Pounds
- Condition: New
- Fitment Type: Direct Replacement
- SKU: BC3Z-4026-A
- Warranty: This genuine part is guaranteed by Ford's factory warranty.
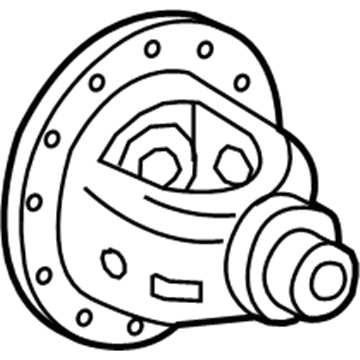
2004 Ford Excursion Differential Case Part Number: F81Z-3204-AA
Product Specifications- Other Name: Kit; Differential; Case
- Manufacturer Note: Case kit, differential
- Item Weight: 15.00 Pounds
- Condition: New
- Fitment Type: Direct Replacement
- SKU: F81Z-3204-AA
- Warranty: This genuine part is guaranteed by Ford's factory warranty.
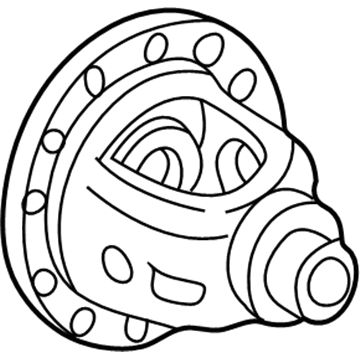
2004 Ford Excursion Ring & Pinion, Front Part Number: E3TZ-3204-D
Product Specifications- Other Name: Housing; Differential Carrier, Front; Ring And Pinion; Differential; Differential Case; Case
- Position: Front
- Item Weight: 13.30 Pounds
- Condition: New
- Fitment Type: Direct Replacement
- SKU: E3TZ-3204-D
- Warranty: This genuine part is guaranteed by Ford's factory warranty.
2004 Ford Excursion Differential
If you're seeking quality and affordability, look no further than our extensive inventory of genuine 2004 Ford Excursion Differential available at FordPartsDeal.com. You can confidently purchase our OEM 2004 Ford Excursion Differential as they are supported by the manufacturer's warranty and our hassle-free return policy, alongside the benefit of our fast delivery service.
2004 Ford Excursion Differential Parts Q&A
- Q: How to service and repair the Dana S135 differential carrier on 2004 Ford Excursion?A: A proper first step to repair the Dana S135 differential carrier is to steam clean the axle before it leads to excessive deterioration from abrasive materials. You must set the parking brake and position wheel chocks before transferring differential lubricant into an appropriate receptacle through the bottom carrier bolt removal. The service and repair of the Dana S135 differential carrier starts by disconnecting the rear anti-lock brake sensor electrical connector followed by indexing and removing the driveshaft. Pinion hex nut disassembly may be necessary. To prevent cracking secure the axle shaft flange directly with no steel tools and keep away from the hub while separating it from the housing because marking this area for upcoming reassembly is vital. Remove the axle shafts after setting aside the two top carrier-to-axle housing retaining bolts that you will need to remember their original positioning and lengths. Position the carrier onto a jack to block it from dropping before removing it from the axle housing by unrattling remaining retaining bolts and achieving a 1 - 2 inch gap between the components. The components need cleaning with emulsion cleaners or petroleum-based solvents followed by application of rust inhibitor or clean lubricant to stop corrosion. Examine gear set elements for pitting scores and wear damage while inspecting the splines for any wear on the axle flange O-ring. Check the interior surface of the housing for thread stripping while inspects for bending fatigue. Detailed instructions about differential case and ring gear assembly are required before beginning disassembly operations. When installing the unit apply Ford Gasket Maker F8AZ-19B508-AB across the mounting flange and bolt holes before putting in two mounting studs at 180-degree positions which stop the carrier assembly from rotating. Begin by attaching the carrier to a supporting jack system then insert the carrier inside the axle housing. Clean the bolt threads and apply Threadlock 262 E2FZ-19554-B before installing the bolts followed by removal of alignment studs after several bolts are in place. Reconnect the driveshaft and attach the rear anti-lock brake sensor electrical connector while continuing with bolt installation in a crisscross method before adding the axle shafts. Safely remove the fill plug before you pour Motorcraft SAE 80W-90 Premium Rear Axle Lubricant XY-80W90-QL until the fluid reaches the fill hole level. Clean and reinstall the fill plug followed by wheel chock removal then freeing the parking brake.
