My Garage
Cart

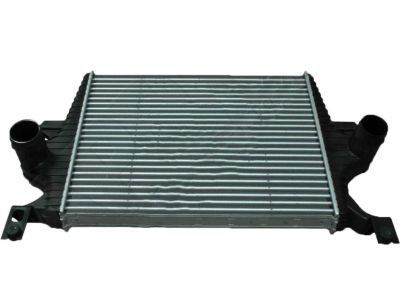
OEM 2005 Ford Excursion Intercooler

Front Intercooler
  • Select Vehicle by Model
  • Select Vehicle by VIN
Select Vehicle by Model
Make
Model
Year
or
Select Vehicle by VIN
For the most accurate results, select vehicle by your VIN (Vehicle Identification Number).

1 Intercooler found

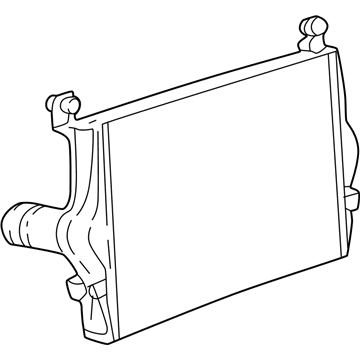
  • 2005 Ford Excursion Intercooler Diagram - 6C3Z-6K775-A
    View related parts
    Product Specifications
    • Other Name: Cooler Assembly - Engine Charge Air; Turbocharger Intercooler; Turbo Intercooler
    • Replaces: 5C3Z-6K775-AA
    • Base No.: 6K775
    • Item Weight: 30.40 Pounds
    • Item Dimensions: 44.3 x 29.7 x 11.6 inches
    • Condition: New
    • Fitment Type: Direct Replacement
    • SKU: 6C3Z-6K775-A
    • Warranty: This genuine part is guaranteed by Ford's factory warranty.
    More Info
    Fits the following 2005 Ford Excursion Submodels:
    • Eddie Bauer, Limited, XLS, XLT | 8 Cyl 6.0 L DIESEL

2005 Ford Excursion Intercooler

If you're seeking quality and affordability, look no further than our extensive inventory of genuine 2005 Ford Excursion Intercooler available at FordPartsDeal.com. You can confidently purchase our OEM 2005 Ford Excursion Intercooler as they are supported by the manufacturer's warranty and our hassle-free return policy, alongside the benefit of our fast delivery service.

2005 Ford Excursion Intercooler Parts Q&A

  • Q: How to Service and Repair a Front Intercooler on 2005 Ford Excursion?
    A: You should inspect the damage on the intercooler before making a repair decision by referencing the Intercooler Cross-Reference Chart. The first step for crimp joint service requires a Leak Test Intercooler to identify leaking areas while marking all spots showing a pressure loss exceeding 1.5 psig per minute. Then tighten the corresponding crimp tabs in those marked areas. Replacements are required for any intercooler that fails the leak test. Testing after tightening adjacent crimp tabs will determine whether the cooler needs replacement if the test results reveal failure. The repair process for sidemember welding requires all surfaces to be clean with V-groove cuts made at the crack area followed by appropriate MIG welder usage for weld-filling. The welded area requires grinding to remove surplus material and afterward cleaning the cooler. Weld bracket repairs require thorough care of fins and tube-to-header braze joint by covering the core with steel plate for tacking before full welding and subsequent cooling followed by alignment verification. Apply Alcan MIG Electrode Wire 4043 aluminum alloy 1.20-mm (3/16-inch) diameter as you weld tube or tube header joint surfaces using a MIG welder after cleaning them properly. Epoxy repairs of tubes and headers require surface cleaning followed by Ciba Geigy Aradlite AV 138M epoxy (combined with hardener Ciba Geigy HV 998) application before following manufacturer instructions for mixture and curing. Any completed welding and epoxy procedures require a 3-minute water flush at 0.06 in (1.5 mm) per second followed by flushing with water in the opposite direction. Do a pressure test after draining such that installation of the cooler occurs only after the system passes inspection and drying clears. To clean the cooler spread it flat and pour water until it reaches 40 percent of the container volume before mixing for 10 minutes and draining. Execute this process once more until no impurities appear then let it dry naturally. Through a leak test we install pressure gauges in separate ports while supplying air pressure at 50 psig to measure its loss when the pressure drops to 29 psig; examine if you detect pressure exceeding 1.5 psig per minute and permanent distortion since this indicates the need to replace the intercooler.