My Garage
Cart

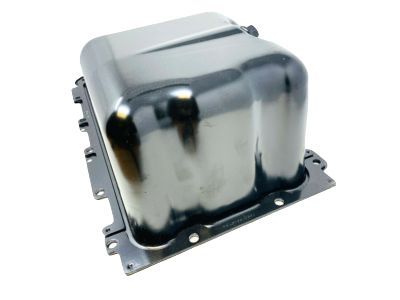
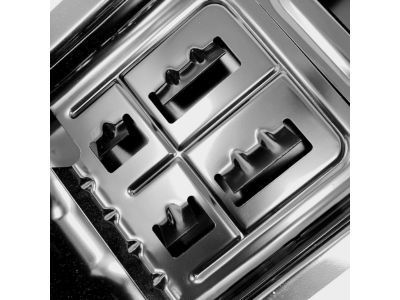
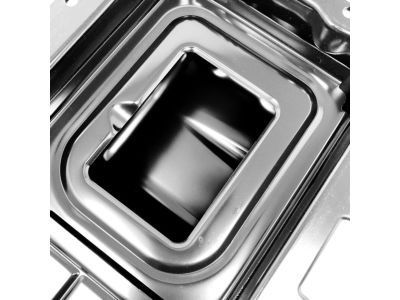
OEM 2006 Ford Crown Victoria Oil Pan

Oil Drain Pan
  • Select Vehicle by Model
  • Select Vehicle by VIN
Select Vehicle by Model
Make
Model
Year
or
Select Vehicle by VIN
For the most accurate results, select vehicle by your VIN (Vehicle Identification Number).

1 Oil Pan found

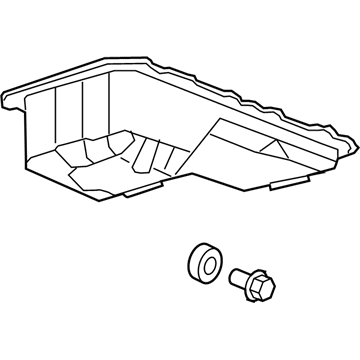
  • 2006 Ford Crown Victoria Oil Pan Diagram - 3W7Z-6675-BC
    View related parts

    2006 Ford Crown Victoria Oil Pan Part Number: 3W7Z-6675-BC

    $87.79 MSRP: $127.78
    You Save: $39.99 (32%)
    ADD TO CART
    Product Specifications
    • Other Name: Pan Assembly - Engine Oil; Engine Oil Pan
    • Replaces: 3W7Z-6675-BB
    • Base No.: 6675
    • Item Weight: 12.30 Pounds
    • Item Dimensions: 8.7 x 22.5 x 12.4 inches
    • Condition: New
    • Fitment Type: Direct Replacement
    • SKU: 3W7Z-6675-BC
    • Warranty: This genuine part is guaranteed by Ford's factory warranty.
    More Info
    Fits the following 2006 Ford Crown Victoria Submodels:
    • Base, Fleet, LWB, LX, LX Sport, Police Interceptor, S, Special Edition | 8 Cyl 4.6 L CNG, 8 Cyl 4.6 L FLEX, 8 Cyl 4.6 L GAS

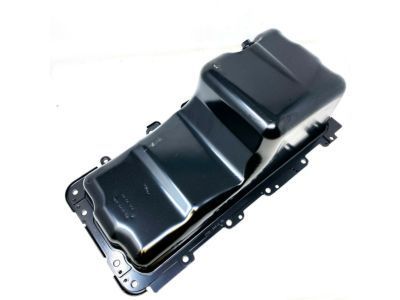
2006 Ford Crown Victoria Oil Pan

If you're seeking quality and affordability, look no further than our extensive inventory of genuine 2006 Ford Crown Victoria Oil Pan available at FordPartsDeal.com. You can confidently purchase our OEM 2006 Ford Crown Victoria Oil Pan as they are supported by the manufacturer's warranty and our hassle-free return policy, alongside the benefit of our fast delivery service.
2006 Ford Crown Victoria Oil Pan Parts Q&A

  • Q: How to service and repair the oil pan safely and effectively on 2006 Ford Crown Victoria?
    A: Depowering the fire suppression system becomes the first priority before starting any work on the oil pan to prevent severe accidents. Place the vehicle in neutral position before hoisting it for the removal of its front crossmember. Hook the transmission cooler tubes aside after removing their bolt and nut from the pan. Fit the drain plug to the engine oil reservoir before tightening it to 23 Nm (17 lb-ft). Start by unfastening two pin-type wire harness retainers before you remove the specified order of oil pan bolts to extract the pan and gasket. You should clean and inspect mating surfaces using a non-metal plastic scraper tool rather than metal scrapers or abrasive tools because they might cause scratches that produce leaks. Sealant application must happen within four minutes because failure to secure it will require removal of the sealing area along with cleaning using silicone gasket remover and metal surface prep following package instructions to stop oil from leaking. Silicone gasket and sealant need application between the rear seal retainer and cylinder block connection and engine front cover and cylinder block contact surface. Place the oil pan gasket and the oil pan before tightening all bolts first to 20 Nm (177 lb-in) then continuing an additional 60 degrees of rotation. After inserting the two pin-type wire harness retainers, position the transmission cooler tubes before installing the bolt and nut. Finally, tighten the bolt to 15 Nm (133 lb-in) and the nut to 9 Nm (80 lb-in). Installation of the front crossmember must be followed by engine oil filling then the engine must be started to check for any leaks and if applicable the fire suppression system needs repowering because improper procedures could lead to severe personal injury.