My Garage
Cart

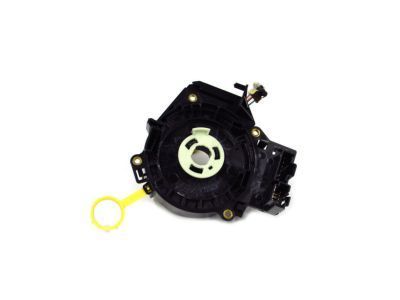
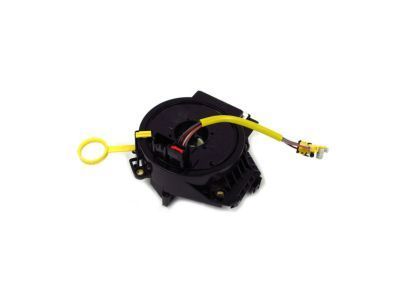
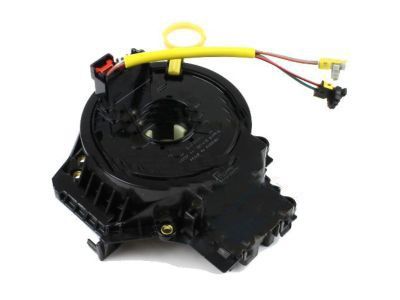
OEM 2006 Lincoln Navigator Clock Spring

Spiral Cable Clock Spring
  • Select Vehicle by Model
  • Select Vehicle by VIN
Select Vehicle by Model
Make
Model
Year
or
Select Vehicle by VIN
For the most accurate results, select vehicle by your VIN (Vehicle Identification Number).

1 Clock Spring found

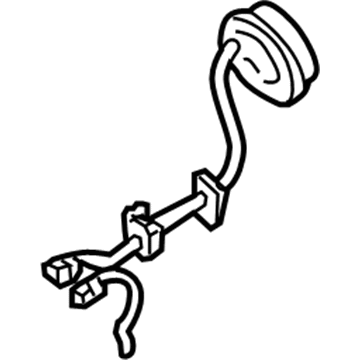
  • 2006 Lincoln Navigator Clock Spring Diagram - 5L1Z-14A664-A
    View related parts

    2006 Lincoln Navigator Clockspring Part Number: 5L1Z-14A664-A

    $375.78 MSRP: $551.80
    You Save: $176.02 (32%)
    Ships in 1-3 Business Days
    ADD TO CART
    Product Specifications
    • Other Name: Cover And Contact Plate Assembly; Air Bag Clockspring
    • Replaces: 2L1Z-14A664-AA
    • Base No.: 14A664
    • Item Weight: 0.90 Pounds
    • Item Dimensions: 8.4 x 4.5 x 6.1 inches
    • Condition: New
    • Fitment Type: Direct Replacement
    • SKU: 5L1Z-14A664-A
    • Warranty: This genuine part is guaranteed by Ford's factory warranty.
    More Info
    Fits the following 2006 Lincoln Navigator Submodels:
    • Base, Luxury, Ultimate | 8 Cyl 5.4 L GAS

2006 Lincoln Navigator Clock Spring

If you're seeking quality and affordability, look no further than our extensive inventory of genuine 2006 Lincoln Navigator Clock Spring available at FordPartsDeal.com. You can confidently purchase our OEM 2006 Lincoln Navigator Clock Spring as they are supported by the manufacturer's warranty and our hassle-free return policy, alongside the benefit of our fast delivery service.

2006 Lincoln Navigator Clock Spring Parts Q&A

  • Q: What Precautions and Steps Are Involved in Servicing the Clock Spring Assembly on 2006 Lincoln Navigator?
    A: The user should wear protective safety glasses to prevent injuries during Clock Spring servicing while also skipping the use of memory saver devices. There is a fundamental reason why the air bag warning lamp should illuminate when the RCM fuse leaves its power connection while the ignition switch remains active. This scenario indicates no SRS system issues. The SRS must function without faults during operations before returning the vehicle to its owner. To fix an issue the replacement of a new component is needed but if symptoms do not resolve reinstall the original part then perform diagnosis again. The procedure starts with clearing power from the system and setting road wheels to direct forward position before removing the steering wheel. Two strips of masking tape need to be placed across the Clock Spring so that removal is possible without spring movement. The technician must first release any relevant tabs before moving the gear selector cover towards the steering column shrouds. Disassemble the lower steering column shroud by removing its two screws and unfasten the single screw securing the upper shroud. The multi-function switch needs its screw removed followed by retaining tab liberation and finally moving the switch aside. After unscrewing the components from the steering column shaft you can slide the Clock Spring off while removing its electrical connectors. You should check the condition of the Clock Spring bracket before moving on to take it out if any damage exists. The new Clock Spring bracket needs 6 Nm (53 lb-in) force for screw installation. To install the new Clock Spring users should hold a key in position to maintain central assembly but must first remove the key without letting the rotor turn. When the Clock Spring moves away from its center position you must first stabilize the outer housing while performing a counterclockwise rotation of the rotor until you notice resistance then continue the motion clockwise by 2.75 turns. Connect the wires and position the Clock Spring correctly toward the steering column before fitting it onto the screws. The procedure requires removal of previous tape before aligning the multi-function switch and verifying the retaining tab engages while installing the multi-function switch screw. Secure the steering column shrouds at their upper and lower positions through screw installation along with gear selector cover attachment for equipped vehicles. Perform another Clock Spring centralization process if the vehicle remains unattended after taking it out from the steering wheel installation. You must install the steering wheel as well as a driver air bag module before performing system repower.