FordParts
My Garage
My Account
Cart
OEM 2006 Mercury Mariner Alternator
Generator- Select Vehicle by Model
- Select Vehicle by VIN
Select Vehicle by Model
orMake
Model
Year
Select Vehicle by VIN
For the most accurate results, select vehicle by your VIN (Vehicle Identification Number).
3 Alternators found
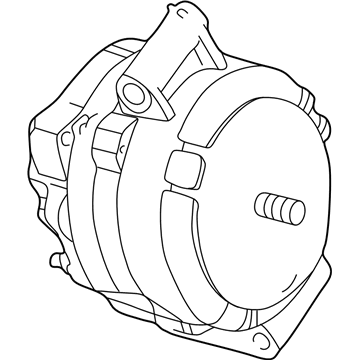
2006 Mercury Mariner Alternator Part Number: 6L8Z-10346-BARM
Product Specifications- Other Name: Re-Manufactured Alternator Assembly
- Replaces: GL-682-RM, GL-8810-RM, 6L8Z-10346-CCRM, 6L8Z-10346-CBRM1
- Item Weight: 16.30 Pounds
- Condition: New
- Fitment Type: Direct Replacement
- SKU: 6L8Z-10346-BARM
- Warranty: This genuine part is guaranteed by Ford's factory warranty.
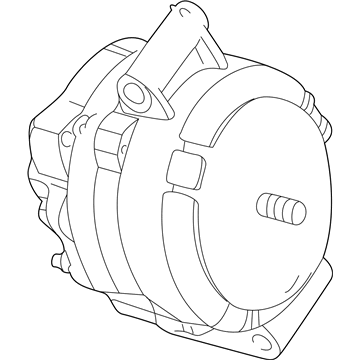
2006 Mercury Mariner Alternator Part Number: 6L8Z-10346-ADRM
$214.96 MSRP: $341.82You Save: $126.86 (38%)Product Specifications- Other Name: Re-Manufactured Alternator Assembly
- Replaces: 6L8Z-10346-LA, GL-8868-RM, GL-681, 6L8Z-10346-BB, GL-681-RM, 6L8Z-10346-AARM, 6L8Z-10346-BBRM1, 6L8Z-10346-BCRM, GL-8809-RM
- Condition: New
- Fitment Type: Direct Replacement
- SKU: 6L8Z-10346-ADRM
- Warranty: This genuine part is guaranteed by Ford's factory warranty.
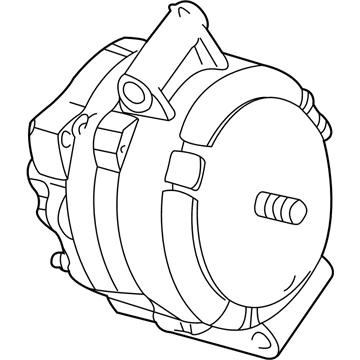
2006 Mercury Mariner Alternator Part Number: 4U2Z-10V346-DERM
$175.82 MSRP: $278.18You Save: $102.36 (37%)Product Specifications- Other Name: Re-Manufactured Alternator Assembly
- Replaces: 6L8Z-10346-BDRM, 6L8Z-10V346-ABRM, 6L8Z-10346-AB, 6L8Z-10V346-ACRM, 6L8Z-10346-ABRM2, 6L8Z-10346-ACRM, GL-8870-RM, GLV-8618-RM, GL-680, GLV-8775-RM, 4U2Z-10V346-ADRM, GLV-8733-RM, 6L8Z-10346-BFRM, GL-9021-RM, GL-8808-RM, GL-938-RM
- Condition: New
- Fitment Type: Direct Replacement
- SKU: 4U2Z-10V346-DERM
- Warranty: This genuine part is guaranteed by Ford's factory warranty.
2006 Mercury Mariner Alternator
If you're seeking quality and affordability, look no further than our extensive inventory of genuine 2006 Mercury Mariner Alternator available at FordPartsDeal.com. You can confidently purchase our OEM 2006 Mercury Mariner Alternator as they are supported by the manufacturer's warranty and our hassle-free return policy, alongside the benefit of our fast delivery service.
2006 Mercury Mariner Alternator Parts Q&A
- Q: How to service the alternator on 2006 Mercury Mariner?A: Service of an alternator must begin with a neutral-positioned vehicle on a hoist. First disconnect the battery then remove the five bolts which secure the right-hand lower splash shield before torquing them to 9 Nm (80 lb-in) when reinstalling. A clockwise rotation of the front end accessory drive belt tensioner creates space for accessing the accessory drive belts. First detach the two harness locators found on top of the generator shield while also setting aside the protective B+ cover of the generator and removing the B+ terminal nut that needs to be tightened to 8 Nm (71 lb-in) when installed. Decouple the generator electrical connector after moving aside the B+ cable. Reinstall the shield nut of the generator by tightening it to 20 Nm (15 lb-ft) torque specifications. The generator lower air duct bolt requires removal before tightening it to 4 Nm (35 lb-in) torque when reinstalling. Pressure on the locking tab will release the generator lower air duct while you remove the harness locator from the bottom of the generator shield. First remove the pin-type retainer beneath the generator shield and then extract the shield itself together with the two generator bolts that need tightening to 47 Nm (35 lb-ft) when reinstalling. The next step requires generator stud nut removal while tightening them to 47 Nm (35 lb-ft) before removing the generator stud. This will allow access for securing the generator upper air duct nuts that need 24 Nm (18 lb-ft) torque during reinstallation. The technician should tighten the generator upper air duct to 4 Nm (35 lb-in) torque specification when reinstalling the three nuts and the air duct. The last step includes removing the generator before reinstalling it through the reverse order of removal.


