FordParts
My Garage
My Account
Cart
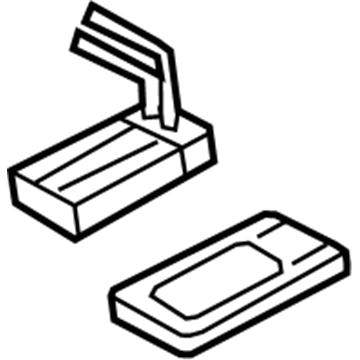
OEM 2008 Ford Explorer Sport Trac Heater Core
HVAC Heater Core- Select Vehicle by Model
- Select Vehicle by VIN
Select Vehicle by Model
orMake
Model
Year
Select Vehicle by VIN
For the most accurate results, select vehicle by your VIN (Vehicle Identification Number).
1 Heater Core found
- Product Specifications
- Other Name: Heater Assembly - Less Radiator; HVAC Heater Core, Front; HVAC Heater Core
- Position: Front
- Replaces: 7L2Z-18476-A, HC-41, 5L2Z-18476-AA, 6L2Z-18476-A, HC-47
- Item Weight: 3.60 Pounds
- Item Dimensions: 8.2 x 21.1 x 13.6 inches
- Condition: New
- Fitment Type: Direct Replacement
- SKU: H2MZ-18476-Y
- Warranty: This genuine part is guaranteed by Ford's factory warranty.
2008 Ford Explorer Sport Trac Heater Core
If you're seeking quality and affordability, look no further than our extensive inventory of genuine 2008 Ford Explorer Sport Trac Heater Core available at FordPartsDeal.com. You can confidently purchase our OEM 2008 Ford Explorer Sport Trac Heater Core as they are supported by the manufacturer's warranty and our hassle-free return policy, alongside the benefit of our fast delivery service.
2008 Ford Explorer Sport Trac Heater Core Parts Q&A
- Q: How to service the auxiliary heater core on 2008 Ford Explorer Sport Trac?A: To service the auxiliary heater core, place the vehicle on a hoist, drain engine coolant and unconnect heater hoses. Take out the rear quarter trim panel, auxiliary line bracket and the electrical connectors. Take the actuators, heater core cover off and finally the auxiliary heater core. Re-do the process to fit in the new core.


