My Garage
Cart

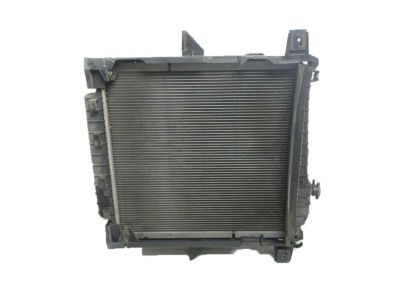
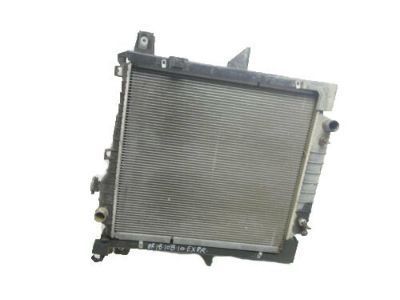
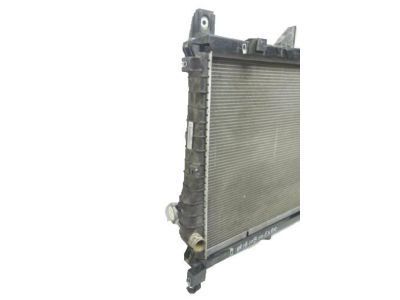
OEM 2009 Ford Explorer Sport Trac Radiator

Cooling Radiator
  • Select Vehicle by Model
  • Select Vehicle by VIN
Select Vehicle by Model
Make
Model
Year
or
Select Vehicle by VIN
For the most accurate results, select vehicle by your VIN (Vehicle Identification Number).

1 Radiator found

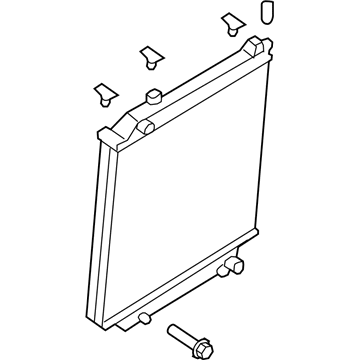
  • 2009 Ford Explorer Sport Trac Radiator Diagram - 8L2Z-8005-A
    View related parts

    2009 Ford Explorer Sport Trac Radiator Assembly Part Number: 8L2Z-8005-A

    $429.12 MSRP: $653.15
    You Save: $224.03 (35%)
    Ships in 1-2 Business Days
    ADD TO CART
    Product Specifications
    • Other Name: Radiator
    • Replaces: 7L2Z-8005-A
    • Base No.: 8005
    • Item Weight: 17.20 Pounds
    • Item Dimensions: 34.7 x 28.8 x 10.1 inches
    • Condition: New
    • Fitment Type: Direct Replacement
    • SKU: 8L2Z-8005-A
    • Warranty: This genuine part is guaranteed by Ford's factory warranty.
    More Info
    Fits the following 2009 Ford Explorer Sport Trac Submodels:
    • Limited, XLT | 6 Cyl 4.0 L GAS, 8 Cyl 4.6 L GAS

2009 Ford Explorer Sport Trac Radiator

If you're seeking quality and affordability, look no further than our extensive inventory of genuine 2009 Ford Explorer Sport Trac Radiator available at FordPartsDeal.com. You can confidently purchase our OEM 2009 Ford Explorer Sport Trac Radiator as they are supported by the manufacturer's warranty and our hassle-free return policy, alongside the benefit of our fast delivery service.

2009 Ford Explorer Sport Trac Radiator Parts Q&A

  • Q: How to service and repair the radiator on 2009 Ford Explorer Sport Trac?
    A: To repair the radiator locate the vehicle on a hoist in neutral position before draining the coolant system fluid. The Air Cleaner (ACL) outlet pipe must be removed before servicing any vehicle with a 4.6L (3V) engine model. Start by removing the coolant expansion tank alongside its power steering reservoir bolt and place the reservoir to the side before tightening it to 10 Nm (89 lb-in) when reattaching it. You can disconnect the upper and lower radiator hoses by unclamping them then detach the lower radiator hose retainer from the lower fan shroud and the transmission cooler hose retainer from the right radiator support bracket. Take off the two latch assemblies from the transmission cooler tubes while positioning both air deflector and tubes aside. First disconnect both transmission cooler tubes using the transmission cooler line disconnect tool followed by removing and tightening to 7 Nm (62 lb-in) the two upper fan shroud bolts. Lastly remove the fan shroud by unclipping it from the lower fan shroud and reinstall it to 7 Nm (62 lb-in). The installer should disconnect the electrical connector for the fan clutch followed by removing the fan clutch wiring harness bracket bolt which needs to be tightened to 7 Nm (62 lb-in) during reassembly. Properly remove the cooling fan clutch coil while applying both fan pulley holding wrench and fan clutch nut wrench and ensure the reinstallation torque is set to 55 Nm (41 lb-ft). Disassemble the lower fan shroud by removing its two retaining bolts while detaching the A/C tube from its retainer on the radiator support bracket then removing the two radiator support bracket-to-radiator support bolts that need 15 Nm (133 lb-in) torque at installation. Lift the radiator and A/C condenser assembly from its frame supports taking it toward the engine front before detaching the radiator top seal without separating the A/C condenser seals. After deflecting the A/C condenser seals you must remove the two A/C condenser-to-radiator support bracket bolts that need to be tightened to 12 Nm (106 lb-in). first lift the condenser from its supports while moving it forward until you can remove the radiator assembly together with the support brackets utilizing sufficient care to clear the ABS module with the left support bracket. The two radiator support brackets can be separated from the radiator through removing four bolts and should be tightened to 12 Nm (106 lb-in) before reinstalling them. After completing the procedure return all components to their original positions.