FordParts
My Garage
My Account
Cart
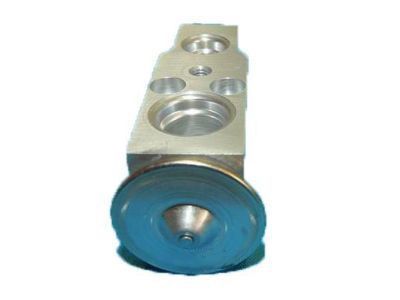
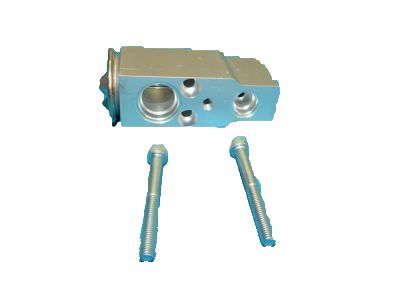
OEM 2009 Ford Flex A/C Expansion Valve
Air Conditioning Expansion Valve- Select Vehicle by Model
- Select Vehicle by VIN
Select Vehicle by Model
orMake
Model
Year
Select Vehicle by VIN
For the most accurate results, select vehicle by your VIN (Vehicle Identification Number).
1 A/C Expansion Valve found

2009 Ford Flex Expansion Valve, Front Part Number: 8G1Z-19849-A
$21.25 MSRP: $33.75You Save: $12.50 (38%)Ships in 1-2 Business DaysProduct Specifications- Other Name: Valve Assembly - Evaporator Expansion; A/C Expansion Valve, Front; A/C Expansion Valve
- Manufacturer Note: Includes Attaching Hardware
- Position: Front
- Replaces: 5F9Z-19849-CA
- Base No.: 19849
- Item Weight: 0.70 Pounds
- Item Dimensions: 3.8 x 2.4 x 2.3 inches
- Condition: New
- Fitment Type: Direct Replacement
- SKU: 8G1Z-19849-A
- Warranty: This genuine part is guaranteed by Ford's factory warranty.
2009 Ford Flex A/C Expansion Valve
If you're seeking quality and affordability, look no further than our extensive inventory of genuine 2009 Ford Flex A/C Expansion Valve available at FordPartsDeal.com. You can confidently purchase our OEM 2009 Ford Flex A/C Expansion Valve as they are supported by the manufacturer's warranty and our hassle-free return policy, alongside the benefit of our fast delivery service.
2009 Ford Flex A/C Expansion Valve Parts Q&A
- Q: How to service and repair the A/C Expansion Valve for climate control on 2009 Ford Flex?A: In order to fix the A/C Expansion Valve, to recover the refrigerant, to take off the beam and auxiliary lines, to eliminate old seals. Install and remove the value with recommended torque values. Install fresh seals and PAG oil and then invert the process, and lastly evacuate, leak test and refill refrigerant system.


