FordParts
My Garage
My Account
Cart
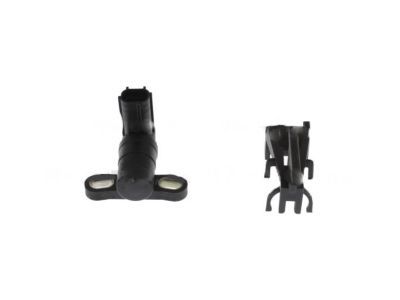
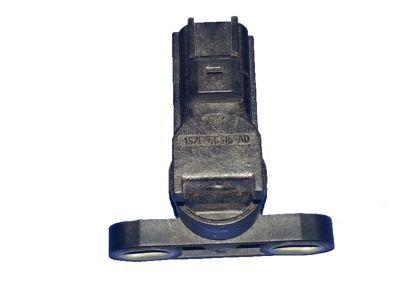
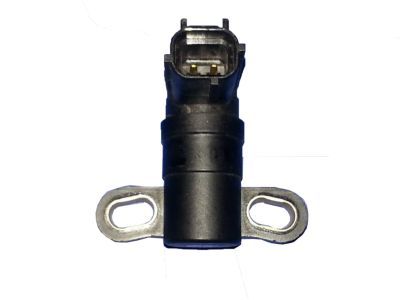
OEM 2009 Ford Focus Crankshaft Position Sensor
Engine Crankshaft Position Sensor- Select Vehicle by Model
- Select Vehicle by VIN
Select Vehicle by Model
orMake
Model
Year
Select Vehicle by VIN
For the most accurate results, select vehicle by your VIN (Vehicle Identification Number).
1 Crankshaft Position Sensor found

2009 Ford Focus Crankshaft Position Sensor Part Number: 1S7Z-6C315-AAA
$41.33 MSRP: $65.64You Save: $24.31 (38%)Ships in 1 Business DayProduct Specifications- Other Name: Sensor - Crankshaft Position; Engine Crankshaft Position Sensor; Crankshaft Sensor; Sensor - Crankshaft Position - Cps
- Manufacturer Note: Service Kit With Sensor And Installation Tool
- Replaces: 1S7Z-6C315-BA
- Base No.: 6C315
- Item Weight: 0.40 Pounds
- Item Dimensions: 3.8 x 2.4 x 2.4 inches
- Condition: New
- Fitment Type: Direct Replacement
- SKU: 1S7Z-6C315-AAA
- Warranty: This genuine part is guaranteed by Ford's factory warranty.
2009 Ford Focus Crankshaft Position Sensor
If you're seeking quality and affordability, look no further than our extensive inventory of genuine 2009 Ford Focus Crankshaft Position Sensor available at FordPartsDeal.com. You can confidently purchase our OEM 2009 Ford Focus Crankshaft Position Sensor as they are supported by the manufacturer's warranty and our hassle-free return policy, alongside the benefit of our fast delivery service.
2009 Ford Focus Crankshaft Position Sensor Parts Q&A
- Q: How to Service and Repair the Crankshaft Position Sensor on 2009 Ford Focus?A: In order to fix the CKP sensor, make sure the vehicle is in neutral in a hoist. Take the splash shield bolts out and unconnect the sensor. Turn the crankshaft at 3 o'clock, fit TDC timing peg and change sensor. Tighten bolts up to desired torque and re-attach electrical connector.


