My Garage
Cart

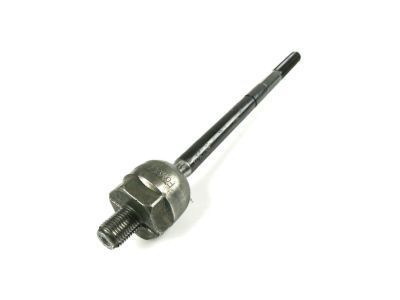
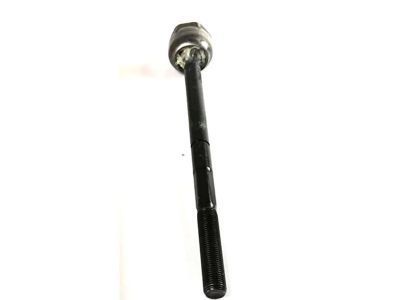
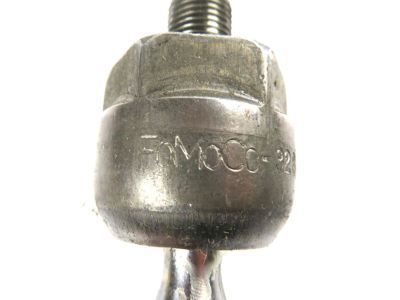
OEM 2009 Lincoln Town Car Tie Rod

Steering Tie Rod
  • Select Vehicle by Model
  • Select Vehicle by VIN
Select Vehicle by Model
Make
Model
Year
or
Select Vehicle by VIN
For the most accurate results, select vehicle by your VIN (Vehicle Identification Number).

1 Tie Rod found

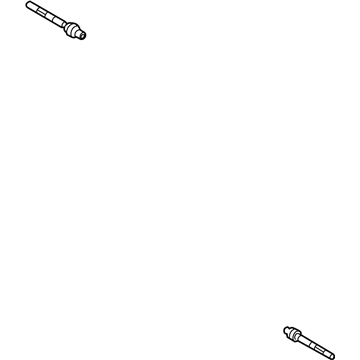
  • 2009 Lincoln Town Car Tie Rod Diagram - 8W7Z-3280-A
    View related parts

    2009 Lincoln Town Car Inner Tie Rod Part Number: 8W7Z-3280-A

    $63.22 MSRP: $102.00
    You Save: $38.78 (39%)
    Ships in 1-2 Business Days
    ADD TO CART
    Product Specifications
    • Other Name: Rod; Steering Tie Rod End, Inner; Inner Tie Rod End; Tie Rod End
    • Position: Inner
    • Replaces: 3W1Z-3280-BA
    • Base No.: 3280
    • Item Weight: 1.70 Pounds
    • Item Dimensions: 14.6 x 2.4 x 2.4 inches
    • Condition: New
    • Fitment Type: Direct Replacement
    • SKU: 8W7Z-3280-A
    • Warranty: This genuine part is guaranteed by Ford's factory warranty.
    More Info
    Fits the following 2009 Lincoln Town Car Submodels:
    • Cartier, Cartier L, Designer Series, Executive, Executive L, Executive Protection Series, Protection Series, Signature, Signature L, Signature Limited, Ultimate, Ultimate L | 8 Cyl 4.6 L FLEX, 8 Cyl 4.6 L GAS

2009 Lincoln Town Car Tie Rod

If you're seeking quality and affordability, look no further than our extensive inventory of genuine 2009 Lincoln Town Car Tie Rod available at FordPartsDeal.com. You can confidently purchase our OEM 2009 Lincoln Town Car Tie Rod as they are supported by the manufacturer's warranty and our hassle-free return policy, alongside the benefit of our fast delivery service.

2009 Lincoln Town Car Tie Rod Parts Q&A

  • Q: How to Ensure Proper Tie Rod Maintenance and Installation on a 2009 Lincoln Town Car?
    A: You must start a tie rod service procedure by taking off the wheel then the tire followed by loosening the jam nut. Follow the jam nut installation procedure by tightening it to 55 Nm (41 lb-ft). Hold the hex holder against the stud to stop its rotation when unfastening the nut then remove the outer tie-rod end from the wheel knuckle by tightening it to 80 Nm (59 lb-ft). Record the turns of rotation on the outer tie-rod end before unmounting it for future reference during assembly. Before continuing, users must eliminate the tie-rod jam nut followed by a left-hand side bellows boot pull-back to maintain the steering gear in case of right-hand side inner tie rod repair. First detach the bellows boot clamps together with the boot itself from both the inner and outer areas. Steer the gear to its center position while using a crowfoot wrench appropriately sized for the rack gear flat section to stop the inner tie rod from rotating while installing or removing it until it reaches a torque of 100 Nm (74 lb-ft). The cleaning process should eliminate all abrasive materials from the area because these materials pose a threat to the steering gear; check that the bellows boot remains untwisted. Apply grease to the inner tie-rod groove area for both bellows boot clamp positions near the steering gear housing and the inside of the tie-rod opening. Follow the uninstallation procedure while performing installation and inspect every reusable component before installing new elements. The inspection of the front toe should be completed as the last step in the procedure.