FordParts
My Garage
My Account
Cart
OEM Ford E-250 Transmission Oil Cooler
Trans Oil Cooler- Select Vehicle by Model
- Select Vehicle by VIN
Select Vehicle by Model
orMake
Model
Year
Select Vehicle by VIN
For the most accurate results, select vehicle by your VIN (Vehicle Identification Number).
10 Transmission Oil Coolers found
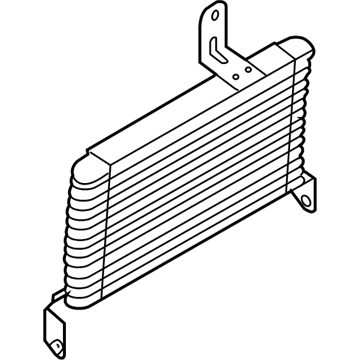
Ford E-250 Transmission Cooler Part Number: 8C2Z-7A095-E
$104.75 MSRP: $158.00You Save: $53.25 (34%)Ships in 1-3 Business Days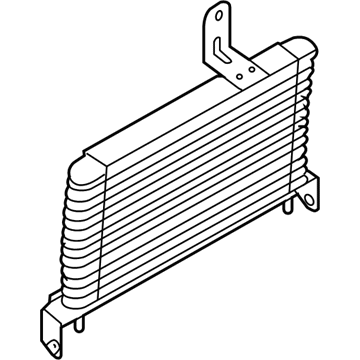
Ford E-250 Transmission Cooler Part Number: 9C2Z-7A095-A
$82.67 MSRP: $120.33You Save: $37.66 (32%)Ships in 1-2 Business Days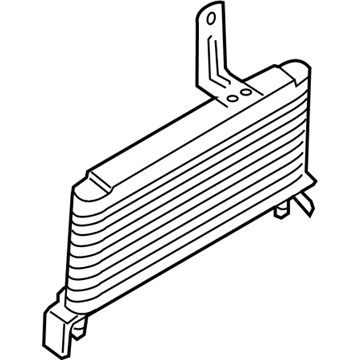
Ford E-250 Transmission Cooler Part Number: 8C2Z-7A095-A
$89.08 MSRP: $129.67You Save: $40.59 (32%)Ships in 1-2 Business Days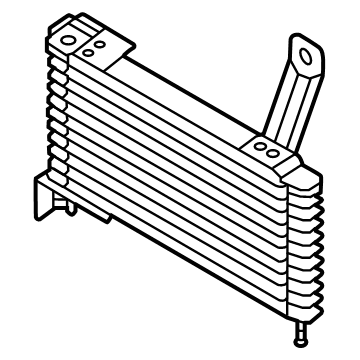
Ford E-250 Transmission Cooler Part Number: 8C2Z-7A095-F
$100.42 MSRP: $146.17You Save: $45.75 (32%)Ships in 1-2 Business Days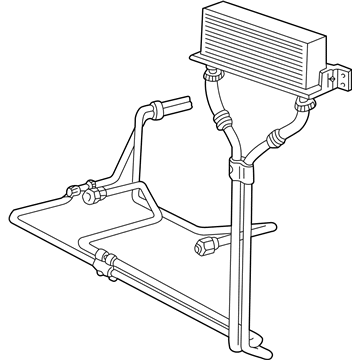
Ford E-250 Transmission Cooler Part Number: 4C2Z-7A095-EA
Ford E-250 Transmission Cooler Part Number: F7UZ-7A095-FA
Ford E-250 Transmission Cooler Part Number: F7UZ-7A095-BA
Ford E-250 Transmission Cooler Part Number: 5C2Z-7A095-AA
Ford E-250 Transmission Cooler Part Number: 4C2Z-7A095-DA
Ford E-250 Transmission Cooler Part Number: 4C2Z-7A095-AB
Ford E-250 Transmission Oil Cooler
OEM Transmission Oil Cooler boasts unmatched quality. Each part goes through full quality checks. They adhere to Ford's official factory standards. These steps remove flaws and inconsistencies. So you can get Transmission Oil Cooler with long life and a perfect fit. Come to our website and find genuine Ford E-250 parts. We keep a wide inventory of OEM E-250 parts at the highly affordable prices. It's easy to search, compare, and pick what you need. You'll love the clear info and simple checkout. We offer top-rated customer service, and we reply fast. We also ship promptly to ensure your order arrives on time.
Ford E-250 Transmission Oil Cooler Parts and Q&A
- Q:How to service and repair the auxiliary Transmission Oil Cooler for the TorqShift on Ford E-250?A:When servicing the TorqShift auxiliary transmission fluid cooler (oil-to-air), the work is typically started by removing the upper bolts that are accessed through the front grille and bumper using a long extension and socket; with the vehicle placed in NEUTRAL and positioned on a hoist, lower fasteners and, in some cases for 4x4 models, the skid plate are then removed and the air deflector is unbolted. The constant-tension clamp at the cooler outlet is released and that hose is disconnected, and the clamp at the auxiliary cooler return hose to the remote-mounted fluid filter housing inlet at the bottom of the radiator is similarly released so the hoses can be separated; the remaining bolts holding the oil-to-air transmission fluid cooler are removed and the unit is taken out. Backflushing or attempting to clean the old cooler is not recommended, as this can cause transmission damage; instead, a new OTA transmission fluid cooler is typically fitted as part of a transmission overhaul or exchange. During reassembly the replacement cooler is positioned and secured with the lower bolts, hoses are reconnected and their constant-tension clamps installed, and the air deflector and skid plate are reattached and fastened before the upper bolts are refitted through the grille and bumper. It is important that only MERCON SP Transmission Fluid be used when servicing TorqShift transmissions, since mixing with MERCON or MERCON V can cause damage, and the transmission is then filled with the specified type and quantity of fluid and checked for leaks.
Related Ford E-250 Parts
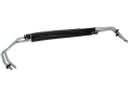 Ford E-250 Automatic Transmission Oil Cooler Line
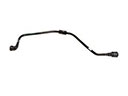 Ford E-250 Coolant Reservoir Hose
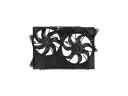 Ford E-250 Cooling Fan Assembly
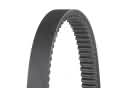 Ford E-250 Drive Belt
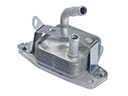 Ford E-250 Engine Oil Cooler
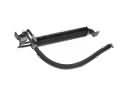 Ford E-250 Power Steering Cooler
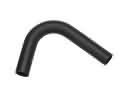 Ford E-250 Radiator Hose
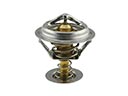 Ford E-250 Thermostat
 Ford E-250 Thermostat Housing
 Ford E-250 Water Pump
 Ford E-250 Water Pump Gasket
 Ford E-250 Water Pump Pulley