FordParts
My Garage
My Account
Cart
Rear Propeller Shaft
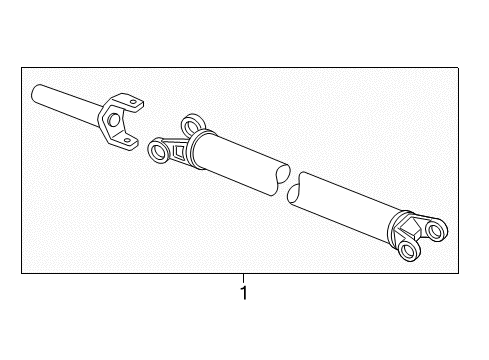
2004 Ford E-250 Drive Shaft, Slip Yoke
Currently shopping for
2004 Ford E-250
Change VehicleVehicle Options
BaseVehicle Options
BaseCategories Close X
Currently selected
Driveline & Axles
Other Categories
A/C & Heating
Air & Fuel Delivery
Belts & Cooling
Body & Hardware
Brakes
Charging & Starting
Electrical
Emission Control & Exhaust
Engine
Headlights & Lighting
Interior & Exterior Trim
Maintenance & Lubrication
Steering
Suspension
Transmission
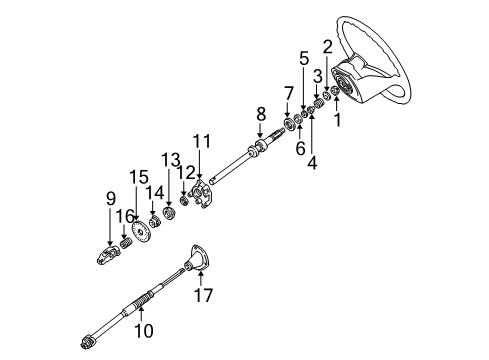
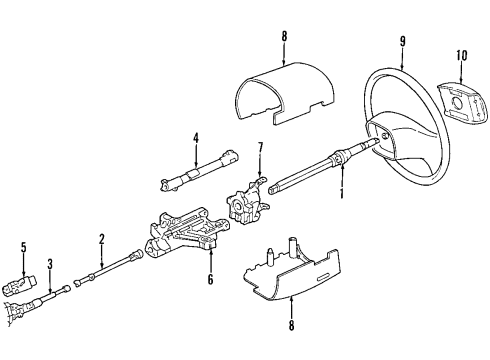
How to use OE catalog
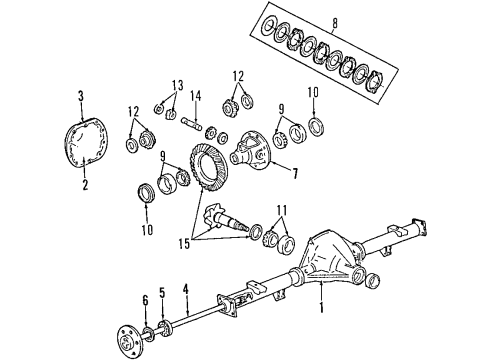
2 diagrams found for the vehicle you selected.Select your vehicle options to narrow down results.
- 1.Rear Axle - Propeller Shaft
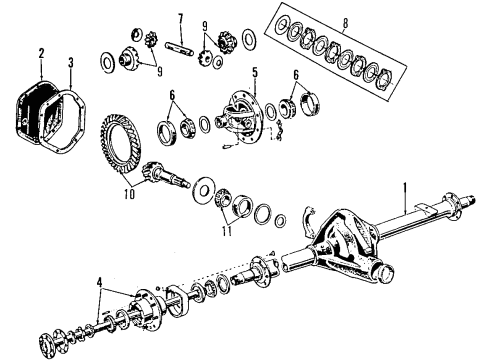
- 2.Rear Axle - Propeller Shaft
Sort by:
Ref No.
Ref No.
Part No. & Part Description
Price & Qty.
Part No. &
Part Description
Part Description
- 1
- 2
 MSRP: $64.50 Your Price: $45.091
- 3
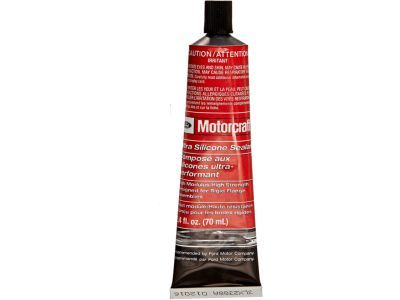 MSRP: $10.85 Your Price: $7.01
- 4
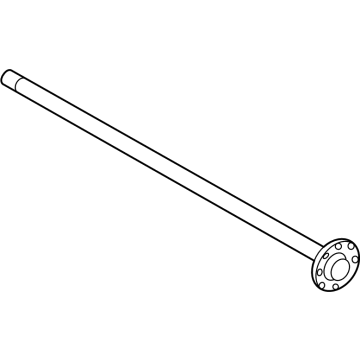 YC2Z-4234-AA
Shaft Assembly - Rear AxleAxle Shafts- Part Notes: E250-350 Vans; 10.50" Ring Gear; Non-Locking; Axle Model 70-2U; Right
MSRP: $297.00 Your Price: $204.041 - 4
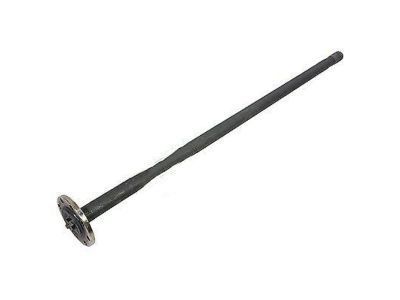
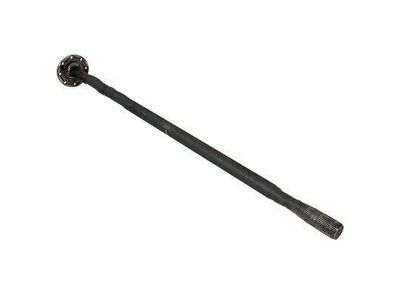 YC2Z-4234-AB
Shaft Assembly - Rear AxleAxle Shafts- Part Notes: E250-350 Vans; 10.50" Ring Gear; Locking; Axle Model 70-2U; Left
MSRP: $302.50 Your Price: $206.001
- 5
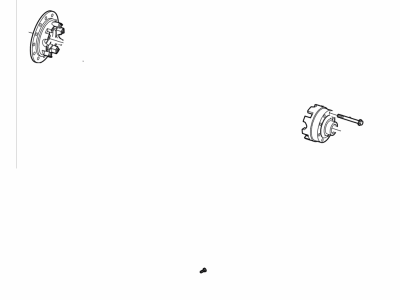 F7UZ-4204-AB
Case - DifferentialDifferential Case- Part Notes: E250-350 Vans; 10.50" Ring Gear; Locking
MSRP: $458.62 Your Price: $338.341 - 5
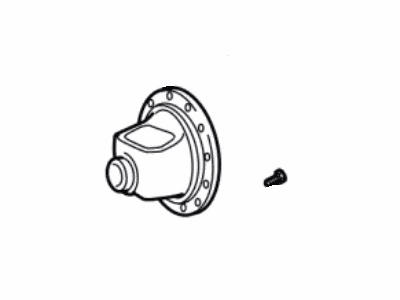 YC2Z-4204-AA
Case - DifferentialDifferential Case- Part Notes: E250-350 Vans; 10.50" Ring Gear; Non-Locking
MSRP: $346.92 Your Price: $241.291
- 6
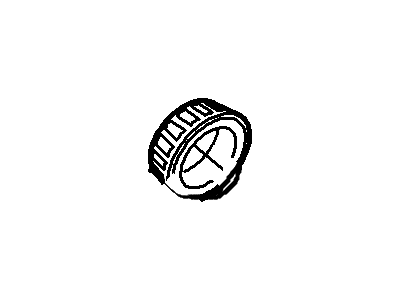
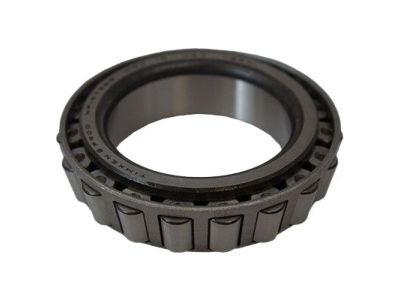 MSRP: $73.83 Your Price: $49.311
 - 6
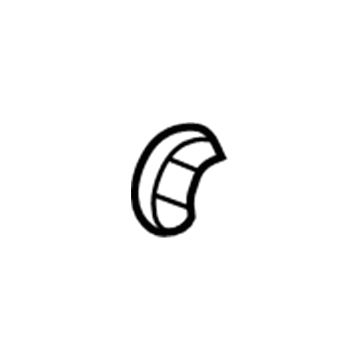 MSRP: $28.02 Your Price: $19.251
- 7
- 7
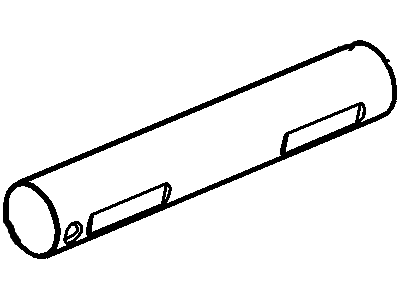 D2TZ-4211-A
Shaft - Differential PinionPinion Shaft- Part Notes: E250-350 Vans; 10.50" Ring Gear; Non-Locking
MSRP: $44.73 Your Price: $30.731
- 8
- 9
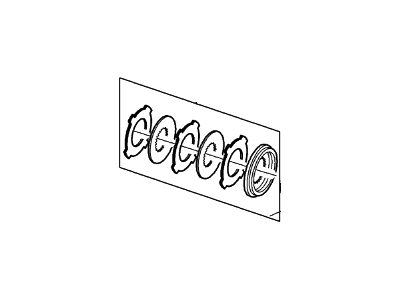 MSRP: $646.80 Your Price: $440.471
 - 9
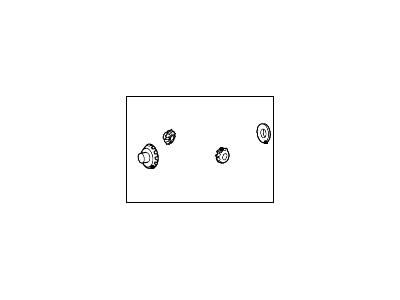 MSRP: $331.83 Your Price: $213.041
- 10
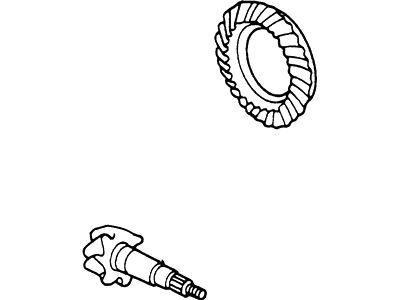 1C2Z-4209-FA
Gear And Pinion Assembly - DrivingRing & Pinion- Part Notes: E250-350 Vans; 10.50" Ring Gear; 4.10 Ratio
MSRP: $573.85 Your Price: $423.361 - 10YC2Z-4209-BA
Gear And Pinion Assembly - DrivingRing & Pinion- Part Notes: E250-350 Vans; 10.50" Ring Gear; 4.56 Ratio
MSRP: $682.00 Your Price: $471.231
- 11MSRP: $243.24 Your Price: $167.101
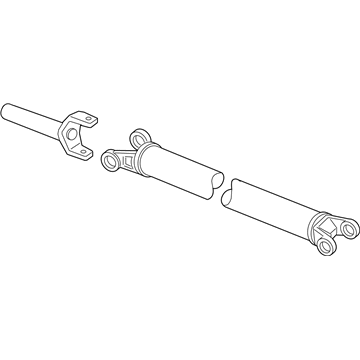
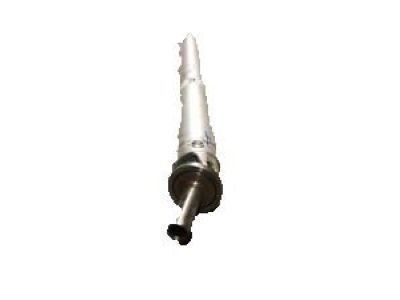 MSRP: $603.08 Your Price: $444.921
- MSRP: $973.85 Your Price: $712.131
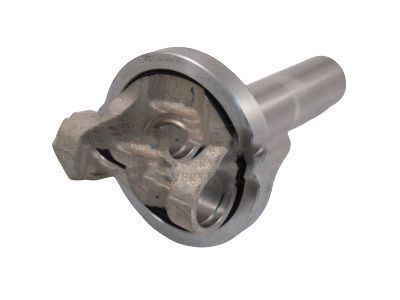
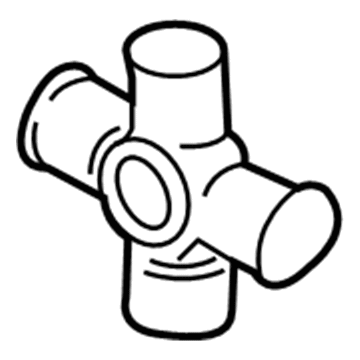
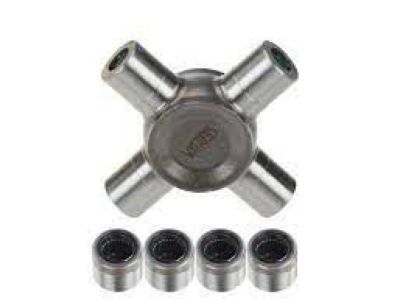 MSRP: $53.83 Your Price: $36.411
OEM 2004 Ford E-250 Parts for Rear Propeller Shaft
Genuine OEM 2004 Ford E-250 parts are made using the original design, the high standards, in the Ford official factories, and all of these ensure that they always fit perfectly and easily. FordPartsDeal.com is a trusted source for finding these authentic OEM Rear Propeller Shaft parts at very competitive prices. Our professional team is here to help you choose the right 2004 Ford E-250 Drive Shaft, Slip Yoke, and our fast delivery options ensure that your parts are always delivered quickly.
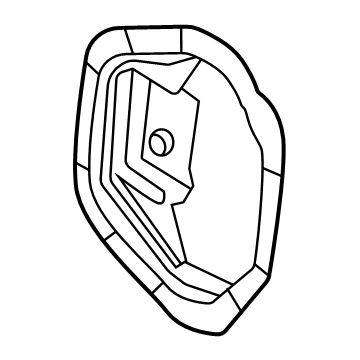
Differential Cover Installation and Repair Tips for 2004 Ford E-250
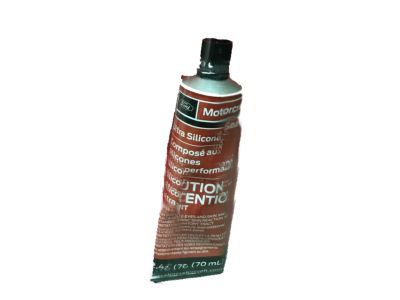
- Q:How to Service the 8.8 Inch Rear Differential Cover on 2004 Ford E-250?A:To maintain the Ford 8.8 Inch Rear Differential, hoist the vehicle in the neutral position. Take off the differential housing cover, empty the lubricant and clean the surfaces. Place cover and sealant- Apply and install. Ensure that the sealant is allowed to dry and then fill with lubricant. In the case of Traction-Lok axes, the friction modifier should be added ahead of the lubricant.