FordParts
My Garage
My Account
Cart
Filters
2005 Ford Escape Fuel Filter, Oil Filter, Air Filter, Air Filter Box
Currently shopping for
2005 Ford Escape
Change VehicleCategories Close X
Currently selected
Maintenance & Lubrication
Other Categories
A/C & Heating
Air & Fuel Delivery
Belts & Cooling
Body & Hardware
Brakes
Charging & Starting
Driveline & Axles
Electrical
Emission Control & Exhaust
Engine
Headlights & Lighting
Interior & Exterior Trim
Steering
Suspension
Transmission
Categories Close X
How to use OE catalog
5 diagrams found for the vehicle you selected.Select your vehicle options to narrow down results.
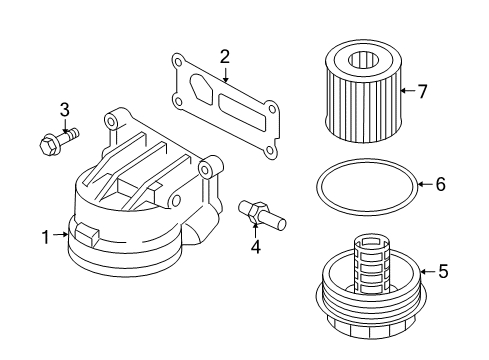
- 1.Cooling - Oil Cooler (Hybrid)
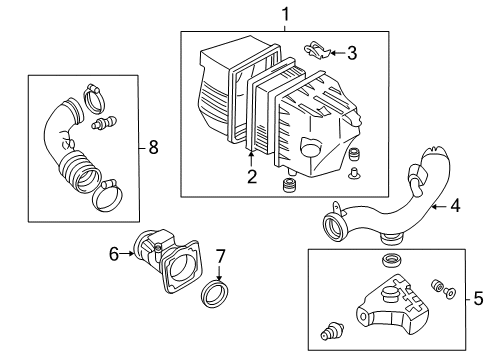
- 2.Engine / Transaxle - Air Intake (Limited,XLS,XLT,XLT No Boundaries,XLT Sport)
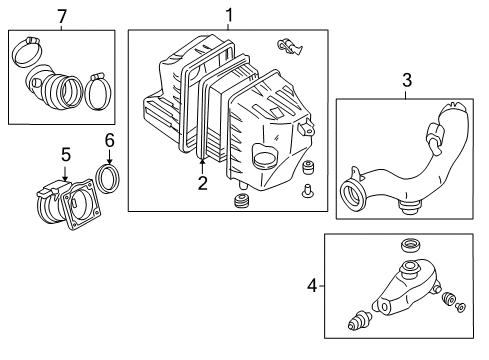
- 3.Engine / Transaxle - Air Intake (XLS,XLT,XLT No Boundaries)
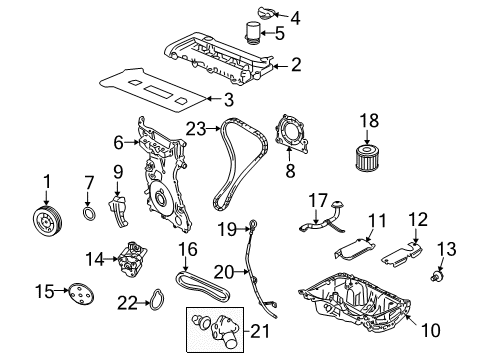
- 4.Engine / Transaxle - Engine Parts (Hybrid)
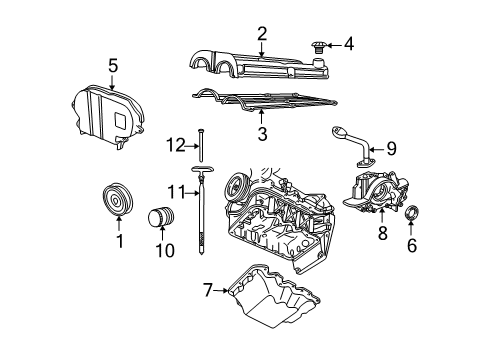
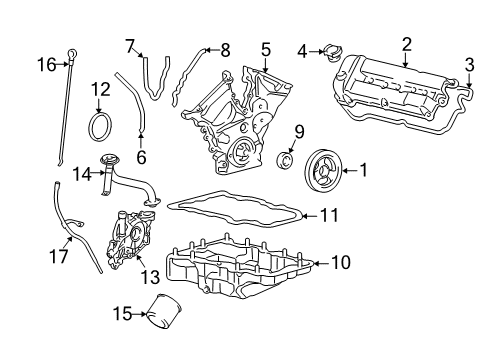
- 5.Engine / Transaxle - Engine Parts (Limited,XLS,XLT,XLT No Boundaries,XLT Sport)
Sort by:
Ref No.
Ref No.
Part No. & Part Description
Price & Qty.
Part No. &
Part Description
Part Description
- 1
 MSRP: $84.48 Your Price: $61.071
 - 1
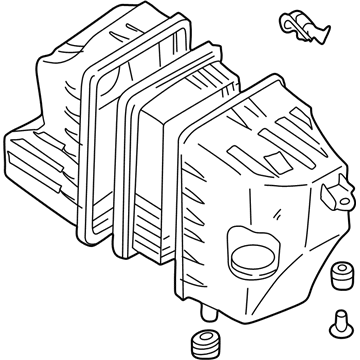
- 1
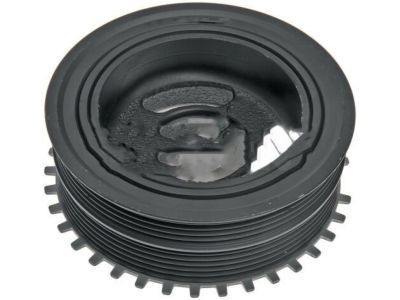
- 1
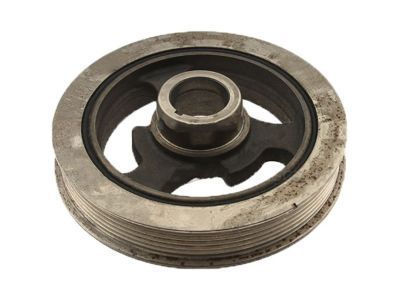
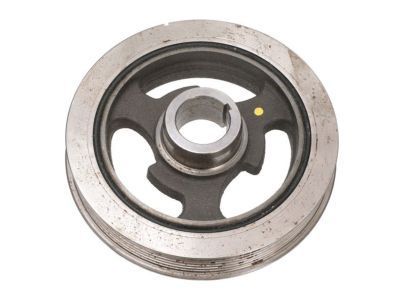
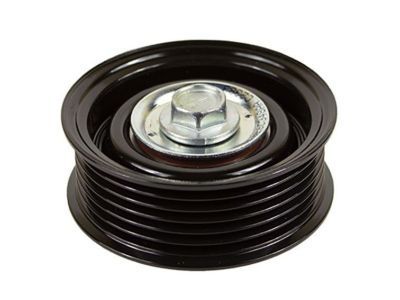 MSRP: $493.33 Your Price: $401.271
- 1
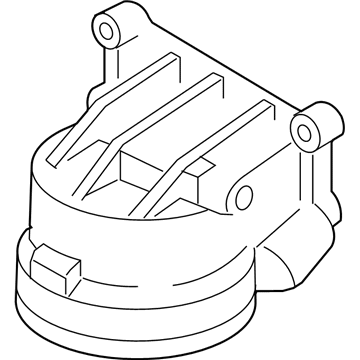
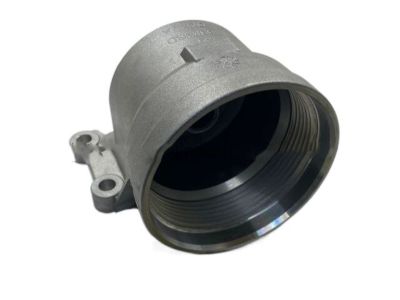
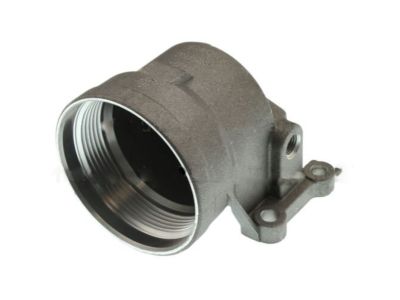
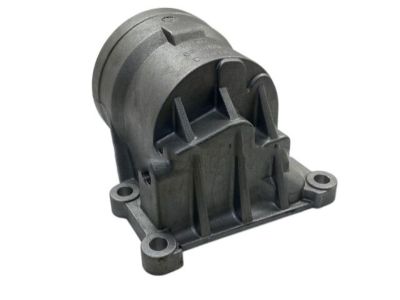
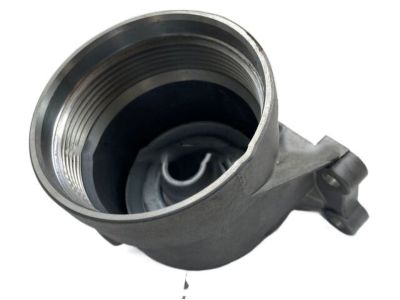 MSRP: $425.33 Your Price: $204.801
- 2
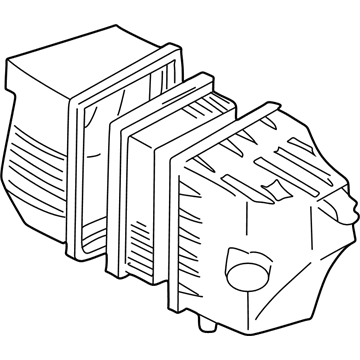
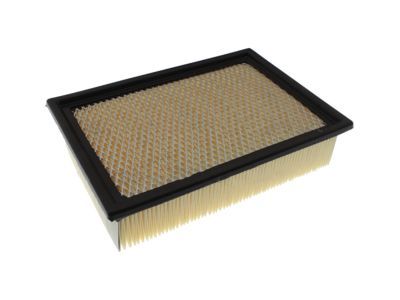
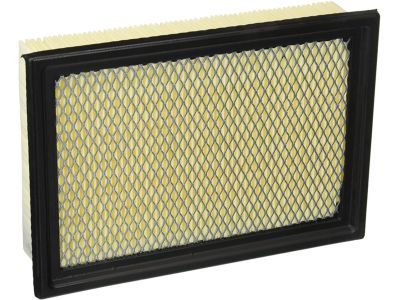 MSRP: $30.80 Your Price: $19.90
- 2
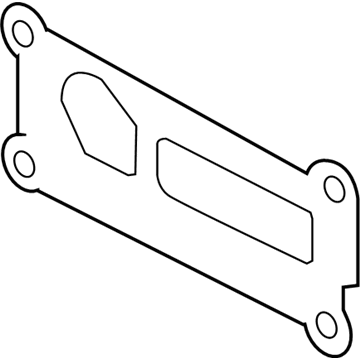
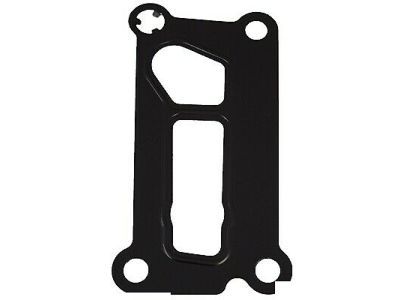
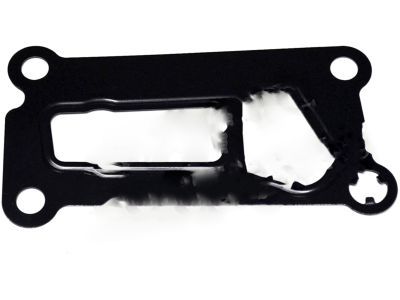
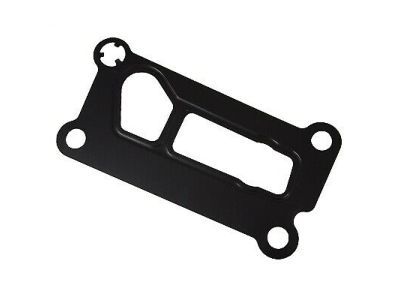 MSRP: $10.42 Your Price: $6.731
- 2
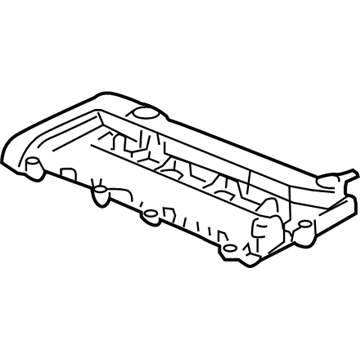
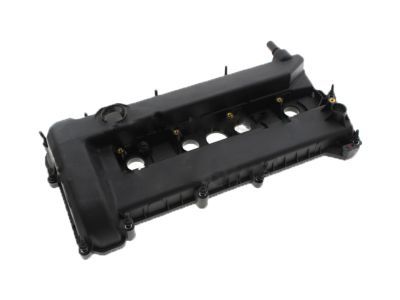 MSRP: $229.17 Your Price: $157.441
 - 2
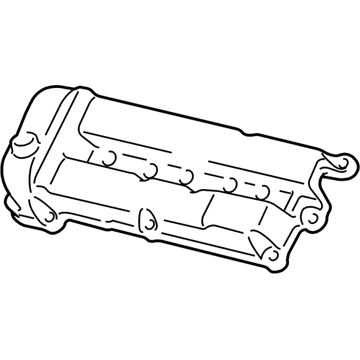
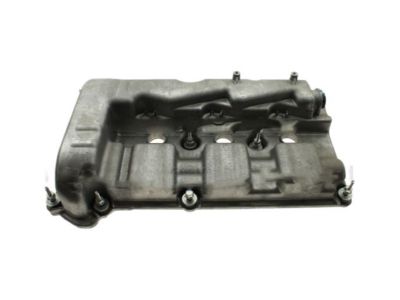
- 2
- 3
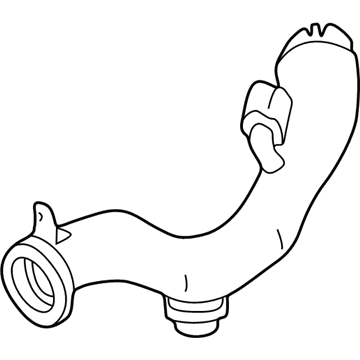
- 3
 MSRP: $2.50 Your Price: $1.474
- 3
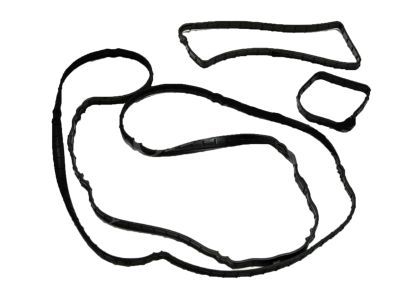
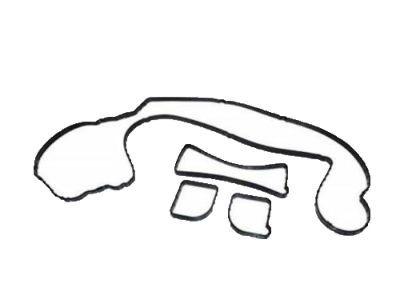 MSRP: $48.00 Your Price: $33.841
 - 3
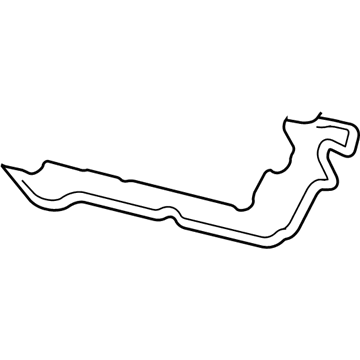
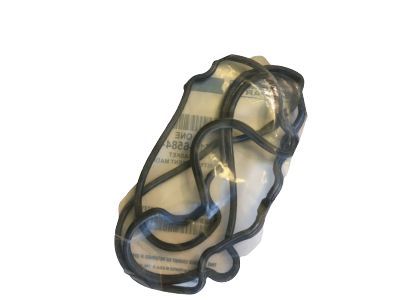 MSRP: $35.67 Your Price: $24.501
 - 3
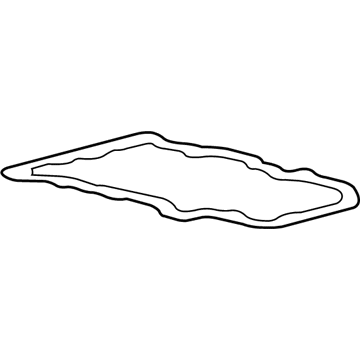
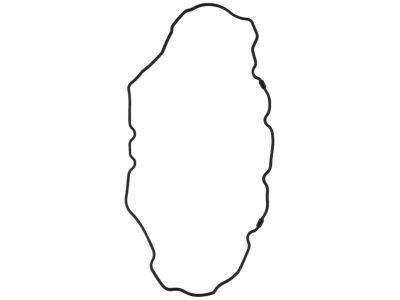
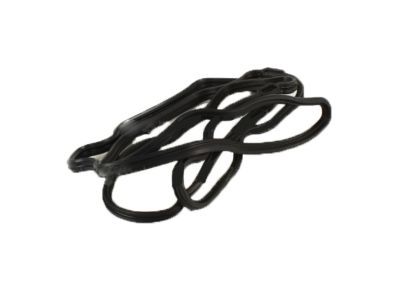
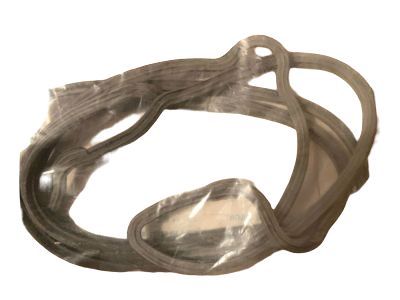 3F1Z-6584-BA
Gasket - Valve Rocker Arm CoverValve Cover Gasket- Part Notes: 3.0L
- Location: Passenger Side
MSRP: $35.67 Your Price: $24.501
- 4

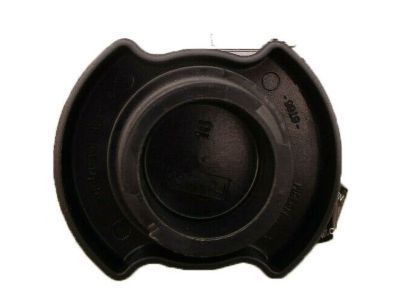
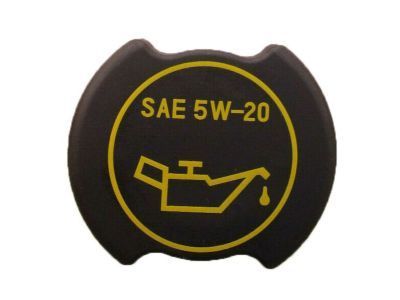 MSRP: $12.36 Your Price: $7.791
 - 4
 MSRP: $18.18 Your Price: $11.451
- 4
- 4
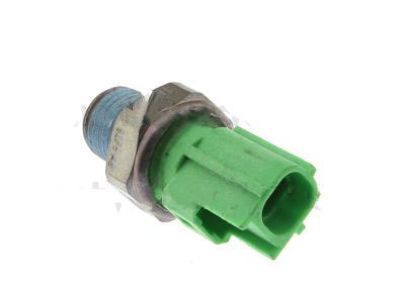 MSRP: $25.45 Your Price: $16.031
- 4
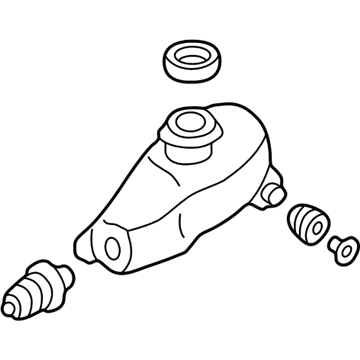 MSRP: $72.97 Your Price: $51.001
- 5
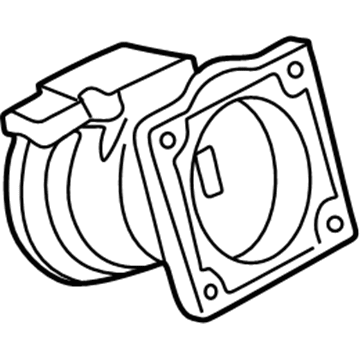
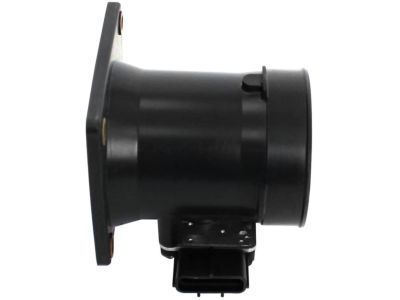
- 5
- 5
- 5
 MSRP: $72.97 Your Price: $51.001
- 5
- 6
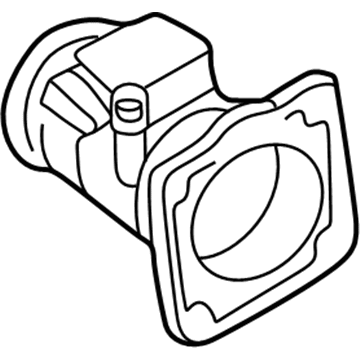
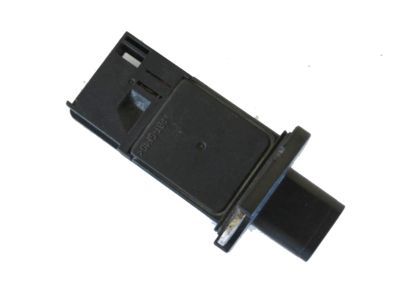
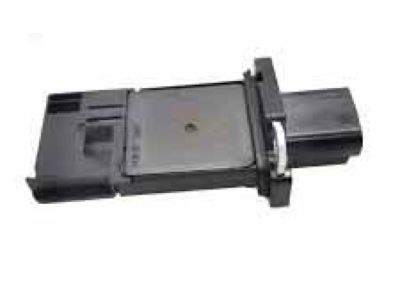
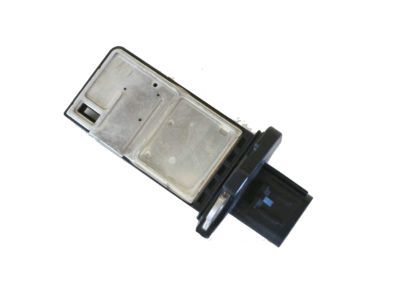
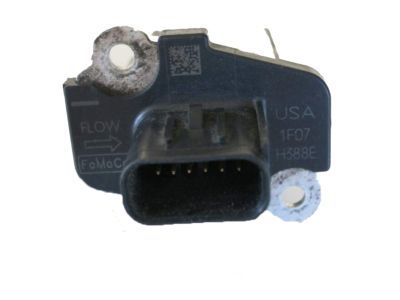
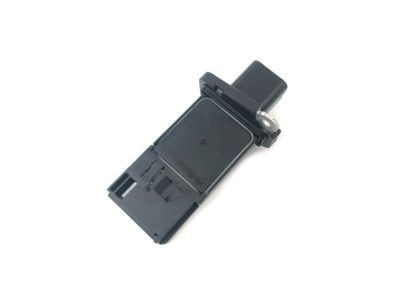
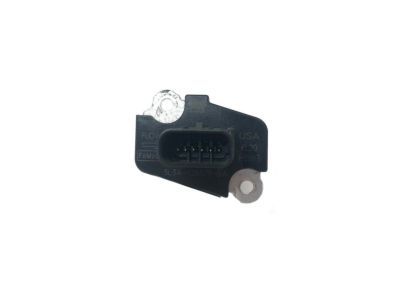
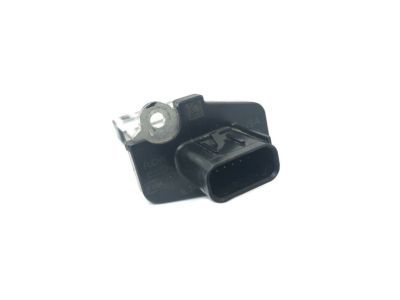
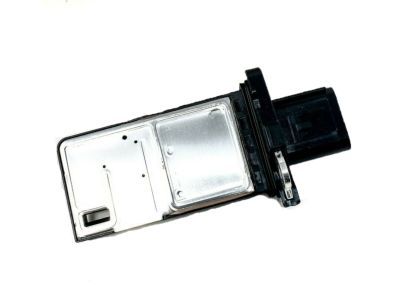
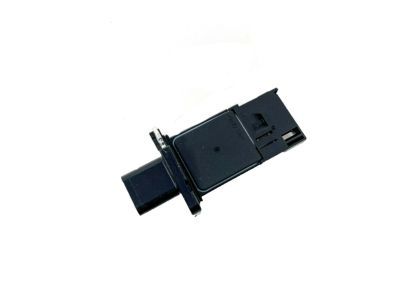
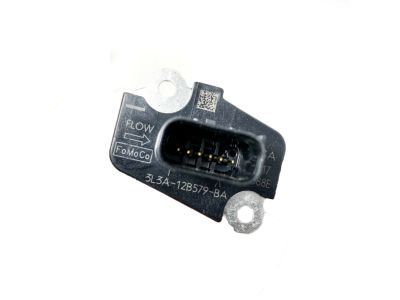
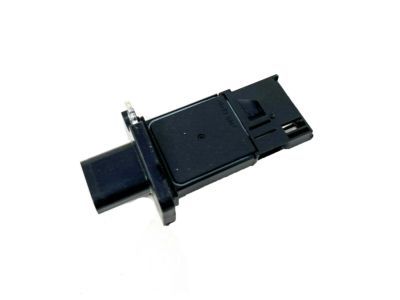 MSRP: $227.27 Your Price: $138.131
- 6
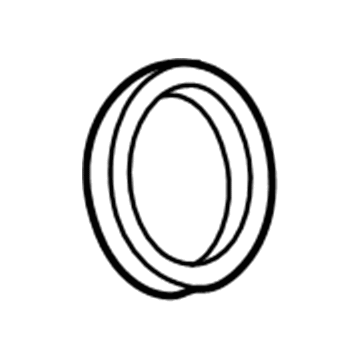
- 6
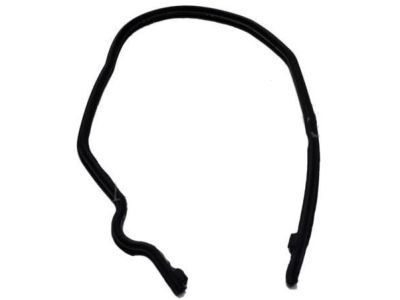
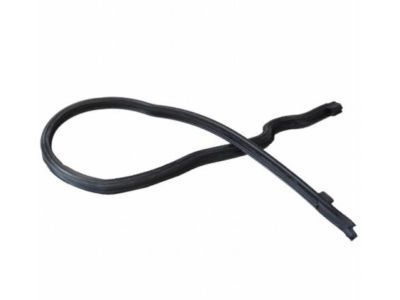 MSRP: $12.96 Your Price: $8.381
- 6
 MSRP: $18.75 Your Price: $13.781
- 6
- 7

 MSRP: $10.00 Your Price: $7.051
- 7
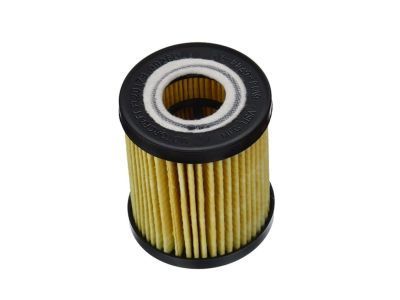 MSRP: $16.82 Your Price: $10.591
- 7
 MSRP: $17.50 Your Price: $12.341
- 7
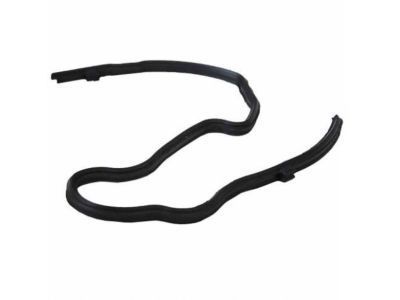
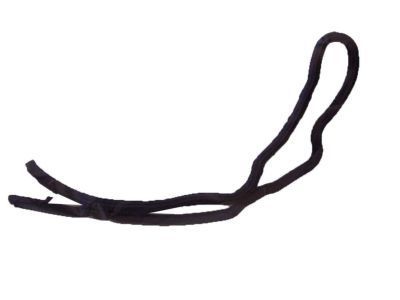 MSRP: $16.71 Your Price: $10.801
- 7
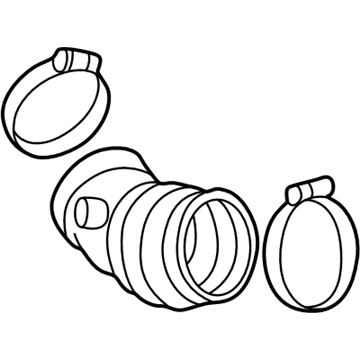 MSRP: $34.28 Your Price: $24.171
- 8
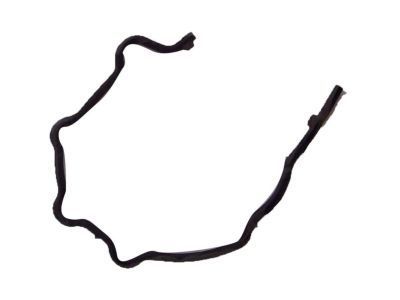
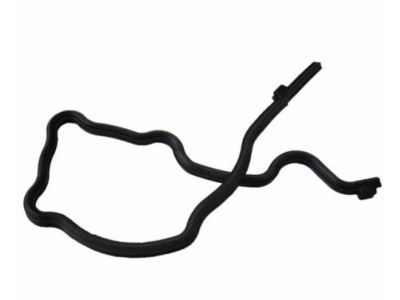 MSRP: $13.04 Your Price: $8.421
- 8
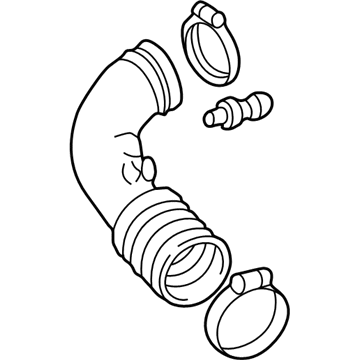 MSRP: $66.83 Your Price: $46.721
- 8
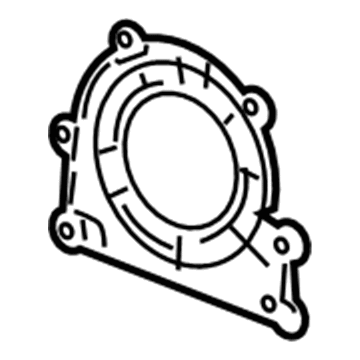
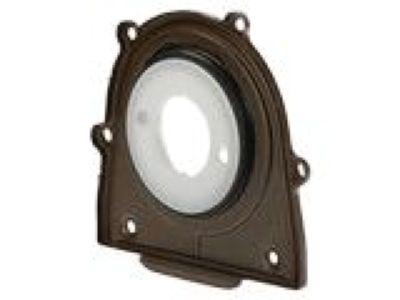
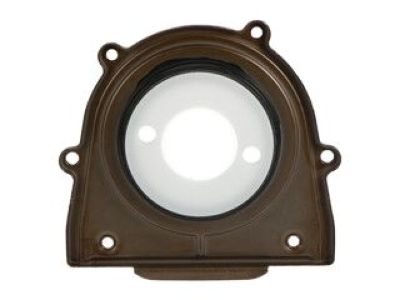
 MSRP: $115.17 Your Price: $79.121
- 9
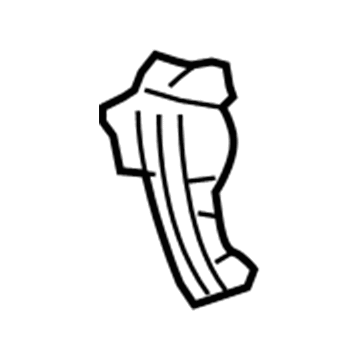 MSRP: $181.82 Your Price: $110.501
- 9

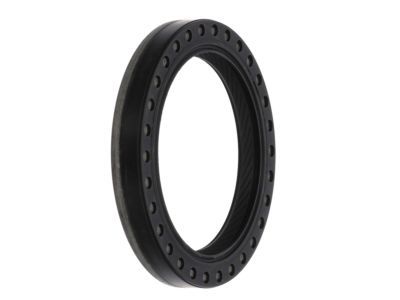
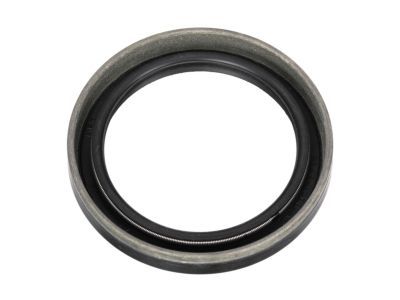
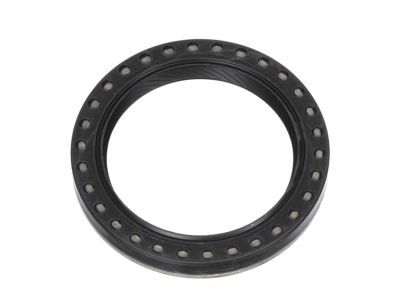
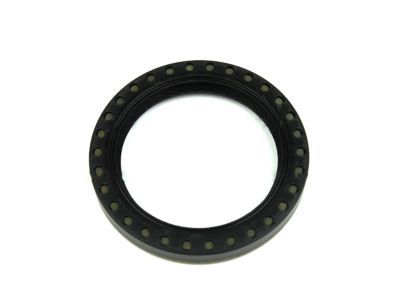 MSRP: $23.67 Your Price: $15.901
- 10
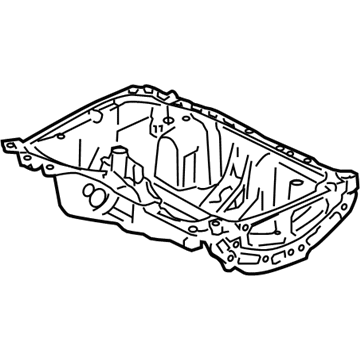 MSRP: $180.03 Your Price: $123.681
 - 10
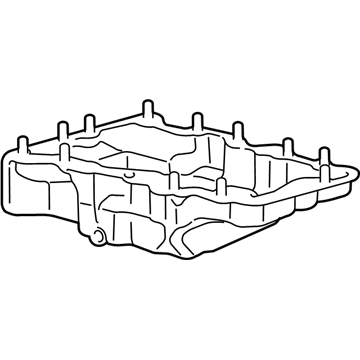 MSRP: $138.22 Your Price: $94.951
- 11
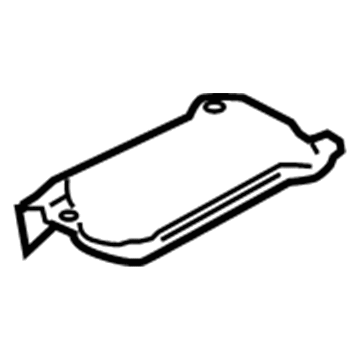
- 11
 MSRP: $86.17 Your Price: $56.091
- 12
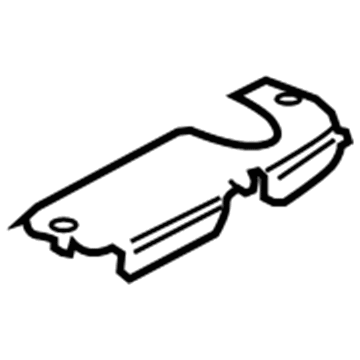
- 12

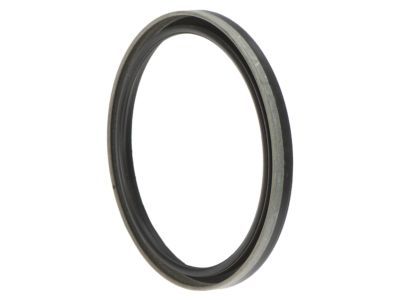
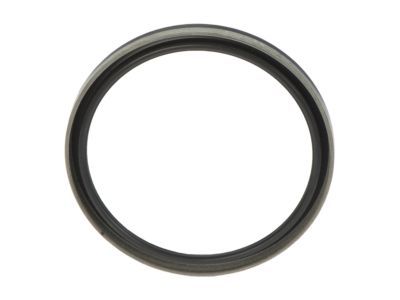
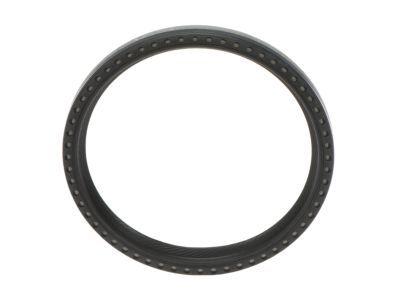
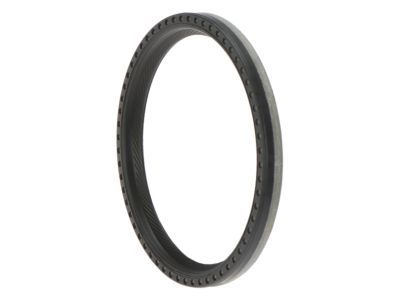
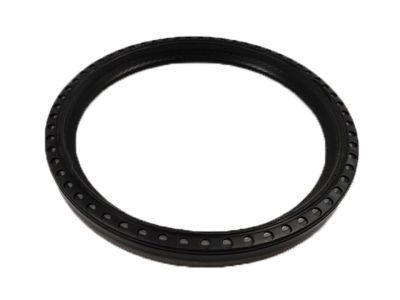
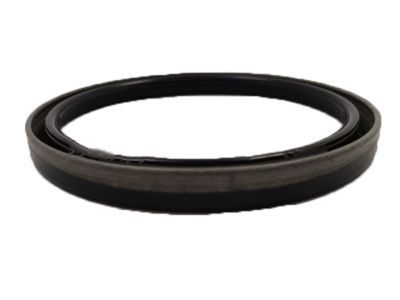
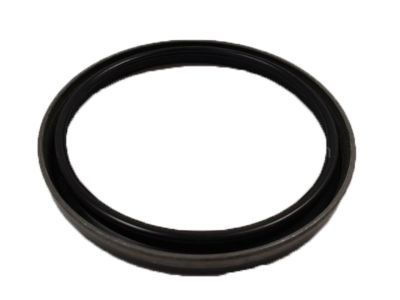
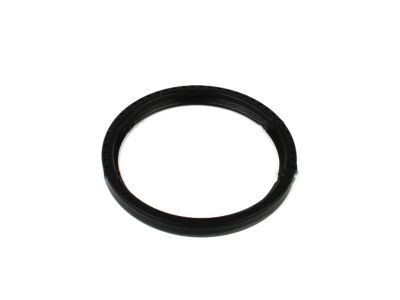 MSRP: $49.33 Your Price: $34.781
- 13
 MSRP: $8.62 Your Price: $6.071
- 13
 MSRP: $283.33 Your Price: $194.651
- 14
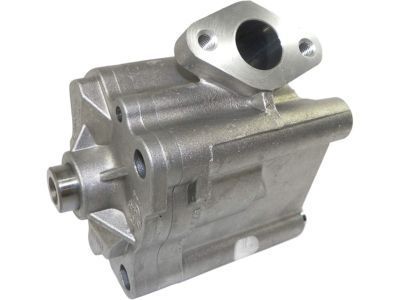
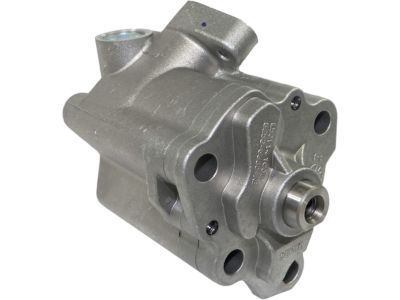
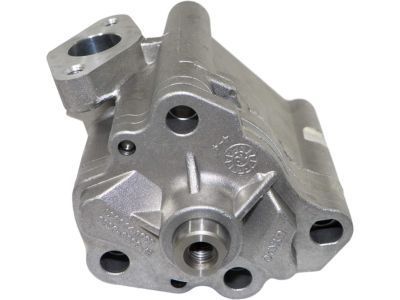 MSRP: $130.67 Your Price: $84.911
 - 14
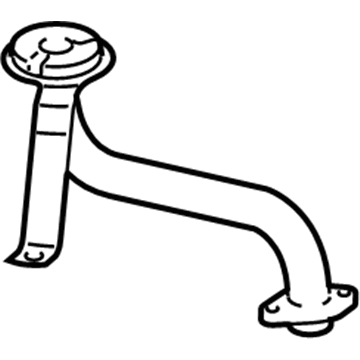
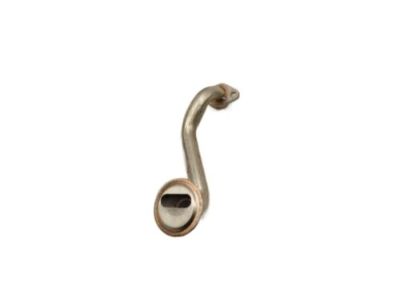
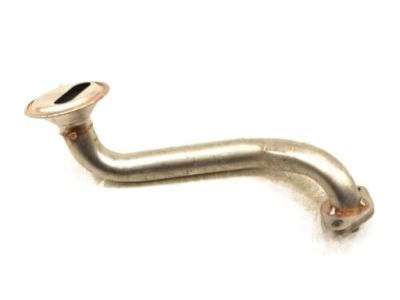
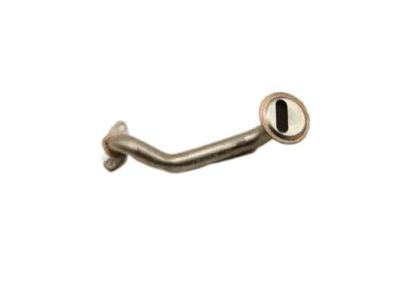
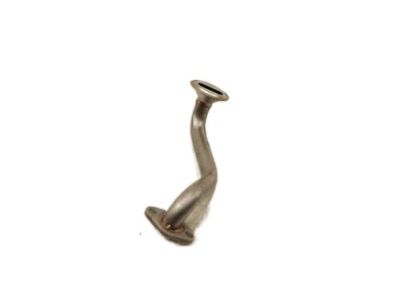 MSRP: $221.83 Your Price: $152.401
- 15

- 15

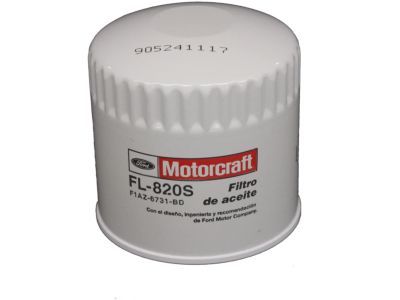
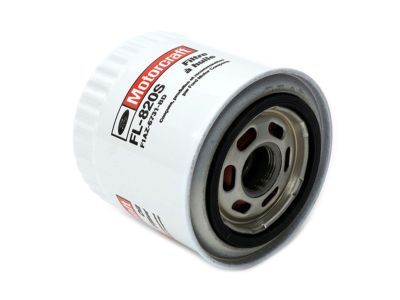
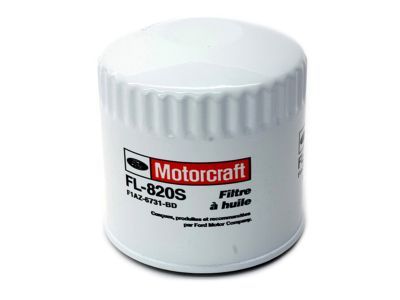 MSRP: $12.71 Your Price: $8.001
- 16
 MSRP: $48.67 Your Price: $32.701
- 16
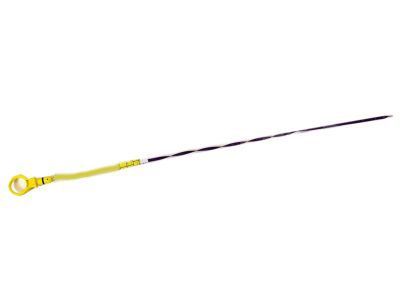
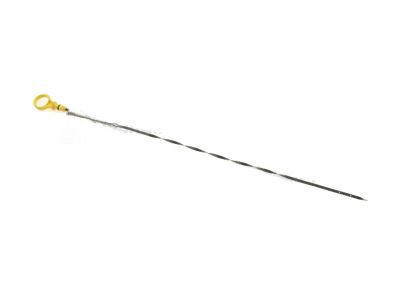
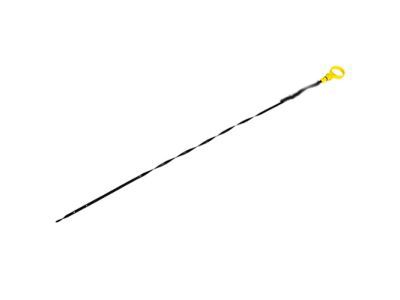 MSRP: $38.83 Your Price: $26.681
- 17
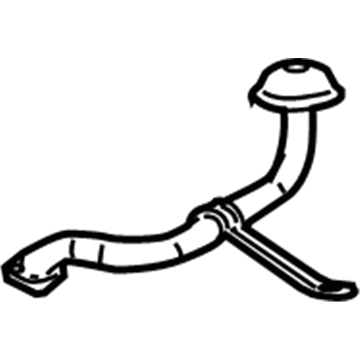
- 17
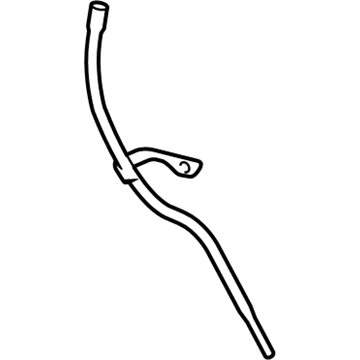 MSRP: $30.62 Your Price: $21.031
- 18
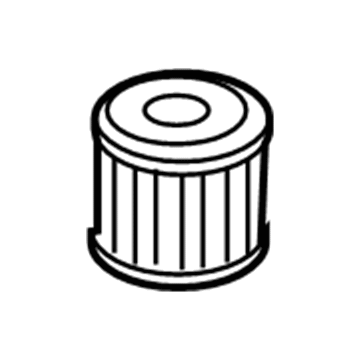 MSRP: $16.82 Your Price: $10.591
- 19

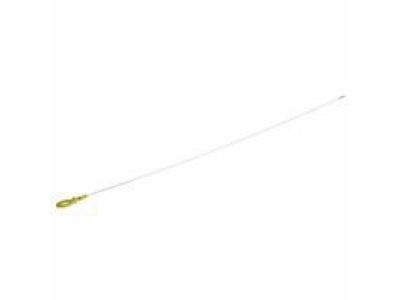
- 20
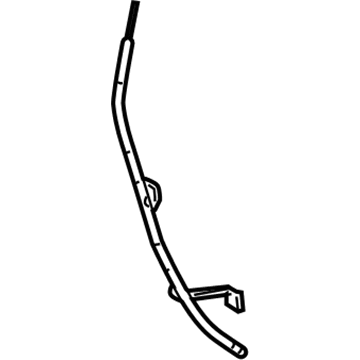
- 21
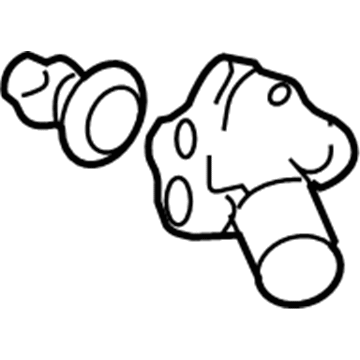
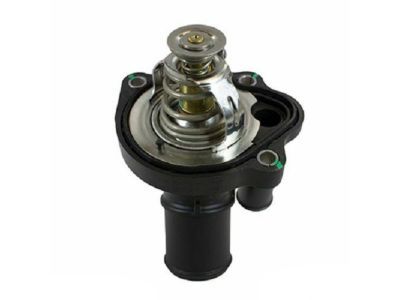
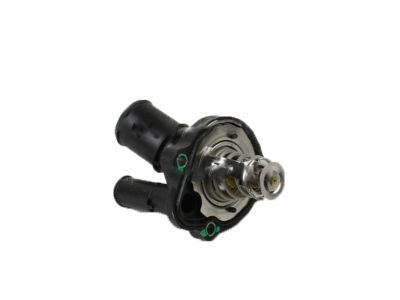
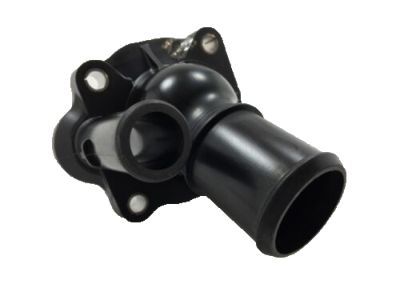
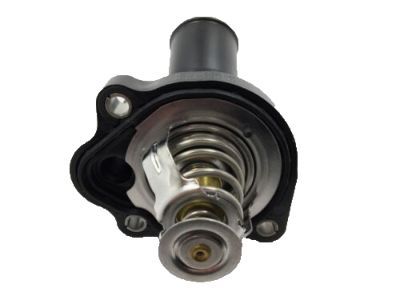
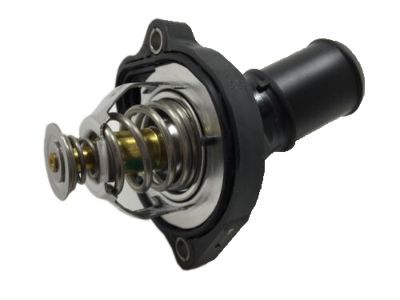
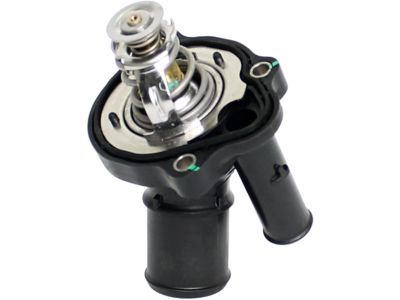 MSRP: $51.82 Your Price: $32.631
- 22
 MSRP: $40.00 Your Price: $24.641
- 23
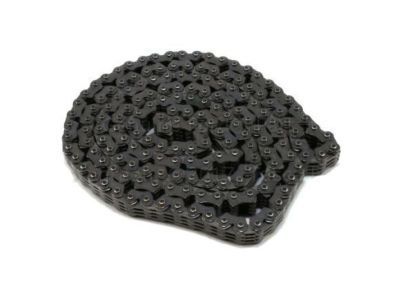 MSRP: $84.52 Your Price: $58.061
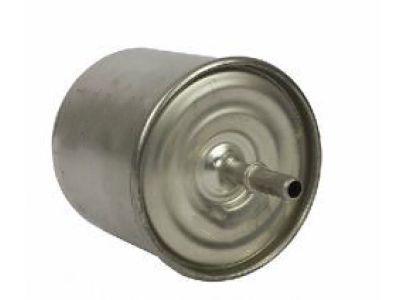
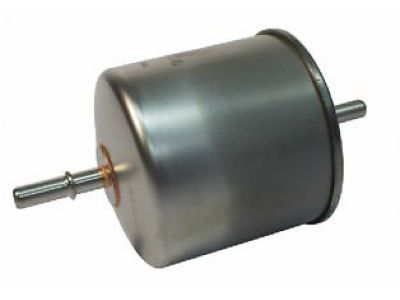 MSRP: $33.09 Your Price: $21.39
OEM 2005 Ford Escape Parts for Filters
Genuine OEM 2005 Ford Escape parts are made using the original design, the high standards, in the Ford official factories, and all of these ensure that they always fit perfectly and easily. FordPartsDeal.com is a trusted source for finding these authentic OEM Filters parts at very competitive prices. Our professional team is here to help you choose the right 2005 Ford Escape Fuel Filter, Oil Filter, Air Filter, Air Filter Box, and our fast delivery options ensure that your parts are always delivered quickly.
Mass Air Flow Sensor Installation and Repair Tips for 2005 Ford Escape
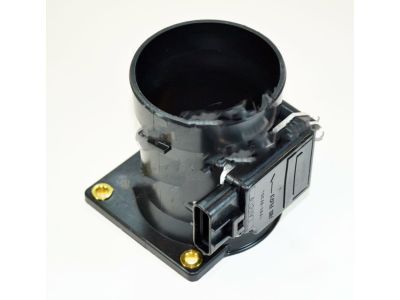
- Q:How to Service the Mass Air Flow Sensor on 2005 Ford Escape?A:When servicing the MAF sensor, begin by removing battery ground cable and the electrical connector on the MAF sensor. Next, take the four nuts that are gripping the sensor off. Installation The new sensor should be firmly screwed to 10 Nm (89 lb-in) when installing and then removed in the same sequence.