FordParts
My Garage
My Account
Cart
A/C Compressor
2006 Ford F-150 A/C Compressor
Currently shopping for
2006 Ford F-150
Change VehicleCategories Close X
Currently selected
A/C & Heating
Other Categories
Air & Fuel Delivery
Belts & Cooling
Body & Hardware
Brakes
Charging & Starting
Driveline & Axles
Electrical
Emission Control & Exhaust
Engine
Headlights & Lighting
Interior & Exterior Trim
Maintenance & Lubrication
Steering
Suspension
Transmission
Categories Close X
How to use OE catalog
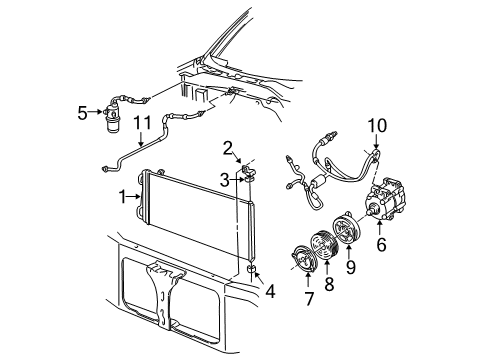
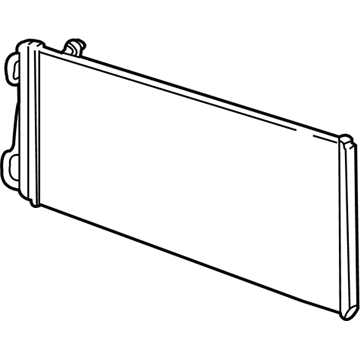
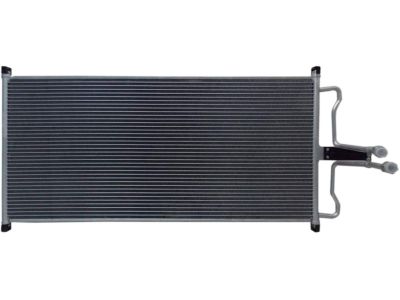
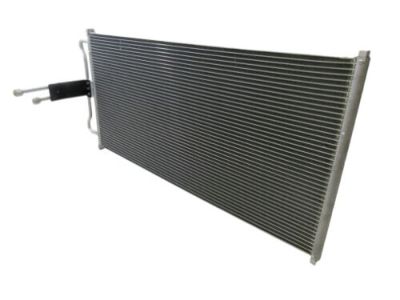
Diagram (1 of 1): Air Conditioner & Heater - Condenser, Compressor & Lines
Sort by:
Ref No.
Ref No.
Part No. & Part Description
Price & Qty.
Part No. &
Part Description
Part Description
- 1
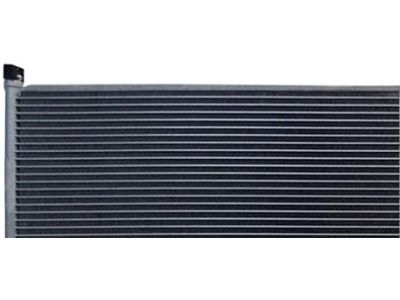
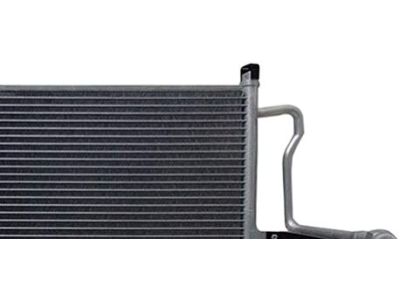
- 2

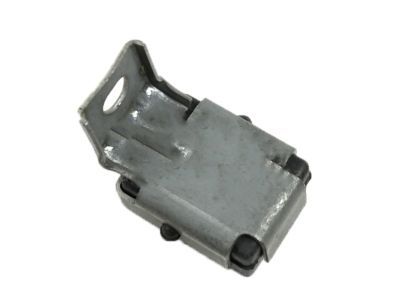 4L3Z-19702-AA
BracketCondenser Assembly Mount Bracket- Part Notes: 2004-2006
- Location: Driver Side;Passenger Side
- 3

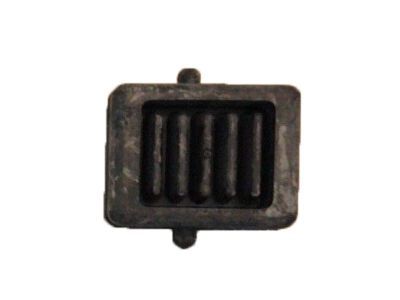 F3LY-19C566-A
Insulator - RubberCondenser Assembly Upper Insulator- Part Notes: 2004-2006
- Location: Driver Side;Passenger Side
MSRP: $34.17 Your Price: $24.091
- 4

 F65Z-19C566-AA
Insulator - RubberCondenser Assembly Lower Insulator- Part Notes: 2004-2006
- Location: Driver Side;Passenger Side
- 5
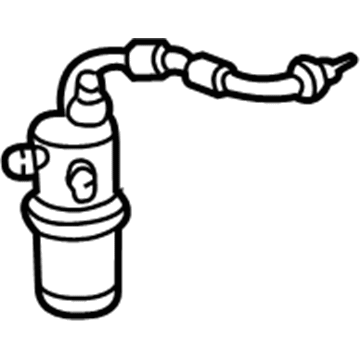 MSRP: $154.55 Your Price: $93.931
- 6
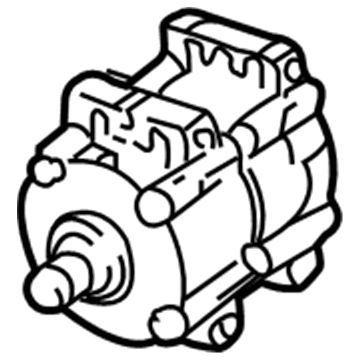
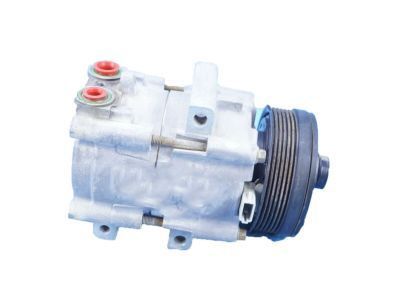
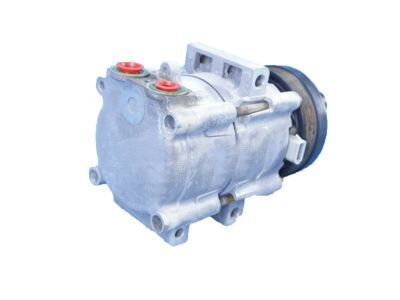
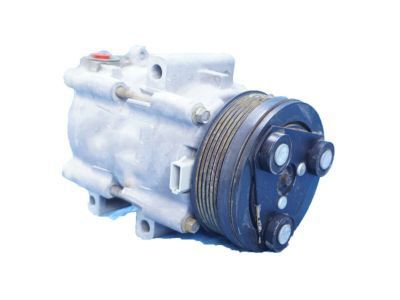
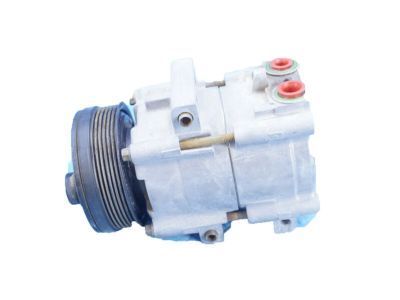
- 7
 MSRP: $131.00 Your Price: $79.621
 - 7MSRP: $131.00 Your Price: $78.031
- 8
 MSRP: $153.40 Your Price: $95.081
 - 8
- 9
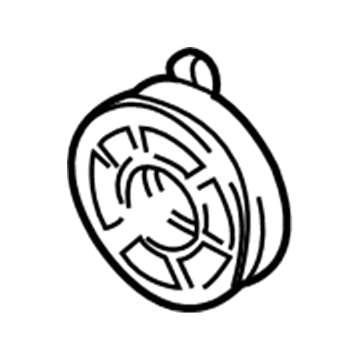
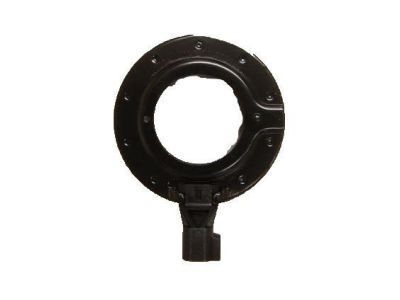
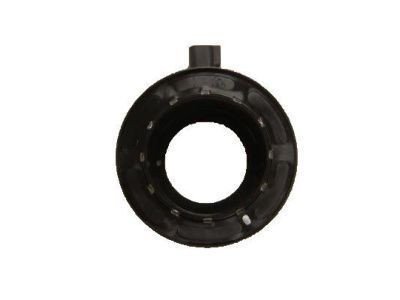 MSRP: $9.57 Your Price: $6.571
 - 9MSRP: $125.45 Your Price: $74.731
- 10
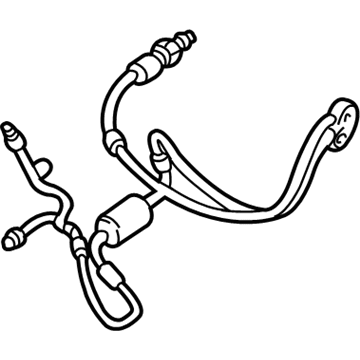 MSRP: $167.27 Your Price: $101.661
 - 10
- 11
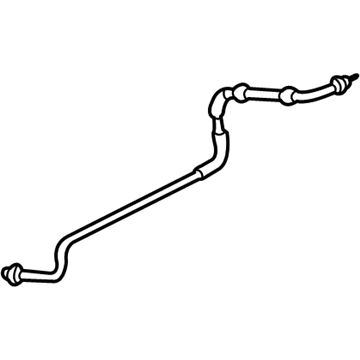
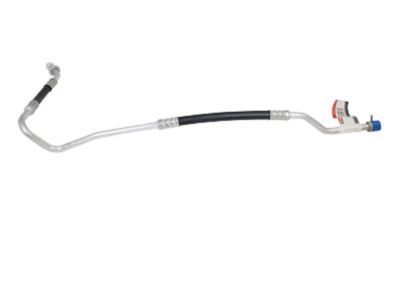 MSRP: $65.45 Your Price: $41.221
OEM 2006 Ford F-150 Parts for A/C Compressor
Genuine OEM 2006 Ford F-150 parts are made using the original design, the high standards, in the Ford official factories, and all of these ensure that they always fit perfectly and easily. FordPartsDeal.com is a trusted source for finding these authentic OEM A/C Compressor parts at very competitive prices. Our professional team is here to help you choose the right 2006 Ford F-150 A/C Compressor, and our fast delivery options ensure that your parts are always delivered quickly.
A/C Accumulator Installation and Repair Tips for 2006 Ford F-150
- Q:How to Service the A/C Accumulator in the HVAC System on 2006 Ford F-150?A:To maintain the HVAC suction accumulator, drain the refrigerant, depaneling the PCM, battery and bracket. Unscrew the outlet fitting, then unscrew the O-ring seal, and unscrew the inlet fitting. Take the accumulator out, and fit a new O-ring, lubricated with clean PAG oil. Lastly, evacuate, leak test, and charge system.