FordParts
My Garage
My Account
Cart
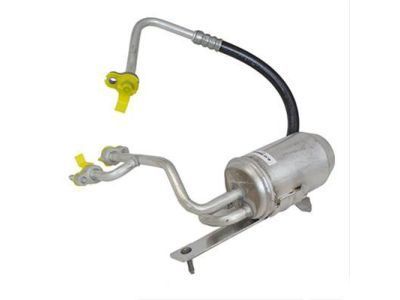
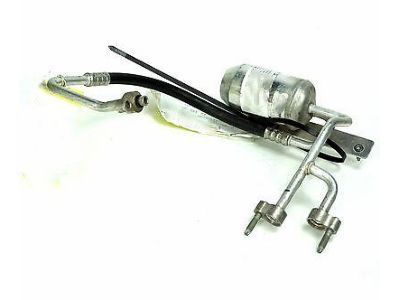
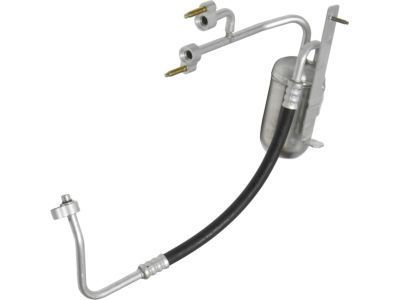
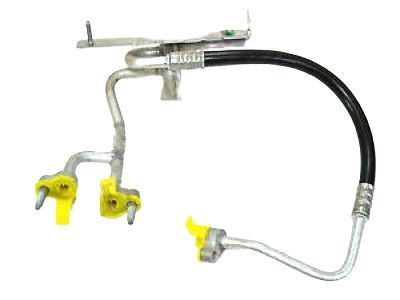
OEM 2006 Lincoln Navigator A/C Accumulator
Accumulator- Select Vehicle by Model
- Select Vehicle by VIN
Select Vehicle by Model
orMake
Model
Year
Select Vehicle by VIN
For the most accurate results, select vehicle by your VIN (Vehicle Identification Number).
1 A/C Accumulator found

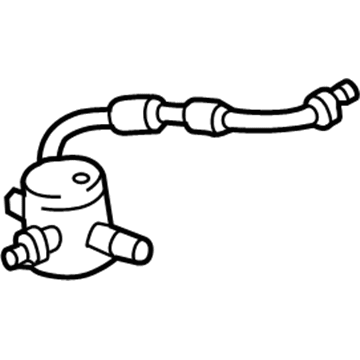
2006 Lincoln Navigator Drier Part Number: 6L1Z-19959-BA
Product Specifications- Other Name: Dehydrator Assembly; A/C Accumulator; Drier Desiccant Element; A/C Receiver Drier; Accumulator
- Replaces: 3L1Z-19959-BA
- Base No.: 19959
- Item Weight: 2.30 Pounds
- Item Dimensions: 8.2 x 10.5 x 14.6 inches
- Condition: New
- Fitment Type: Direct Replacement
- SKU: 6L1Z-19959-BA
- Warranty: This genuine part is guaranteed by Ford's factory warranty.
2006 Lincoln Navigator A/C Accumulator
If you're seeking quality and affordability, look no further than our extensive inventory of genuine 2006 Lincoln Navigator A/C Accumulator available at FordPartsDeal.com. You can confidently purchase our OEM 2006 Lincoln Navigator A/C Accumulator as they are supported by the manufacturer's warranty and our hassle-free return policy, alongside the benefit of our fast delivery service.
2006 Lincoln Navigator A/C Accumulator Parts Q&A
- Q: How to Service the A/C Accumulator on 2006 Lincoln Navigator?A: The first step for servicing the A/C accumulator involves recovering all refrigerant from it. Turn your attention to the removal of the condenser outlet fitting nut followed by disconnecting the fitting while disposing of its O-ring seal. When reattaching the new fitting maintain a torque of 8 Nm (71 lb-in). First dispose of the O-ring seal when you remove the A/C accumulator outlet fitting thus enabling fitting disconnect. Next follow installation procedure by tightening the new fitting to 8 Nm (71 lb-in). Installation of the new fitting requires 8 Nm (71 lb-in) torque when working on vehicles that have auxiliary A/C through disconnecting the inlet line fitting using a nut and discarding the O-ring seal. After A/C accumulator bracket nut removal the installer must re-torque this nut to 12 Nm (9 lb-ft) before reinstalling it. After separating the bracket you should take off the A/C accumulator. The installation ends by running through the step-by-step removal process but using new O-ring seals and correctly applying clean PAG oil into the refrigerant system. The system requires evacuation followed by leak testing and then the refrigerant system needs charging.
