My Garage
Cart

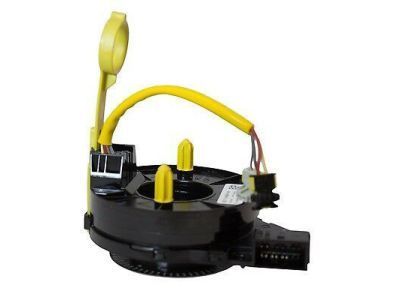
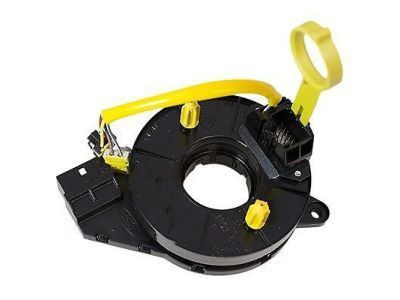
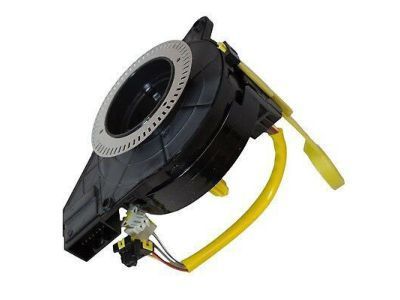
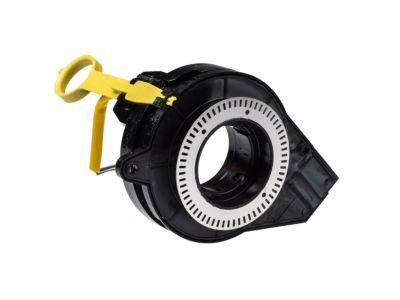
OEM 2008 Ford Taurus Clock Spring

Spiral Cable Clock Spring
  • Select Vehicle by Model
  • Select Vehicle by VIN
Select Vehicle by Model
Make
Model
Year
or
Select Vehicle by VIN
For the most accurate results, select vehicle by your VIN (Vehicle Identification Number).

1 Clock Spring found

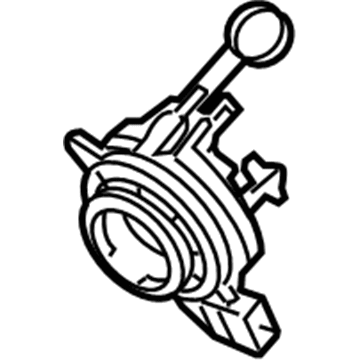
  • 2008 Ford Taurus Clock Spring Diagram - 8G1Z-14A664-A
    View related parts

    2008 Ford Taurus Clockspring Part Number: 8G1Z-14A664-A

    $85.47 MSRP: $124.42
    You Save: $38.95 (32%)
    ADD TO CART
    Product Specifications
    • Other Name: Cover And Contact Plate Assembly; Air Bag Clockspring
    • Base No.: 14A664
    • Item Weight: 1.20 Pounds
    • Item Dimensions: 6.1 x 6.2 x 4.6 inches
    • Condition: New
    • Fitment Type: Direct Replacement
    • SKU: 8G1Z-14A664-A
    • Warranty: This genuine part is guaranteed by Ford's factory warranty.
    More Info
    Fits the following 2008 Ford Taurus Submodels:
    • Limited, SE, SEL | 6 Cyl 3.5 L GAS

2008 Ford Taurus Clock Spring

If you're seeking quality and affordability, look no further than our extensive inventory of genuine 2008 Ford Taurus Clock Spring available at FordPartsDeal.com. You can confidently purchase our OEM 2008 Ford Taurus Clock Spring as they are supported by the manufacturer's warranty and our hassle-free return policy, alongside the benefit of our fast delivery service.

2008 Ford Taurus Clock Spring Parts Q&A

  • Q: How to Service and Repair the Clock Spring Assembly on 2008 Ford Taurus?
    A: The servicing process for Clock Spring requires an initial disconnection of SRS to minimize deployment risk while also omitting memory saver devices. Before you remove either the driver air bag module or steering wheel the road wheels need to be fixed in the straight-ahead configuration. A sensor equipped in this system requires its electrical connector to be detached so you can install two screws and position it away from the working area. The next step involves removing two screws that fasten the Clock Spring followed by an extraction of the Clock Spring from the mounting. The anti-rotation key of a new Clock Spring must remain attached until the steering wheel installation is complete because early key removal could harm the Clock Spring and result in system failure. Use the two screws to fix the Clock Spring into place then return and reconnect the steering wheel angle sensor following hook-up of the Clock Spring electrical connector. Proper centralization of the Clock Spring is essential to avoid early device breakdown; execute the centralizing procedure once more if you are uncertain about its position. To avoid breaking the ribbon wire inside the Clock Spring both the centering process and careful manipulation of the inner rotor remain important when recurring usage of Clock Springs occurs. The procedure continues with steering wheel installation only if a new Clock Spring got installed without removing the anti-rotation key. When working with an existing Clock Spring or after removing its key the inner rotor must be rotated counterclockwise until resistance appears then continue clockwise rotation for 2.5 full turns to achieve proper centering of both the wiring and connector at the twelve o'clock position. End the installation by putting on the steering wheel followed by the removal of an anti-rotation key (if present) along with reinstallation of the driver air bag module and SRS power-up.