FordParts
My Garage
My Account
Cart
OEM 2009 Ford Fusion Engine Mount
Engine Motor Mount- Select Vehicle by Model
- Select Vehicle by VIN
Select Vehicle by Model
orMake
Model
Year
Select Vehicle by VIN
For the most accurate results, select vehicle by your VIN (Vehicle Identification Number).
13 Engine Mounts found

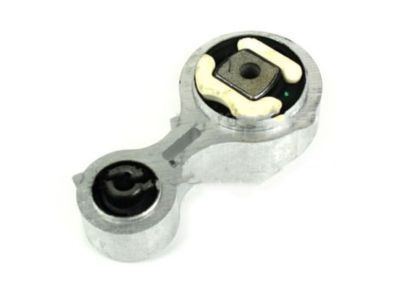
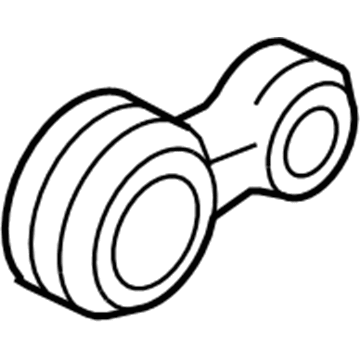
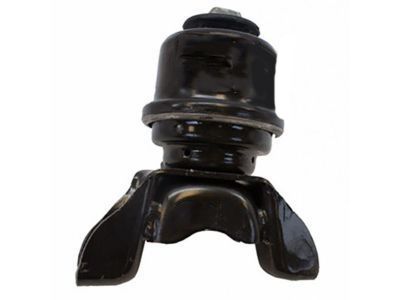
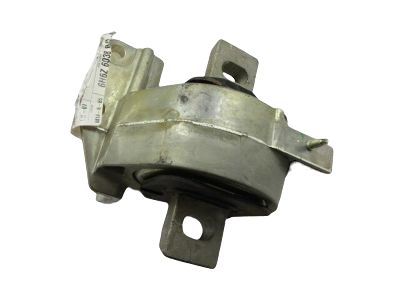
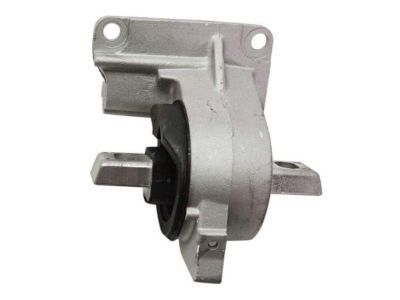
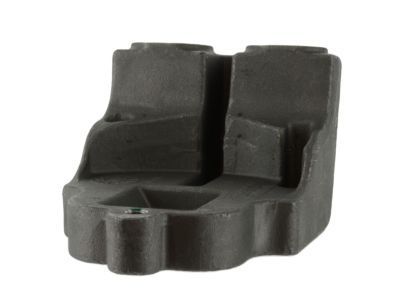
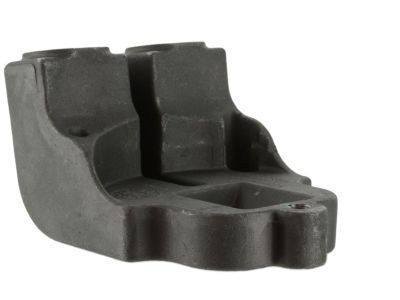
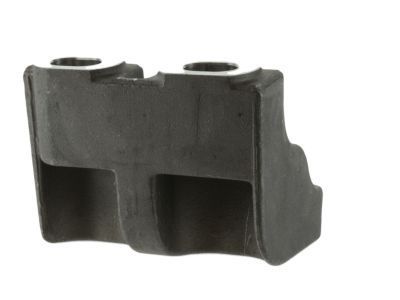
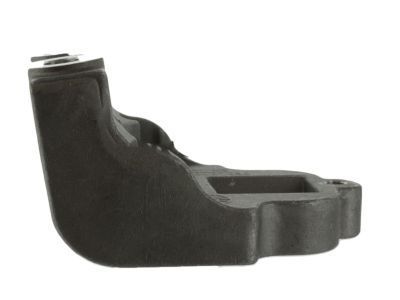
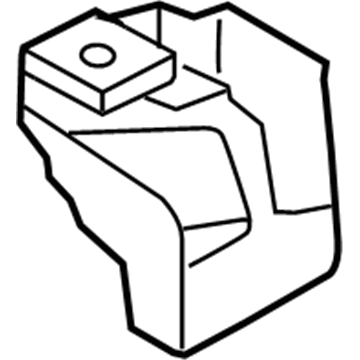
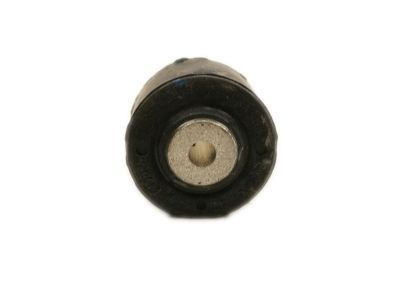
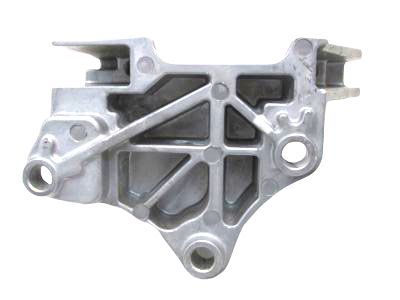
2009 Ford Fusion Strut Assembly Part Number: 8E5Z-6068-D
$53.78 MSRP: $82.62You Save: $28.84 (35%)Ships in 1-2 Business DaysProduct Specifications- Other Name: Housing; Engine Torque Strut; Engine Support Rod; Engine Mount Torque Strut; Engine Mount Bracket; Motor Mount; Torque Strut; Strut
- Replaces: 6E5Z-6068-FC, 6E5Z-6068-B, 6E5Z-6068-A, 8E5Z-6068-A
- Base No.: 6068
- Item Weight: 1.90 Pounds
- Item Dimensions: 8.4 x 4.4 x 3.0 inches
- Condition: New
- Fitment Type: Direct Replacement
- SKU: 8E5Z-6068-D
- Warranty: This genuine part is guaranteed by Ford's factory warranty.

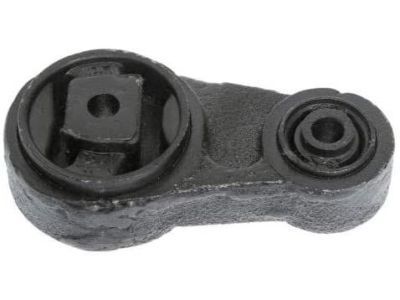
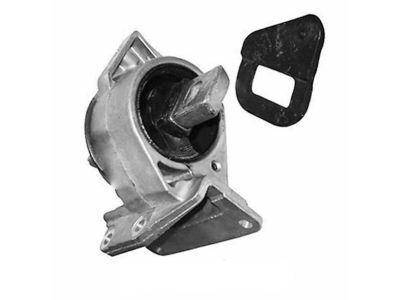
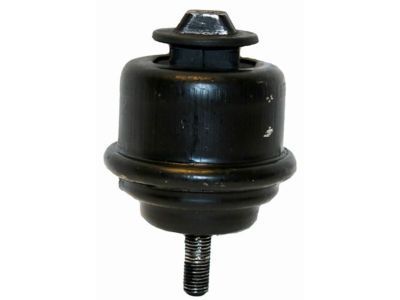
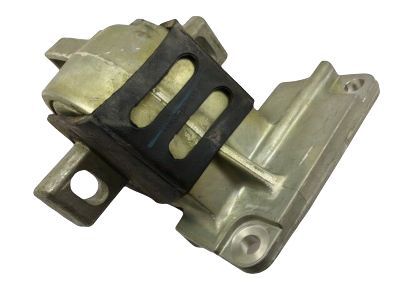
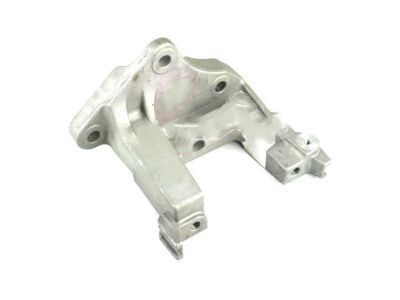
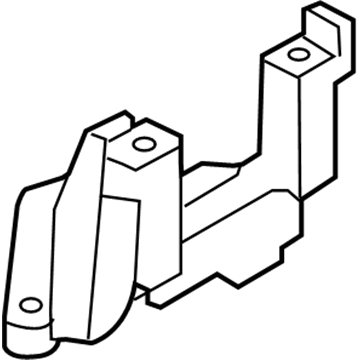
2009 Ford Fusion Strut Assembly, Lower Part Number: 9E5Z-6068-D
$56.87 MSRP: $82.78You Save: $25.91 (32%)Ships in 1-3 Business DaysProduct Specifications- Other Name: Housing; Engine Torque Strut, Lower; Engine Support Rod; Engine Mount Torque Strut; Engine Mount Bracket; Motor Mount; Torque Strut; Strut
- Position: Lower
- Replaces: 7E5Z-6068-BA, 8E5Z-6068-C
- Base No.: 6068
- Item Weight: 1.70 Pounds
- Item Dimensions: 8.4 x 4.6 x 3.0 inches
- Condition: New
- Fitment Type: Direct Replacement
- SKU: 9E5Z-6068-D
- Warranty: This genuine part is guaranteed by Ford's factory warranty.

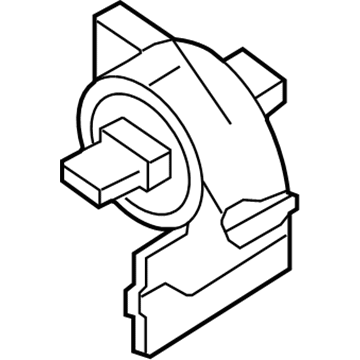
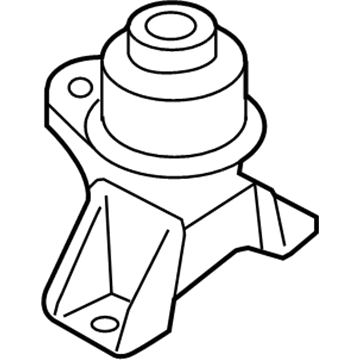
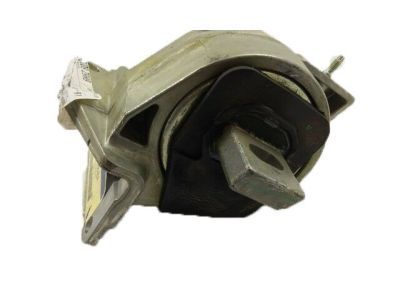
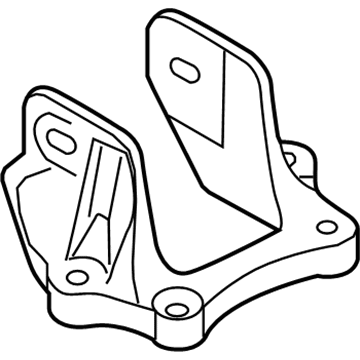
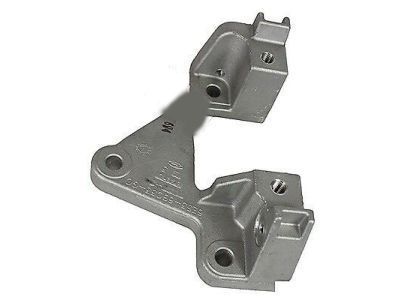
2009 Ford Fusion Transmission Mount Part Number: 9E5Z-6038-A
$80.12 MSRP: $116.62You Save: $36.50 (32%)Ships in 1-3 Business DaysProduct Specifications- Other Name: Insulator Assembly; Automatic Transmission Mount; Manual Transmission Mount; Transfer Case Mount
- Replaces: 6E5Z-6038-CB
- Base No.: 6038A
- Item Weight: 5.20 Pounds
- Item Dimensions: 8.1 x 5.9 x 10.2 inches
- Condition: New
- Fitment Type: Direct Replacement
- SKU: 9E5Z-6038-A
- Warranty: This genuine part is guaranteed by Ford's factory warranty.

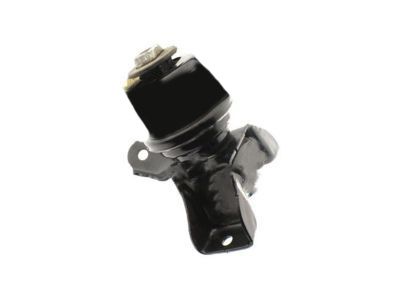
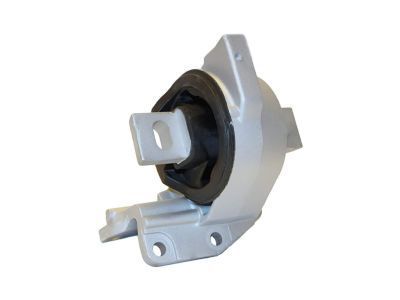
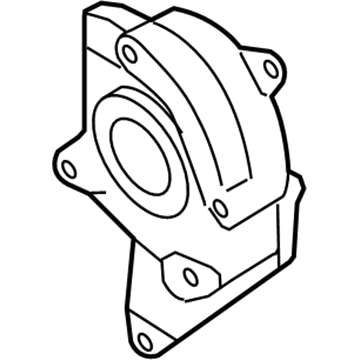
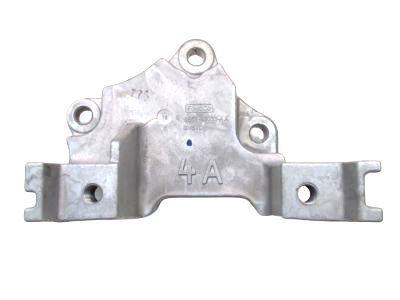
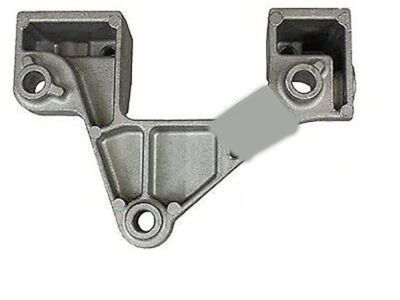
2009 Ford Fusion Front Mount Part Number: 6E5Z-6038-DF
$111.64 MSRP: $162.50You Save: $50.86 (32%)Product Specifications- Other Name: Bracket; Engine Mount, Front; Engine Mount Bracket; Motor Mount; Mount
- Position: Front
- Replaces: 6E5Z-6038-A
- Base No.: 6038B
- Item Weight: 7.90 Pounds
- Item Dimensions: 8.4 x 6.9 x 6.4 inches
- Condition: New
- Fitment Type: Direct Replacement
- SKU: 6E5Z-6038-DF
- Warranty: This genuine part is guaranteed by Ford's factory warranty.

2009 Ford Fusion Transmission Mount, Driver Side Part Number: 6H6Z-6038-BA
$80.12 MSRP: $116.62You Save: $36.50 (32%)Ships in 1-2 Business DaysProduct Specifications- Other Name: Insulator Assembly; Automatic Transmission Mount; Transfer Case Mount
- Position: Driver Side
- Base No.: 6038A
- Item Weight: 5.80 Pounds
- Item Dimensions: 8.3 x 7.1 x 5.2 inches
- Condition: New
- Fitment Type: Direct Replacement
- SKU: 6H6Z-6038-BA
- Warranty: This genuine part is guaranteed by Ford's factory warranty.

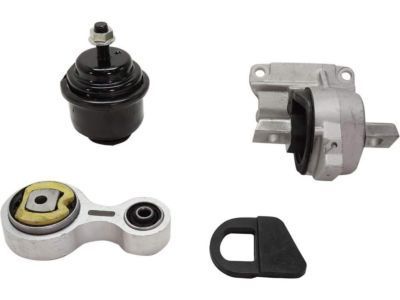
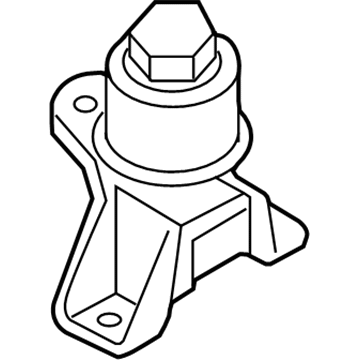
2009 Ford Fusion Front Mount, Passenger Side Part Number: 6E5Z-6038-CK
$68.91 MSRP: $100.30You Save: $31.39 (32%)Ships in 1-2 Business DaysProduct Specifications- Other Name: Insulator Assembly; Engine Mount, Front; Engine Mount Bracket; Motor Mount; Mount
- Manufacturer Note: Requires Multiple Replacment Parts
- Position: Front Passenger Side
- Replaced by: 9E5Z-6038-F
- Base No.: 6038B
- Item Weight: 5.20 Pounds
- Item Dimensions: 9.1 x 8.2 x 7.9 inches
- Condition: New
- Fitment Type: Direct Replacement
- SKU: 6E5Z-6038-CK
- Warranty: This genuine part is guaranteed by Ford's factory warranty.
2009 Ford Fusion Mount Bracket, Passenger Side Part Number: 6E5Z-6061-BA
$68.91 MSRP: $100.30You Save: $31.39 (32%)Product Specifications- Other Name: Bracket - Engine Support; Engine Mount Bracket; Motor Mount
- Manufacturer Note: When Ordering The Replacing 9E5Z-6061-D You Must Also Order 9E5Z-6038-F
- Position: Passenger Side
- Replaced by: 9E5Z-6038-F
- Base No.: 6061
- Item Weight: 5.10 Pounds
- Item Dimensions: 9.2 x 8.3 x 8.1 inches
- Condition: New
- Fitment Type: Direct Replacement
- SKU: 6E5Z-6061-BA
- Warranty: This genuine part is guaranteed by Ford's factory warranty.

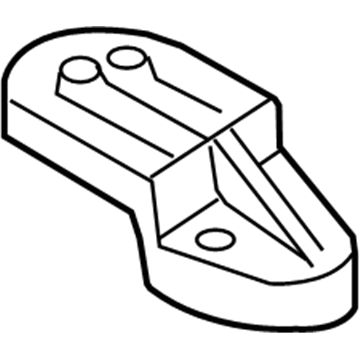
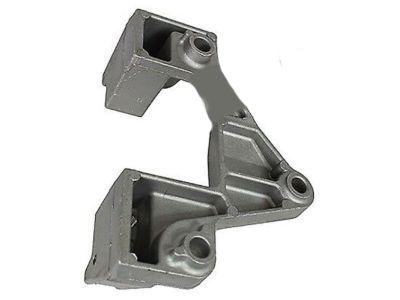
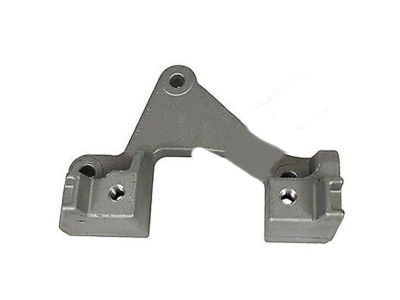
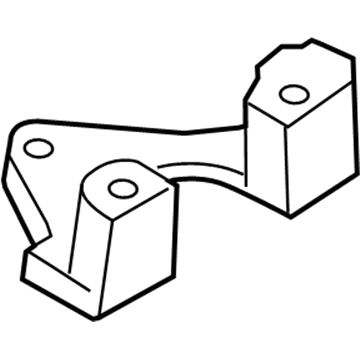
2009 Ford Fusion Mount Bracket Part Number: 9E5Z-6061-A
Product Specifications- Other Name: Bracket - Engine Support; Engine Mount Bracket; Motor Mount
- Replaces: 6E5Z-6061-AA
- Base No.: 6061
- Item Weight: 1.60 Pounds
- Item Dimensions: 6.1 x 6.1 x 2.0 inches
- Condition: New
- Fitment Type: Direct Replacement
- SKU: 9E5Z-6061-A
- Warranty: This genuine part is guaranteed by Ford's factory warranty.

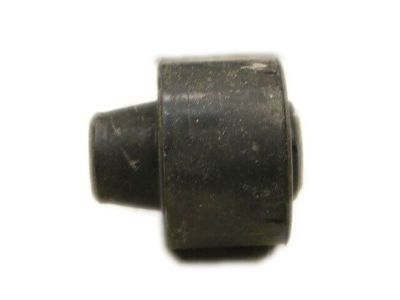
2009 Ford Fusion Damper Part Number: 6E5Z-6F028-B
Product Specifications- Other Name: Damper Assembly; Motor Mount
- Base No.: 6F028
- Item Weight: 0.70 Pounds
- Condition: New
- Fitment Type: Direct Replacement
- SKU: 6E5Z-6F028-B
- Warranty: This genuine part is guaranteed by Ford's factory warranty.
 Product Specifications
- Other Name: Bracket - Engine Mounting; Manual Transmission Mount Bracket, Upper; Transfer Case Mount; Transmission Mount
- Position: Upper
- Base No.: 6031
- Item Weight: 4.90 Pounds
- Item Dimensions: 6.3 x 6.2 x 2.0 inches
- Condition: New
- Fitment Type: Direct Replacement
- SKU: 6E5Z-6031-HA
- Warranty: This genuine part is guaranteed by Ford's factory warranty.

2009 Ford Fusion Transmission Mount Bracket Part Number: 8E5Z-6031-A
Product Specifications- Other Name: Bracket - Engine Mounting; Transfer Case Mount; Transmission Mount
- Replaces: 6E5Z-6031-JA
- Base No.: 6031
- Item Weight: 3.50 Pounds
- Item Dimensions: 6.4 x 6.2 x 2.0 inches
- Condition: New
- Fitment Type: Direct Replacement
- SKU: 8E5Z-6031-A
- Warranty: This genuine part is guaranteed by Ford's factory warranty.
 Product Specifications
- Other Name: Bracket - Engine Mounting; Automatic Transmission Mount Bracket; Transfer Case Mount; Transmission Mount
- Position: Driver Side
- Base No.: 6031
- Item Weight: 3.20 Pounds
- Item Dimensions: 9.2 x 4.9 x 4.8 inches
- Condition: New
- Fitment Type: Direct Replacement
- SKU: 6E5Z-6031-GA
- Warranty: This genuine part is guaranteed by Ford's factory warranty.
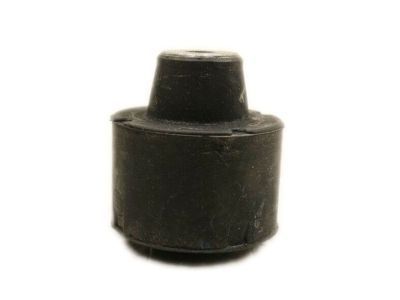
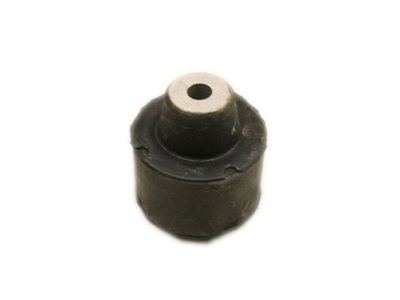
2009 Ford Fusion Trans Mount Bracket Damper Part Number: 9E5Z-6F028-A
Product Specifications- Other Name: Damper Assembly, Automatic Transmission Mount, Engine Mount, Transfer Case Mount, Motor Mount; Mount Bracket Damper; Damper; Transmission Mount
- Replaces: 6E5Z-6F028-A
- Base No.: 6F028
- Item Weight: 0.50 Pounds
- Condition: New
- Fitment Type: Direct Replacement
- SKU: 9E5Z-6F028-A
- Warranty: This genuine part is guaranteed by Ford's factory warranty.
2009 Ford Fusion Engine Mount
If you're seeking quality and affordability, look no further than our extensive inventory of genuine 2009 Ford Fusion Engine Mount available at FordPartsDeal.com. You can confidently purchase our OEM 2009 Ford Fusion Engine Mount as they are supported by the manufacturer's warranty and our hassle-free return policy, alongside the benefit of our fast delivery service.
2009 Ford Fusion Engine Mount Parts Q&A
- Q: How to remove and replace the engine mount on 2009 Ford Fusion?A: In order to fit the engine mount, the car must be in neutral while on a hoist. Take out the coolant degas bottle, apply the engine support bar, and detach relevant bolts and nuts and tighten them to a specified torque when reinstalling. Undo the processes of removal to finish.
