My Garage
Cart

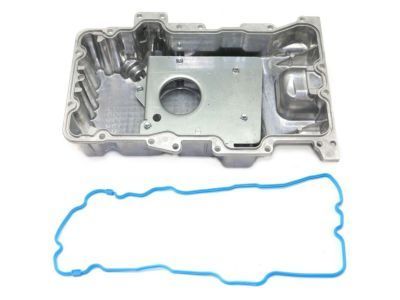
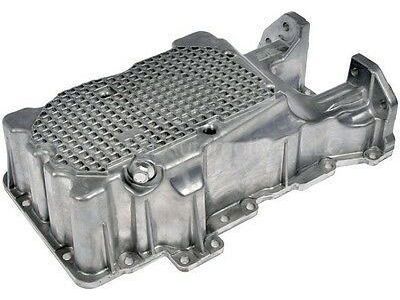
OEM 2009 Ford Fusion Oil Pan

Oil Drain Pan
  • Select Vehicle by Model
  • Select Vehicle by VIN
Select Vehicle by Model
Make
Model
Year
or
Select Vehicle by VIN
For the most accurate results, select vehicle by your VIN (Vehicle Identification Number).

2 Oil Pans found

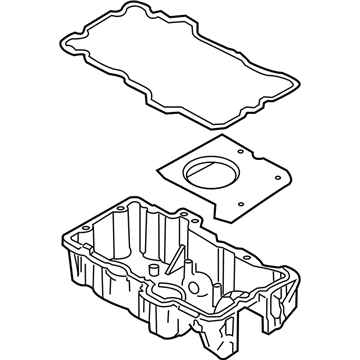
  • 2009 Ford Fusion Oil Pan Diagram - 9L8Z-6675-A
    View related parts

    2009 Ford Fusion Oil Pan Part Number: 9L8Z-6675-A

    $137.81 MSRP: $200.60
    You Save: $62.79 (32%)
    Ships in 1-2 Business Days
    ADD TO CART
    Product Specifications
    • Other Name: Pan Assembly - Engine Oil; Engine Oil Pan
    • Replaces: 6E5Z-6675-CA
    • Base No.: 6675
    • Item Weight: 12.40 Pounds
    • Item Dimensions: 18.5 x 13.7 x 8.1 inches
    • Condition: New
    • Fitment Type: Direct Replacement
    • SKU: 9L8Z-6675-A
    • Warranty: This genuine part is guaranteed by Ford's factory warranty.
    More Info
    Fits the following 2009 Ford Fusion Submodels:
    • SE, SEL | 6 Cyl 3.0 L FLEX, 6 Cyl 3.0 L GAS
  • 2009 Ford Fusion Oil Pan - 6M8Z-6675-AB
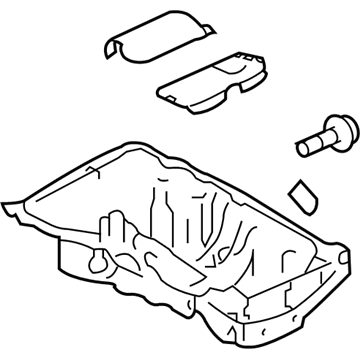
    2009 Ford Fusion Oil Pan Diagram - 6M8Z-6675-AB
    View related parts

    2009 Ford Fusion Oil Pan Part Number: 6M8Z-6675-AB

    $130.99 MSRP: $190.67
    You Save: $59.68 (32%)
    Ships in 1-2 Business Days
    ADD TO CART
    Product Specifications
    • Other Name: Pan Assembly - Engine Oil; Engine Oil Pan
    • Manufacturer Note: Use RTV Silicone Sealer In Place Of Gasket For This Application. Refer To Workshop Manual For Specification
    • Base No.: 6675
    • Item Weight: 12.50 Pounds
    • Item Dimensions: 8.7 x 18.5 x 13.3 inches
    • Condition: New
    • Fitment Type: Direct Replacement
    • SKU: 6M8Z-6675-AB
    • Warranty: This genuine part is guaranteed by Ford's factory warranty.
    More Info
    Fits the following 2009 Ford Fusion Submodels:
    • S, SE, SEL | 4 Cyl 2.3 L GAS

2009 Ford Fusion Oil Pan

If you're seeking quality and affordability, look no further than our extensive inventory of genuine 2009 Ford Fusion Oil Pan available at FordPartsDeal.com. You can confidently purchase our OEM 2009 Ford Fusion Oil Pan as they are supported by the manufacturer's warranty and our hassle-free return policy, alongside the benefit of our fast delivery service.

2009 Ford Fusion Oil Pan Parts Q&A

  • Q: How to service and repair the oil pan on 2009 Ford Fusion?
    A: Service and repair of the oil pan begins with hoisting the vehicle to neutral position followed by removal of the Air Cleaner (ACL). Automatic transmissions need the removal of battery trays before service. The three transaxle-to-engine upper bolts need to be loosely tightened 5 mm (0.19 in). Moving beyond this limit can result in transmission damage. Undo the seven screws and the underbody cover from the vehicle if needed. The technician must loosen one to two LH mounting bolts of the bellhousing with engine by 0.19 inches (5 mm) based on the transmission type while also weakening the same amount the RH engine-to-bellhousing bolt and stud combination. Thoroughly loosen the bellhousing bolt that connects to the oil pan followed by the two oil pan-to-bellhousing bolts and transmission rearward movement of 5 mm (0.19 in) to complete the engine oil drain. Reinstall the drain plug and secure it to 28 Nm (21 lb-ft). After removing the three engine front cover-to-oil pan bolts and the stud bolt you must detach the oil pan through its thirteen bolts. Cleaning and inspecting all mating surfaces should not use metal scrapers or abrasive tools before applying a silicone gasket and sealant to the installation. The oil pan needs to be installed within 10 minutes of sealant application otherwise cleaning should occur followed by drying the sealing area. Place 2.5 mm (0.09 in) silicone gasket and sealant onto mating surfaces between the oil pan and the engine block and the oil pan and engine front cover. Install the engine oil pan onto its position before applying a light touch to oil pan bolts along with a tightening force of 10 Nm (89 lb-in) to the three engine front cover-to-oil pan bolts and the stud bolt. Begin by securely tightening the oil pan bolts to 25 Nm using the specified serial sequence followed by an alternate fastening pattern between left and right lower bolts to move the transmission and engine nearer to each other while achieving a torque of 48 Nm. Use 48 Nm (35 lb-ft) torque to fasten the remaining LH bolt (if manual transmission is present) as well as the RH stud bolt before finally installing and tightening the bellhousing-to-oil pan bolt and the two oil pan-to-bellhousing bolts to 48 Nm (35 lb-ft). Reinstall the underbody cover and seven screws before torquing automatic transmission top bellhousing-to-engine bolts to 48 Nm (35 lb-ft). The last step requires returning the battery tray followed by installation of the ACL assembly and addition of clean engine oil.