FordParts
My Garage
My Account
Cart
OEM 2001 Ford Windstar Shock Absorber
Suspension Shock Absorber- Select Vehicle by Model
- Select Vehicle by VIN
Select Vehicle by Model
orMake
Model
Year
Select Vehicle by VIN
For the most accurate results, select vehicle by your VIN (Vehicle Identification Number).
3 Shock Absorbers found
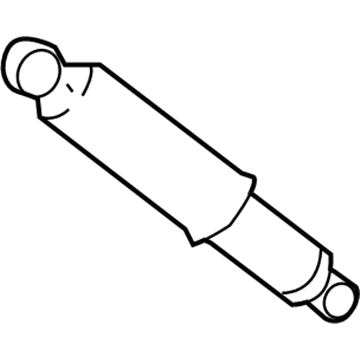
2001 Ford Windstar Shock Absorber, Rear Part Number: 2F2Z-18125-B
$40.24 MSRP: $54.76You Save: $14.52 (27%)Product Specifications- Other Name: Shock Absorber Assembly; Suspension Shock Absorber, Rear; Shock
- Position: Rear
- Replaces: 6F2Z-18125-A, ASH-24577, 2F2Z-18125-A, 3F2Z-18125-AA, 2F2Z-18125-AB, ASH-239, ASH-1121, ASH-52, 6F2Z-18125-AB
- Base No.: 18125
- Item Weight: 4.80 Pounds
- Item Dimensions: 20.9 x 3.5 x 3.5 inches
- Condition: New
- Fitment Type: Direct Replacement
- SKU: 2F2Z-18125-B
- Warranty: This genuine part is guaranteed by Ford's factory warranty.
2001 Ford Windstar Shock Absorber Part Number: 2U2Z-18125-GA
Product Specifications- Other Name: Shock Absorber Assembly; Shock
- Manufacturer Note: w/air suspension
- Base No.: 18125
- Item Weight: 4.10 Pounds
- Condition: New
- Fitment Type: Direct Replacement
- Require Quantity: 2
- SKU: 2U2Z-18125-GA
- Warranty: This genuine part is guaranteed by Ford's factory warranty.
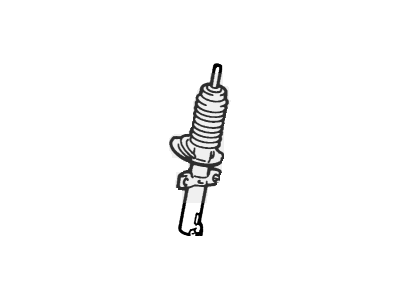
2001 Ford Windstar Strut, Front Part Number: 2F2Z-18124-AA
Product Specifications- Other Name: Shock Absorber Assembly - Front; Complete Suspension Strut and Shock Kit.; Shock Absorber
- Position: Front
- Replaces: XF5Z-18124-AB
- Base No.: 18124
- Item Weight: 11.50 Pounds
- Item Dimensions: 28.8 x 6.7 x 6.7 inches
- Condition: New
- Fitment Type: Direct Replacement
- Require Quantity: 2
- SKU: 2F2Z-18124-AA
- Warranty: This genuine part is guaranteed by Ford's factory warranty.
2001 Ford Windstar Shock Absorber
If you're seeking quality and affordability, look no further than our extensive inventory of genuine 2001 Ford Windstar Shock Absorber available at FordPartsDeal.com. You can confidently purchase our OEM 2001 Ford Windstar Shock Absorber as they are supported by the manufacturer's warranty and our hassle-free return policy, alongside the benefit of our fast delivery service.
2001 Ford Windstar Shock Absorber Parts Q&A
- Q: How to service and repair a shock absorber on 2001 Ford Windstar?A: A vehicle should be elevated on a hoist for shock absorber servicing or repair beginning with wheel and tire removal. A vital safety step requires front axle support before removing either the shock absorber or its retaining nuts to safeguard your vehicle parts; confirm that the U-channel encloses the full jack stand saddle. The shock absorber can be extracted after both lower bolt and nut removal together with upper bolt removal. Installation should follow the removal steps backwards while using identical part numbers or equivalent components for all suspension fasteners because inferior or substitute designs increase service costs significantly. Follow the specified torque values during reassembly to maintain proper retention of all these important structural components.


