My Garage
Cart

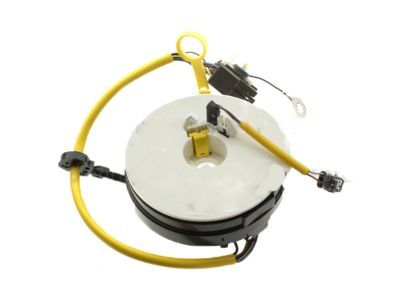
OEM 2006 Ford Ranger Clock Spring

Spiral Cable Clock Spring
  • Select Vehicle by Model
  • Select Vehicle by VIN
Select Vehicle by Model
Make
Model
Year
or
Select Vehicle by VIN
For the most accurate results, select vehicle by your VIN (Vehicle Identification Number).

2 Clock Springs found

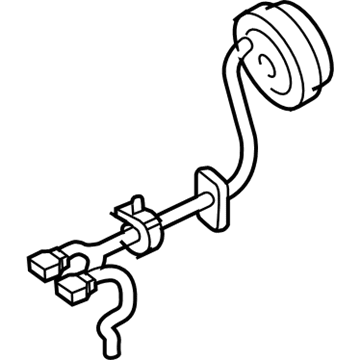
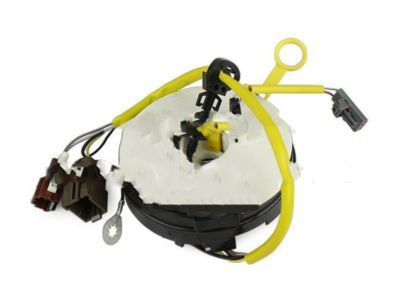
  • 2006 Ford Ranger Clock Spring Diagram - 1L5Z-14A664-AB
    View related parts

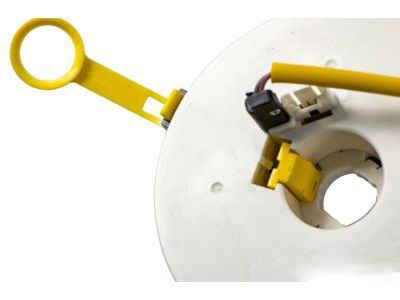
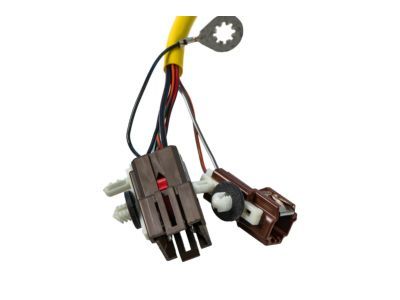
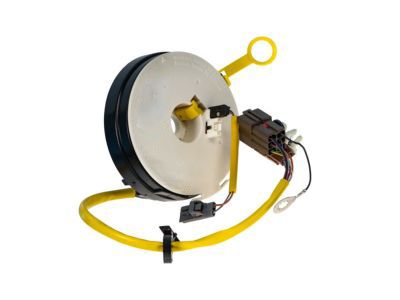
    2006 Ford Ranger Clockspring Part Number: 1L5Z-14A664-AB

    $237.58 MSRP: $348.87
    You Save: $111.29 (32%)
    ADD TO CART
    Product Specifications
    • Other Name: Cover And Contact Plate Assembly; Air Bag Clockspring
    • Base No.: 14A664
    • Item Weight: 0.90 Pounds
    • Item Dimensions: 6.2 x 4.5 x 4.5 inches
    • Condition: New
    • Fitment Type: Direct Replacement
    • SKU: 1L5Z-14A664-AB
    • Warranty: This genuine part is guaranteed by Ford's factory warranty.
    More Info
    Fits the following 2006 Ford Ranger Submodels:
    • Edge, FX4, Splash, Sport, STX, Tremor, XL, XLT | 4 Cyl 2.3 L GAS, 4 Cyl 2.5 L GAS, 6 Cyl 3.0 L FLEX, 6 Cyl 3.0 L GAS, 6 Cyl 4.0 L GAS
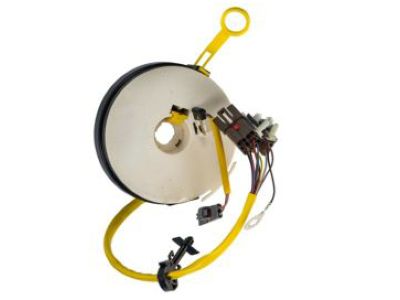
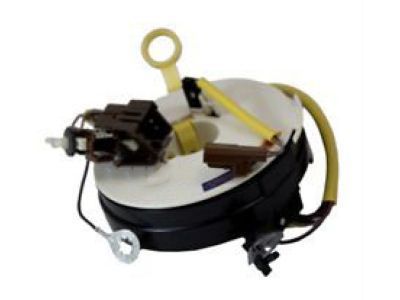
  • 2006 Ford Ranger Clock Spring Diagram - 5L5Z-14A664-A
    View related parts

    2006 Ford Ranger Clockspring Part Number: 5L5Z-14A664-A

    $94.77 MSRP: $137.95
    You Save: $43.18 (32%)
    Product Specifications
    • Other Name: Cover And Contact Plate Assembly; Air Bag Clockspring
    • Replaces: 1L5Z-14A664-BB
    • Base No.: 14A664
    • Item Weight: 1.20 Pounds
    • Item Dimensions: 8.3 x 6.1 x 3.0 inches
    • Condition: New
    • Fitment Type: Direct Replacement
    • SKU: 5L5Z-14A664-A
    • Warranty: This genuine part is guaranteed by Ford's factory warranty.
    More Info
    Fits the following 2006 Ford Ranger Submodels:
    • Edge, FX4, Splash, Sport, STX, Tremor, XL, XLT | 4 Cyl 2.3 L GAS, 4 Cyl 2.5 L GAS, 6 Cyl 3.0 L FLEX, 6 Cyl 3.0 L GAS, 6 Cyl 4.0 L GAS

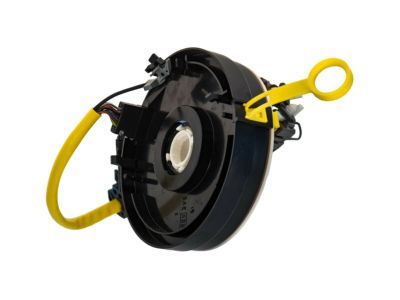
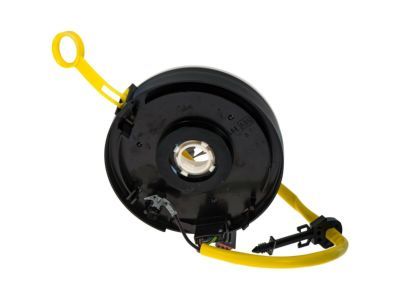
2006 Ford Ranger Clock Spring

If you're seeking quality and affordability, look no further than our extensive inventory of genuine 2006 Ford Ranger Clock Spring available at FordPartsDeal.com. You can confidently purchase our OEM 2006 Ford Ranger Clock Spring as they are supported by the manufacturer's warranty and our hassle-free return policy, alongside the benefit of our fast delivery service.

2006 Ford Ranger Clock Spring Parts Q&A

  • Q: What Safety Precautions and Steps Should Be Followed When Servicing the Clock Spring Assembly on 2006 Ford Ranger?
    A: Safety glasses must be worn during Clock Spring servicing to defend against accidental air bag deployment injuries because you should handle live air bag modules by pointing their trim covers away from yourself. Serious hand washing is required to remove residual sodium hydroxide from the skin following air bag deployment. Observing the air bag module connectors will prevent system deployment and injuries so always replace discolored or damaged trim covers using new parts. Memory saver devices should never be utilized. Depowering the system begins with removing the driver air bag module after setting the wheels to face directly ahead of the vehicle. Use proper tools to detach the hood release handle together with the steering column opening finish panel and its reinforcement by removing the required screws and bolts. To access the Clock Spring retaining clips workers need to first remove the tilt wheel handle along with the lower steering column shroud. The process requires disconnecting the Clock Spring wire harness alongside its electrical connectors before releasing the retaining clips to remove the Clock Spring. Install the new Clock Spring at the center by first removing the key from the ignition while holding the steering wheel rotor. Start by securing the outer housing while letting go of the rotor to perform counterclockwise rotation until resistance comes up and perform clockwise rotation amounting to 2.25 turns to attain the center position. Mount the Clock Spring on its steering column position and use authority to secure the retaining tabs. Safety procedures should begin with reattaching the key-in-ignition warning indicator switch and lower retaining clip as well as electrical connectors while confirming securement of pin-type retainers. Return the steering column shrouds to position while installing the tilt wheel handle and finishing the panel components by tightening bolts to 12 Nm (9 lb-ft). The final step requires installation of both steering wheel and driver air bag module prior to restarting the system power.