My Garage
Cart

OEM 2007 Ford Expedition Fan Shroud

Radiator Fan Shroud
  • Select Vehicle by Model
  • Select Vehicle by VIN
Select Vehicle by Model
Make
Model
Year
or
Select Vehicle by VIN
For the most accurate results, select vehicle by your VIN (Vehicle Identification Number).

2 Fan Shrouds found

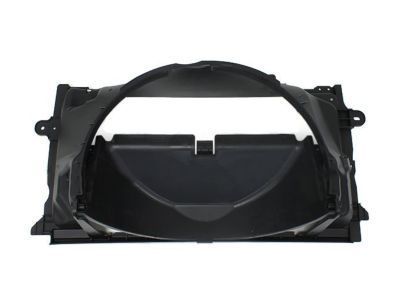
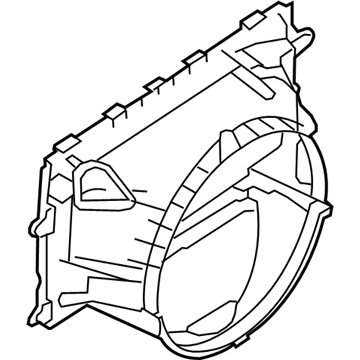
  • 2007 Ford Expedition Fan Shroud Diagram - 9L3Z-8146-BA
    View related parts

    2007 Ford Expedition Fan Shroud, Front Part Number: 9L3Z-8146-BA

    $238.53 MSRP: $350.27
    You Save: $111.74 (32%)
    Ships in 1-2 Business Days
    ADD TO CART
    Product Specifications
    • Other Name: Shroud - Radiator Fan; Engine Cooling Fan Shroud, Front, Front Upper, Upper; Upper Shroud
    • Position: Front
    • Replaces: 7L1Z-8146-BA
    • Base No.: 8146
    • Item Weight: 15.90 Pounds
    • Item Dimensions: 40.3 x 25.3 x 15.6 inches
    • Condition: New
    • Fitment Type: Direct Replacement
    • SKU: 9L3Z-8146-BA
    • Warranty: This genuine part is guaranteed by Ford's factory warranty.
    More Info
    Fits the following 2007 Ford Expedition Submodels:
    • Eddie Bauer, EL Eddie Bauer, EL King Ranch, EL Limited, EL XLT, Funkmaster Flex Edition, King Ranch, Limited, XLT | 8 Cyl 5.4 L FLEX, 8 Cyl 5.4 L GAS
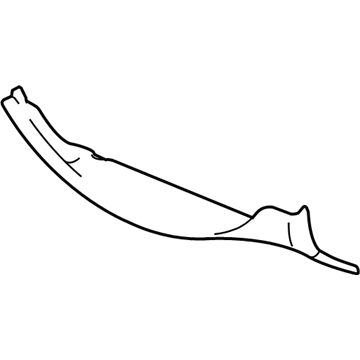
  • 2007 Ford Expedition Fan Shroud - 7L1Z-8146-A
    2007 Ford Expedition Fan Shroud Diagram - 7L1Z-8146-A
    View related parts
    Product Specifications
    • Other Name: Shroud - Radiator Fan; Engine Cooling Fan Shroud, Lower; Fan Shroud
    • Position: Lower
    • Item Weight: 1.80 Pounds
    • Item Dimensions: 36.2 x 34.5 x 10.0 inches
    • Condition: New
    • Fitment Type: Direct Replacement
    • SKU: 7L1Z-8146-A
    • Warranty: This genuine part is guaranteed by Ford's factory warranty.
    More Info
    Fits the following 2007 Ford Expedition Submodels:
    • Eddie Bauer, EL Eddie Bauer, EL King Ranch, EL Limited, EL XLT, Funkmaster Flex Edition, King Ranch, Limited, XLT | 8 Cyl 5.4 L GAS

2007 Ford Expedition Fan Shroud

If you're seeking quality and affordability, look no further than our extensive inventory of genuine 2007 Ford Expedition Fan Shroud available at FordPartsDeal.com. You can confidently purchase our OEM 2007 Ford Expedition Fan Shroud as they are supported by the manufacturer's warranty and our hassle-free return policy, alongside the benefit of our fast delivery service.

2007 Ford Expedition Fan Shroud Parts Q&A

  • Q: How to service and repair the cooling fan shroud on 2007 Ford Expedition?
    A: Service and repair of the cooling fan shroud begins with placing the vehicle on a hoist where the neutral gear engages. First disconnect the battery ground cable then drain all fluid from the engine cooling system. Perform this service by removing the air cleaner outlet pipe then loosen the nut while disconnecting electrical cables that must be tightened to 10 Nm (89 inch lbs.) during reinstallation. Start the cooling fan shroud service by unplugging the wiring harness retainer before removing the upper radiator hose from the radiator followed by disconnecting the upper radiator hose position retainer from the cooling fan shroud. The electrical connector must be disconnected together with the wiring harness position retainer before vacuum reservoir removal. Additionally, vacuum connectors and electrical connector disconnection from the cooling fan shroud's LH side is required. You must first disconnect the wiring harness retainer on the radiator right-hand side before removing two cooling fan shroud bolts and wiring harness retainers while tightening each to 10 Nm (89 inch lbs.) for reinstallation. Start the four bolts of the power distribution box (PDB) support bracket manually before setting aside the PDB and its bracket. Take caution to protect the radiator support when starting the bolts and tighten all PDB support bracket bolts to a torque value of 10 Nm (89 inch lbs.) upon reinstallation. Detach the mass air flow sensor position retainer and the power steering fluid hose position retainers which connect to the radiator support and cooling shroud. The power steering reservoir can be positioned aside utilizing this bolt while securing it to 11 Nm (8 ft. lbs.) when reassembly is complete. Remove the degas bottle coolant inlet hose from the radiator before you unlock the lower cooling fan shroud position tab and raise the lower shroud until its lower tab locks in position. Drain the clip before you disconnect the lower radiator hose quick connect coupling from the radiator and detach the cooling fan shroud. The reverse procedure should be followed for reinstallation.