My Garage
Cart

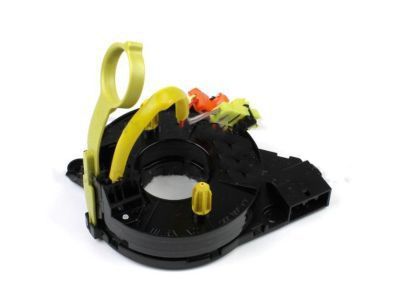
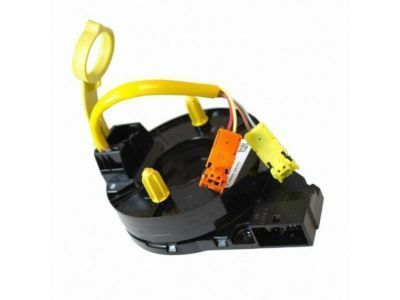
OEM 2007 Ford Fusion Clock Spring

Spiral Cable Clock Spring
  • Select Vehicle by Model
  • Select Vehicle by VIN
Select Vehicle by Model
Make
Model
Year
or
Select Vehicle by VIN
For the most accurate results, select vehicle by your VIN (Vehicle Identification Number).

1 Clock Spring found

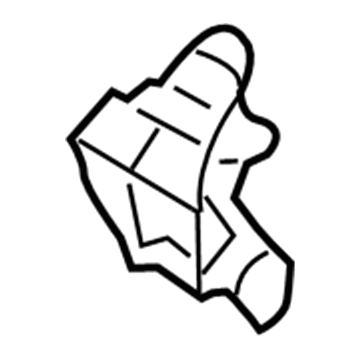
  • 2007 Ford Fusion Clock Spring Diagram - BE5Z-14A664-A
    View related parts

    2007 Ford Fusion Clockspring Part Number: BE5Z-14A664-A

    $85.65 MSRP: $124.67
    You Save: $39.02 (32%)
    ADD TO CART
    Product Specifications
    • Other Name: Cover And Contact Plate Assembly; Air Bag Clockspring
    • Replaces: 6E5Z-14A664-B, 8E5Z-14A664-A
    • Base No.: 14A664
    • Item Weight: 0.60 Pounds
    • Item Dimensions: 6.2 x 4.6 x 4.6 inches
    • Condition: New
    • Fitment Type: Direct Replacement
    • SKU: BE5Z-14A664-A
    • Warranty: This genuine part is guaranteed by Ford's factory warranty.
    More Info
    Fits the following 2007 Ford Fusion Submodels:
    • Hybrid, S, SE, SEL | 4 Cyl 2.3 L GAS, 4 Cyl 2.5 L FULL HYBRID EV-GAS (FHEV), 4 Cyl 2.5 L GAS, 6 Cyl 3.0 L FLEX, 6 Cyl 3.0 L GAS

2007 Ford Fusion Clock Spring

If you're seeking quality and affordability, look no further than our extensive inventory of genuine 2007 Ford Fusion Clock Spring available at FordPartsDeal.com. You can confidently purchase our OEM 2007 Ford Fusion Clock Spring as they are supported by the manufacturer's warranty and our hassle-free return policy, alongside the benefit of our fast delivery service.

2007 Ford Fusion Clock Spring Parts Q&A

  • Q: What Precautions Should Be Taken When Servicing the Clock Spring Assembly on 2007 Ford Fusion?
    A: Use safety glasses for services to prevent accidental air bag incidents and do not deploy memory saver devices when working with the Clock Spring assembly. When the restraints control module (RCM) fuse is removed with the ignition ON the air bag warning lamp will illuminate normally indicating no fault exists. A complete examination to verify SRS functionality without any faults must always precede vehicle return to customers. The repair process demands the replacement of a new part while continuing diagnostics if the problem remains before reinstallation of the first part and conducting another test sequence. The first step includes disabling power flow followed by steering wheel tilting downward and securing the tilt mechanism. First remove the driver air bag module with the road wheels facing straight ahead and then detach the steering wheel from the vehicle foundation. Releasing two tabs simultaneously allows you to elevate the upper steering column shroud. At this point remove the three screws securing the lower shroud before disconnecting the Clock Spring electrical connector and unbolt the Clock Spring with its two screws. New Clock Spring installation requires screwing in the two mounting screws while the electrical connector gets reconnected and then adding the lower shroud using three screws before finishing with the upper shroud. After new Clock Spring installation the steering wheel should be put in place then the sealing key needs removal. Review the centralization status of your original Clock Spring to stop early damage by holding the housing still and rotating the rotor backward until resistance appears then rotating forward two and a quarter times to line up the wiring at the 12 o'clock mark and avoiding rotor motion at this stage. A technician who departs from the car needs to perform the centralizing procedure again during this task. The driver air bag module installation completes the process followed by reactivation of the system.