My Garage
Cart

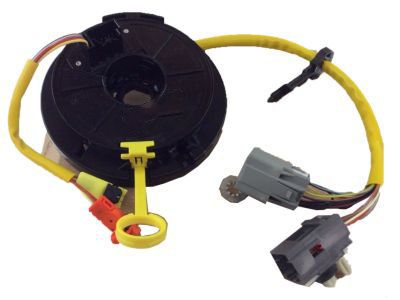
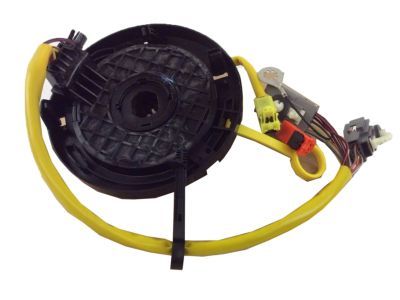
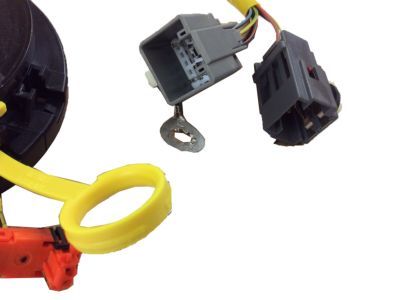
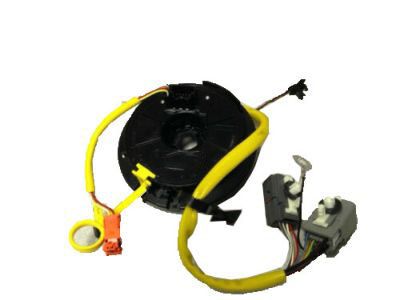
OEM 2008 Ford Ranger Clock Spring

Spiral Cable Clock Spring
  • Select Vehicle by Model
  • Select Vehicle by VIN
Select Vehicle by Model
Make
Model
Year
or
Select Vehicle by VIN
For the most accurate results, select vehicle by your VIN (Vehicle Identification Number).

1 Clock Spring found

  • 2008 Ford Ranger Clock Spring - 9L5Z-14A664-A
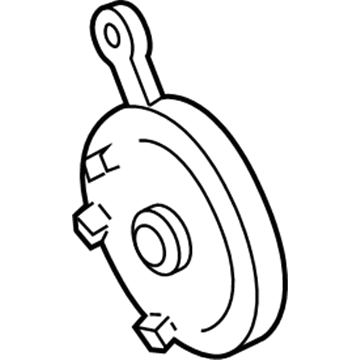
    2008 Ford Ranger Clock Spring Diagram - 9L5Z-14A664-A
    View related parts

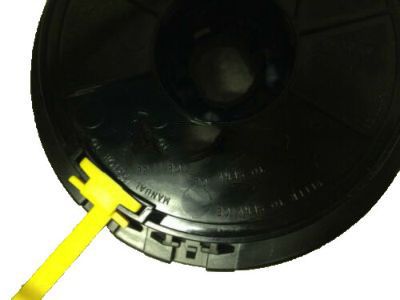
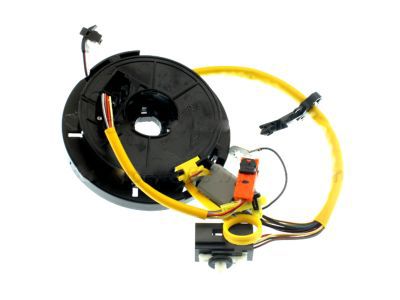
    2008 Ford Ranger Clockspring
    Part Number: 9L5Z-14A664-A

    $129.97 MSRP: $189.18
    You Save: $59.21 (32%)
    ADD TO CART
    Product Specifications
    • Other Name: Cover And Contact Plate Assembly; Air Bag Clockspring
    • Replaces: 7L5Z-14A664-A
    • Base No.: 14A664
    • Item Weight: 0.90 Pounds
    • Item Dimensions: 9.1 x 8.4 x 3.0 inches
    • Condition: New
    • Fitment Type: Direct Replacement
    • SKU: 9L5Z-14A664-A
    • Warranty: This genuine part is guaranteed by Ford's factory warranty.
    More Info
    Fits the following 2008 Ford Ranger Submodels:
    • FX4, Sport, STX, XL, XLT | 4 Cyl 2.3 L GAS, 6 Cyl 3.0 L GAS, 6 Cyl 4.0 L GAS

2008 Ford Ranger Clock Spring

If you're seeking quality and affordability, look no further than our extensive inventory of genuine 2008 Ford Ranger Clock Spring available at FordPartsDeal.com. You can confidently purchase our OEM 2008 Ford Ranger Clock Spring as they are supported by the manufacturer's warranty and our hassle-free return policy, alongside the benefit of our fast delivery service.

2008 Ford Ranger Clock Spring Parts Questions & Experts Answers

  • Q: How to Service and Repair the Clock Spring Assembly on 2008 Ford Ranger?
    A: servis and repairs of the Clock Spring assembly must begin with an air bag module removal but handle the module such that the air bag and deployment door face away from your body to stop accidental deployment activation. First check that the wheels face forward direction when you proceed with taking off the steering wheel along with the ignition lock cylinder. The service begins with removing two screws to relocate the hood release handle followed by removing two screws from the lower steering column opening finish panel which can then be separated while pulling out from its retaining clips. Move forward by using a torque wrench to detach the five bolts which hold the lower steering column opening finish panel reinforcement and also detach the tilt wheel handle and shank if your vehicle is equipped with them. After removing the three screws from the lower steering column shroud you can position the upper shroud to reach the Clock Spring retaining clips. Unhook the Clock Spring wire harness from the wiring retainer before disconnecting electrical connectors and taking off the harness ground wire. The next step requires you to disconnect the Clock Spring electrical connectors and remove the lower retaining clip after releasing all pin-type retainers. To remove the Clock Spring you must begin by disassembling the lock cylinder housing and take out its screw and PATS antenna and key-in-ignition warning indicator switch. After this you must free the other two Clock Spring retaining clips to extract the Clock Spring. Users should substitute the key during Clock Spring installation while securing the rotor in the center with no rotation. Recenter the outer housing by maintaining constant pressure while rotating the rotor in counterclockwise direction until resistance occurs and proceeding with clockwise rotation by 2.25 turns until the center point is achieved. The PATS antenna and key-in-ignition warning indicator switch should be mounted to the lock cylinder housing before installing the Clock Spring after pressing the retaining tabs. Connect the lower Clock Spring retaining clip then connect electrical connectors and ground wire and fasten the Clock Spring wire harness to the wiring retainer. Place the upper and lower steering column shrouds into position followed by installing the tilt wheel handle combined with the shank before bolt tightening the finish panel reinforcement with 12 Nm (9 lb-ft) torque. Finish installing the lower finish component while inserting the hood release handle and plugging in the ignition lock cylinder. The installation of both the steering wheel and driver air bag module must be done when the wheels are properly aligned.

Related 2008 Ford Ranger Parts