My Garage
Cart

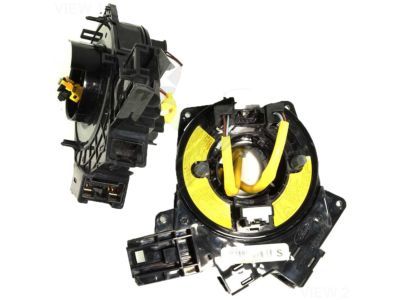
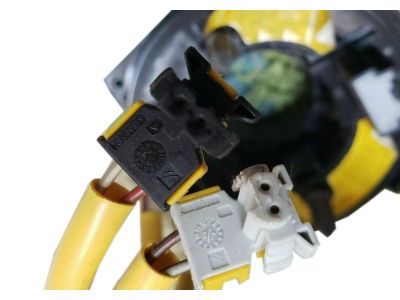
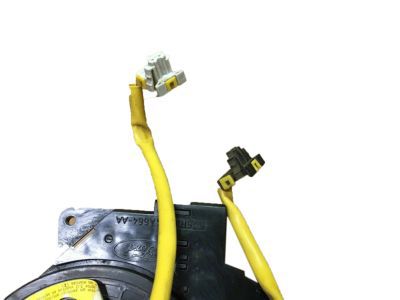
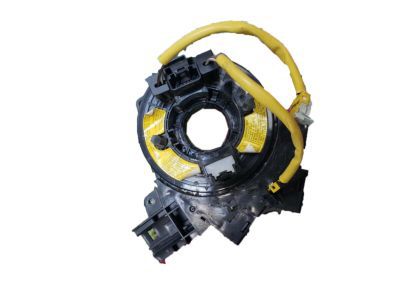
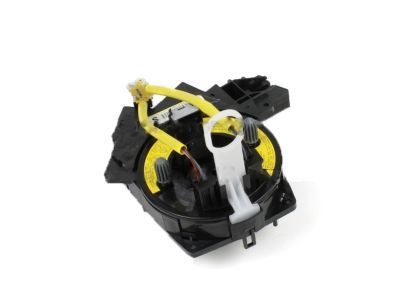
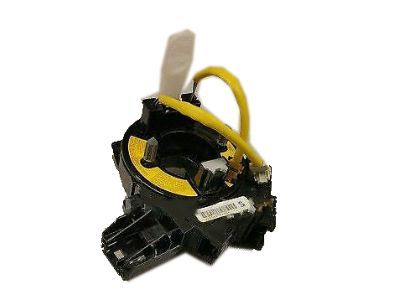
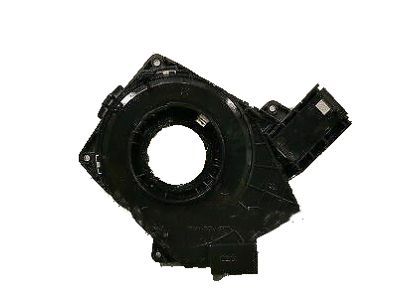
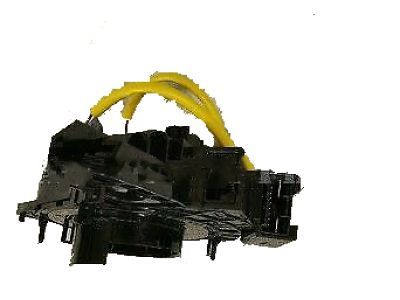
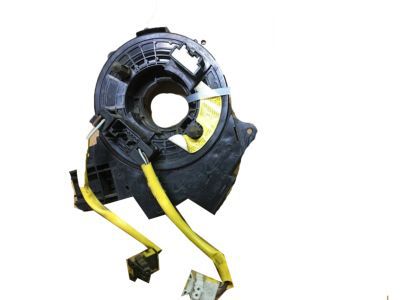
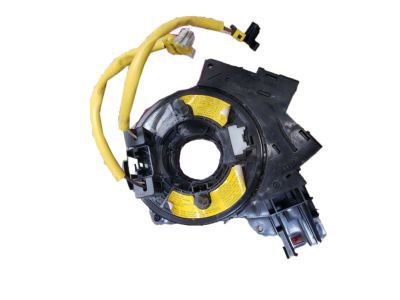
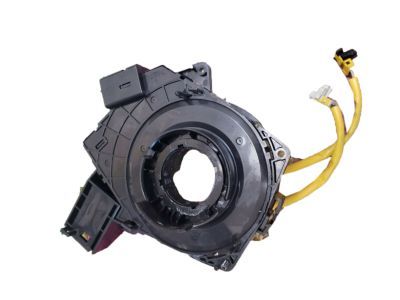
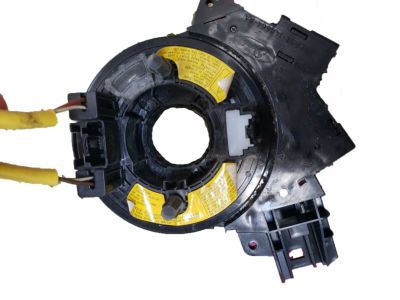
OEM 2005 Ford Mustang Clock Spring

Spiral Cable Clock Spring
  • Select Vehicle by Model
  • Select Vehicle by VIN
Select Vehicle by Model
Make
Model
Year
or
Select Vehicle by VIN
For the most accurate results, select vehicle by your VIN (Vehicle Identification Number).

1 Clock Spring found

  • 2005 Ford Mustang Clock Spring - 6R3Z-14A664-AA
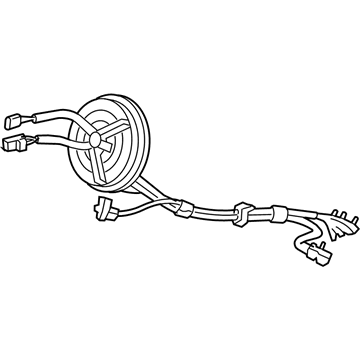
    2005 Ford Mustang Clock Spring Diagram - 6R3Z-14A664-AA
    View related parts

    2005 Ford Mustang Clockspring
    Part Number: 6R3Z-14A664-AA

    $96.32 MSRP: $140.20
    You Save: $43.88 (32%)
    Ships in 1-2 Business Days
    ADD TO CART
    Product Specifications
    • Other Name: Cover And Contact Plate Assembly; Air Bag Clockspring
    • Replaces: 4R3Z-14A664-AA
    • Base No.: 14A664
    • Item Weight: 1.10 Pounds
    • Item Dimensions: 6.4 x 6.3 x 6.0 inches
    • Condition: New
    • Fitment Type: Direct Replacement
    • SKU: 6R3Z-14A664-AA
    • Warranty: This genuine part is guaranteed by Ford's factory warranty.
    More Info
    Fits the following 2005 Ford Mustang Submodels:
    • Base, Bullitt, GT, Shelby GT, Shelby GT500, Shelby GT500KR | 6 Cyl 4.0 L GAS, 8 Cyl 4.6 L GAS, 8 Cyl 5.4 L GAS

2005 Ford Mustang Clock Spring

If you're seeking quality and affordability, look no further than our extensive inventory of genuine 2005 Ford Mustang Clock Spring available at FordPartsDeal.com. You can confidently purchase our OEM 2005 Ford Mustang Clock Spring as they are supported by the manufacturer's warranty and our hassle-free return policy, alongside the benefit of our fast delivery service.

2005 Ford Mustang Clock Spring Parts Questions & Experts Answers

  • Q: What Precautions and Steps Are Involved in Servicing the Clock Spring Assembly on 2005 Ford Mustang?
    A: Green safety glasses become essential for servicing Clock Spring assemblies since they reduce potential air bag injuries along with the elimination of memory saver devices during this procedure. A warning light from the air bag system will appear due to removing the RCM fuse while the ignition switch remains ON but this condition does not represent a faulty sensor system. SRS operation needs to be completely functional and faultless to send the vehicle back to customers, repairing it requires new equipment installation unless the problem remains where you should reinstall the original piece and run diagnostics again. Start by disabling power to the system then position the road wheels directly forward. Lower the steering wheel till it reaches its lowest position while securing the tilt handle then take out the driver air bag module and steering wheel. As the following step unpack the two screws that fasten both the lower steering column shroud and the upper steering column shroud. The Clock Spring will be reusable only if you tape the rotor center to the housing outer to stop rotation. Use care when releasing the tilt handle while you move the spring-loaded tilt steering column then position the bottom steering column shroud downward. You will first disable the Clock Spring electrical connector before proceeding to remove its four screws to extract the Clock Spring component. To recenter the Clock Spring of some vehicles maintain the outer housing position while turning the rotor counterclockwise until resistance occurs and continuing clockwise rotation for three more turns until ribbon wire visibility shows across the window along with rotor arrow alignment into housing arrow position. Through four screws secure the Clock Spring before attaching the electrical connector and finally place the lower steering column shroud in its correct position. Take your time while lowering the steering column and activate the tilting lock. When retaining the Clock Spring users should detach the tape while steering wheel maintenance is in progress. Follow the procedure to center the Clock Spring and avoid rotating it before steering wheel installation; neglecting this step requires a new centering sequence. Fasten the upper steering column shroud first followed by both screws that secure the lower shroud before adding the steering wheel. As a final step in the procedure you need to install the driver air bag module before powering up the system.

Related 2005 Ford Mustang Parts